
How to Organize Products on Shopify 2025: 4 Steps
For many Shopify merchants, managing a growing list of products can quickly become overwhelming once their stores expand. Even worse, when products aren’t properly grouped, shoppers often struggle to find what they’re looking for and abandon the store altogether! That’s why learning how to organize products on Shopify is extremely important.
Fortunately, Shopify already provides the tools needed to bring structure and clarity back to your catalog. In this guide, we’ll show you how to organize your products on Shopify in four straightforward steps:
- Step 1. Create the collection
- Step 2. Choose the collection type
- Step 3. Create navigation paths
- Step 4. Edit the collection.
Let’s get started!
Why Organizing Products on Shopify Matters
Before we go further into the detailed steps, you should understand why learning how to organize products on Shopify is important in the first place.
The reason is simple: it determines how easily customers can find what they need, how long they stay on your website, and whether or not they decide to make a purchase. If your catalog feels disorganized, with items scattered or poorly categorized, customers often lose patience and leave, even if you have what they’re looking for!
In addition, good product organization also gives you more control over store management and marketing. By using Shopify collections, tags, and product types consistently, you can easily launch targeted promotions (for example, offering discounts only on items within the “Winter Collection”). It also helps Shopify’s built-in automation tools work better, as you can now automatically add new products to the right categories and generate accurate sales reports for each collection.
A well-structured catalog also makes it easier to manage and monitor stock levels, ensuring inventory data stays accurate across all collections.
How to Organize Products on Shopify in 4 Steps
To ensure the whole process takes place smoothly, the key is to group your products into meaningful collections and connect those collections through clear navigation paths. Let us show you a step-by-step guide on how to organize products on Shopify:
Step 1: Create the collections
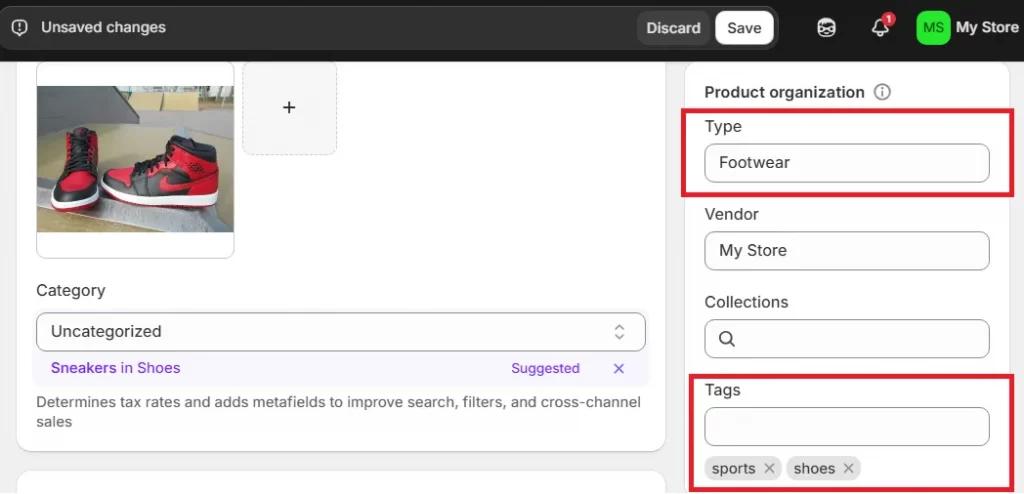
First, before learning how to add a collection on Shopify, you should double-check that all the products you want to organize have been uploaded to your Shopify store. It would be even better if you’ve already filled in the “Type” and “Tags” fields under each product’s Product organization section; these details make it much easier to categorize and sort items later.
These fields also play a key role when you assign products to collections, especially if you plan to use automated (smart) collections.
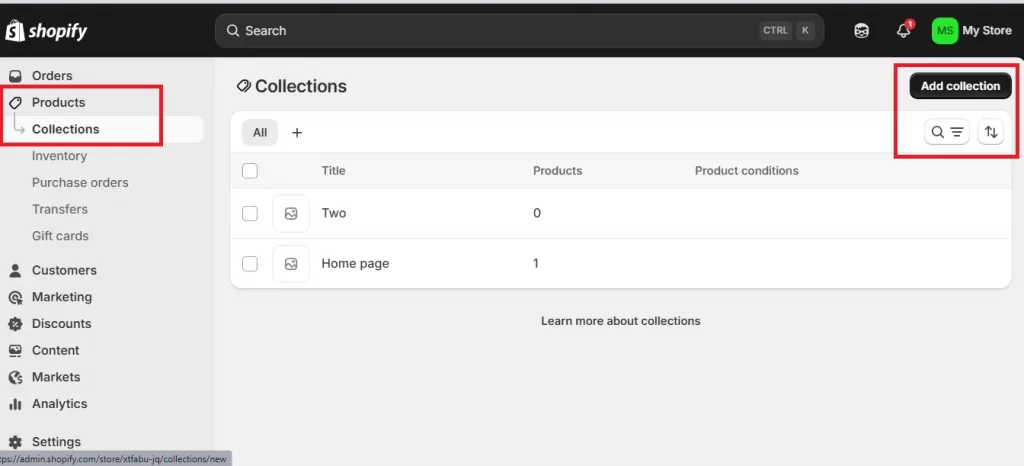
Once your product list is ready, go to the “Products” tab on the left sidebar and click “Collections”, then select “Add collection.”
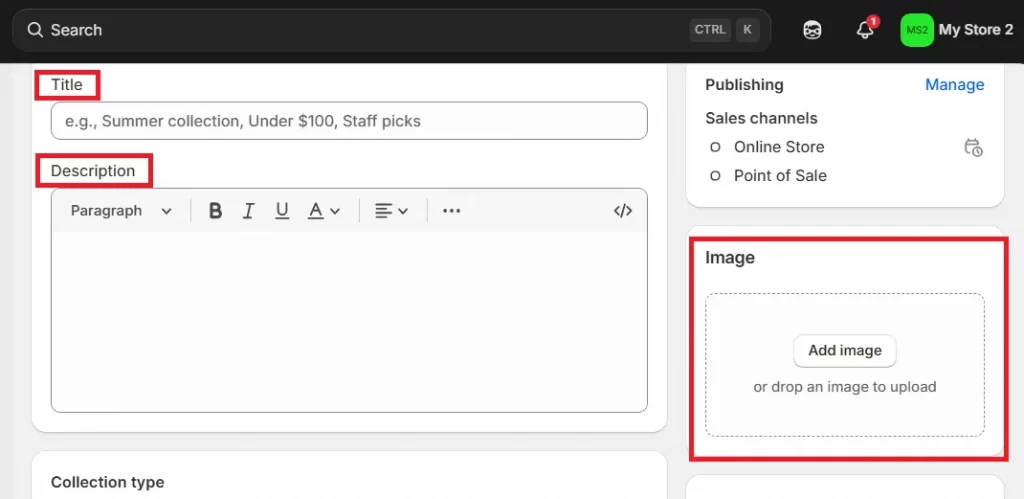
You’ll be prompted to enter a title and description for your collection, along with an optional thumbnail image – an important foundation for how to create collections in Shopify.
Step 2: Choose the collection type
Now, after adding the basic details, you can scroll down to access the two options for collection types: Manual and Automated (Smart). Both options work fine; the better choice depends on how much control you want over the process and how extensive your product catalog is.
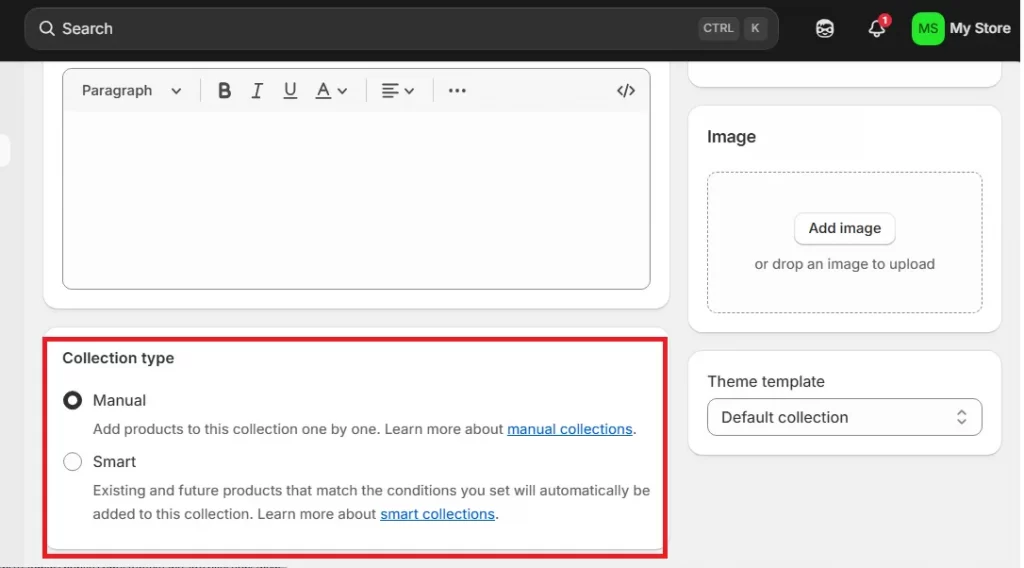
Option 1: Manual collection
If your store is relatively small or you haven’t yet filled in all product details, we recommend using the Manual option.
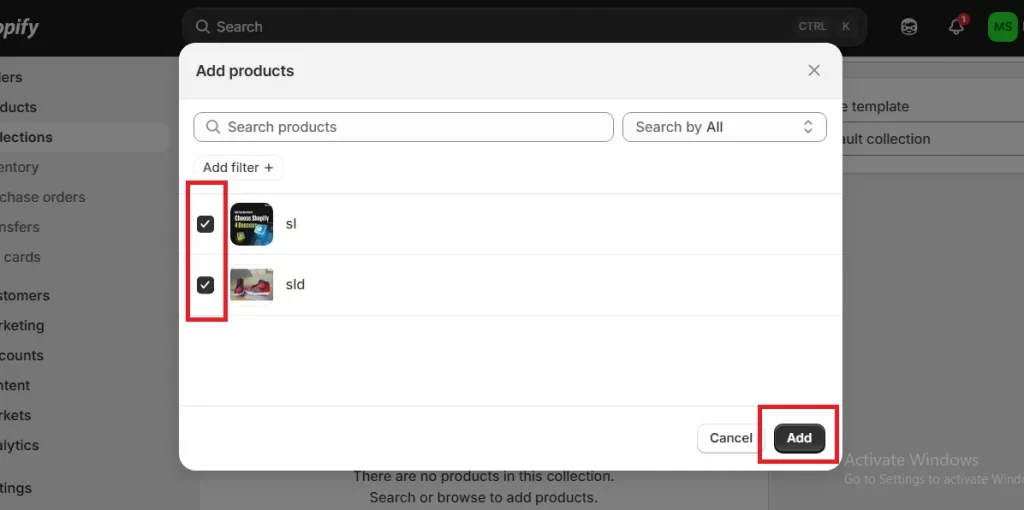
After selecting it, click the “Browse” icon to open a list of your available products.
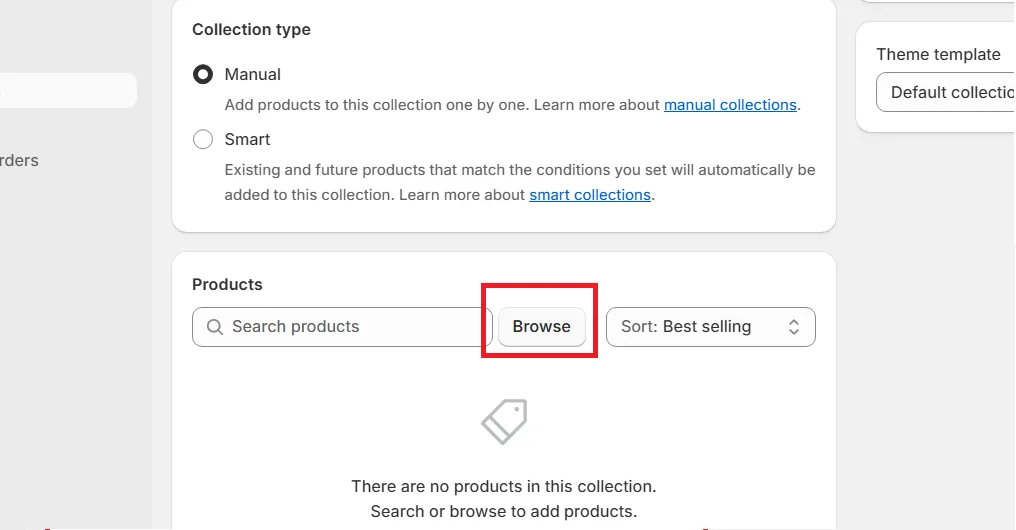
Next, tick the ones you want to include, hit “Add” to put them into your collection, and then click “Save.”
Option 2: Smart collection
On the other hand, for those who prefer to automate the process (especially useful for larger catalogs), you can opt for the Smart collection instead! With this option, Shopify will automatically include products that match certain criteria you define.
Under “Product must match,” choose whether products should meet “All conditions” or just “Any condition” to qualify.
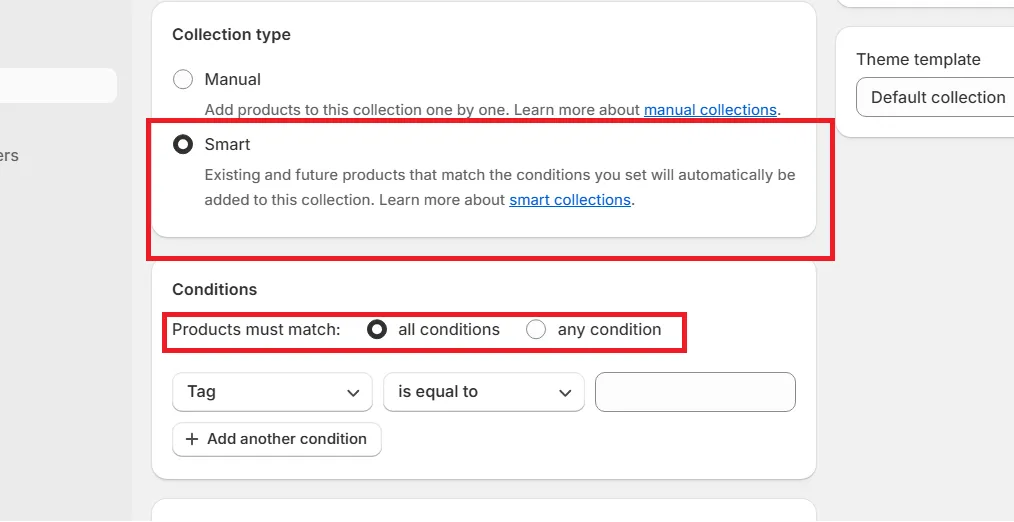
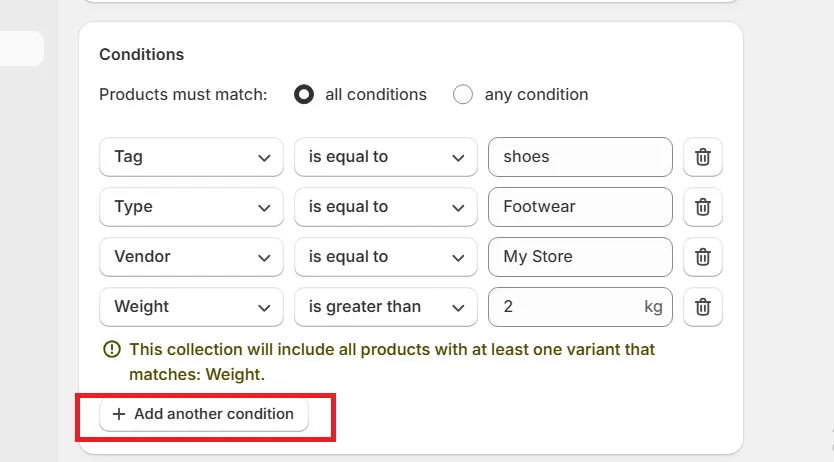
Next, set your sorting conditions; you can use up to ten available criteria, such as title, category, price, or weight. Feel free to add as many filters as you need by clicking “Add another condition.” Below is a quick example:
Once you’ve reviewed your rules, hit “Save”; Shopify will automatically organize all the matching products into that collection. Repeat this for every Shopify product category you’d like to create, and soon your store will begin to take shape.
Step 3: Create navigation paths between the collections
Now that your collections are ready, it’s time to make sure shoppers can move between them easily without confusion!
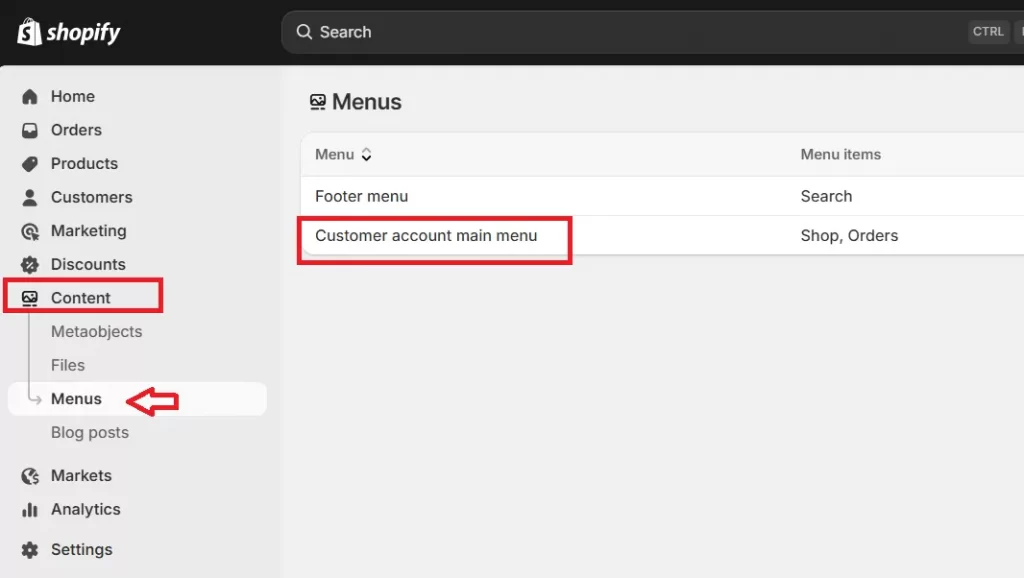
To do this, go to the “Content” section on the left sidebar, then click “Menus” and choose “Customer Account Main Menu.”
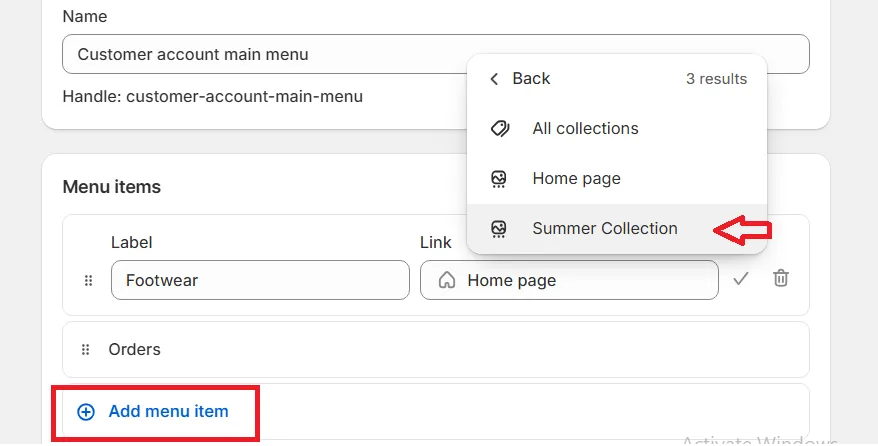
Now, inside the “Menu items” area, click “Add menu item,” enter the item’s name, and select the link to the right collection. Repeat this for each collection you want to display in your navigation bar.
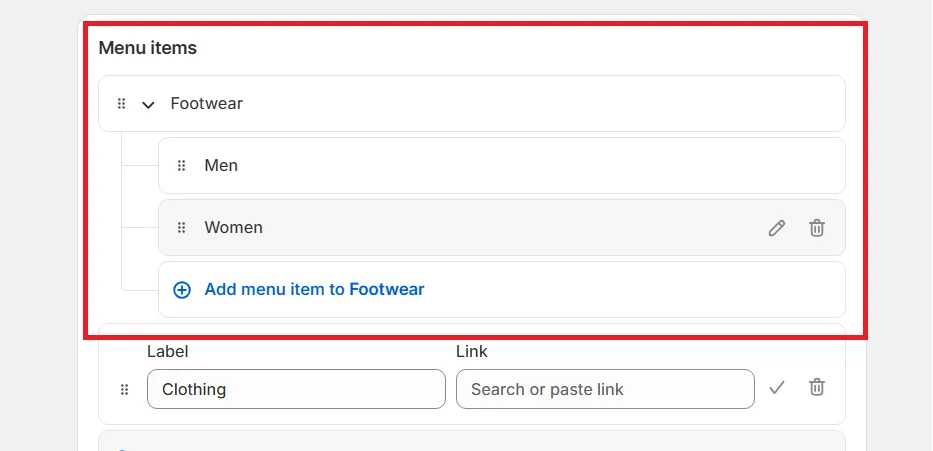
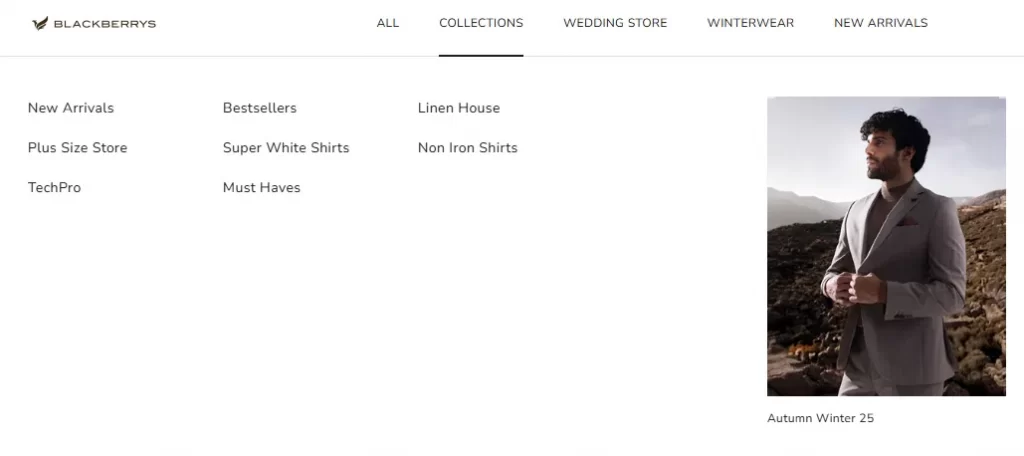
And if you’d like to organize your collections into a hierarchy (subcategories under broader ones), you can simply drag a menu item slightly to the right beneath another. This will turn it into a sub-collection and create a cleaner structure of Shopify categories and subcategories, as seen in the image below:
Once your navigation looks the way you want, click “Save” to apply the changes.
Step 4 (Optional): Edit the collection
Even after your collections are published, Shopify gives you full flexibility to go back and make adjustments anytime.
Simply navigate to Products > Collections (just like at Step 1), then click on the collection you’d like to edit. You can easily update its title, description, or thumbnail image to keep everything consistent with your branding or seasonal promotions.
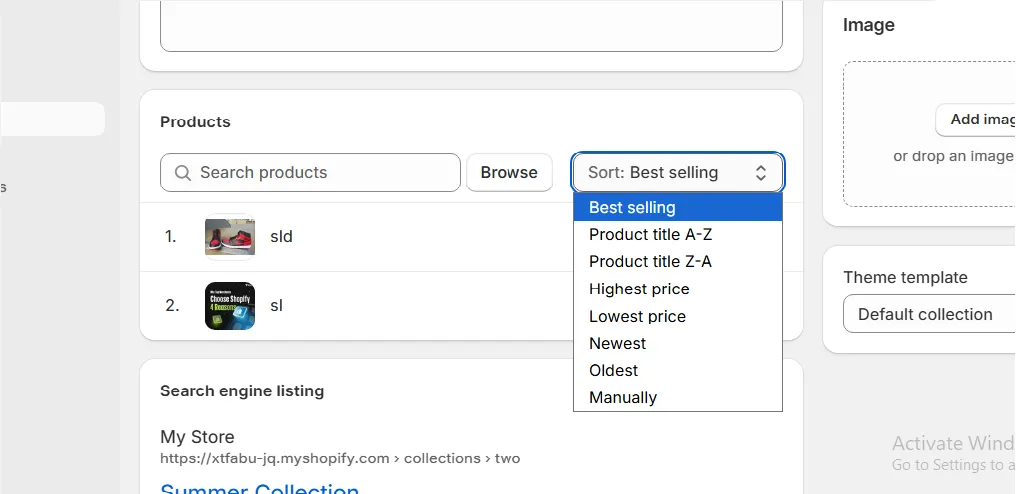
Likewise, you can also manage how to change the order of products in Shopify. Specifically, when clicking on the sorting box (next to the “Browse” button), you’ll see 10 sorting options, including title, price, or date added. Choose the one that best fits your needs, then hit “Save.”
And that’s it! You have successfully managed how to organize products on Shopify properly.
Best Practices for Product Organization on Shopify
Once you’ve mastered the basics of how to organize products on Shopify, the next step is to refine them even further. Proper structure not only makes your store look professional but also helps guide customers’ eyes and actions, essentially leading them from discovery to purchase!
Below are some of our recommended practices that help you maintain better engagement and higher conversion rates:
1. Categorize products based on how customers shop
The most effective way to organize your catalog is to mirror the way your customers think and shop. For example, shoppers often look for products by use case (“Office Wear,” “Beach Vacation”), by season (“Winter Essentials,” “Spring Collection”), or by style (“Minimalist Home Decor,” “Luxury Beauty”).
To create these collections effectively, go to Shopify Analytics > Reports to review what customers are typing into your store’s search bar. Identify patterns (What keywords keep appearing? Which product combinations are often viewed together?) and then use those insights to build collections and assign tags accordingly.
2. Keep your navigation simple and consistent
Secondly, keep in mind that navigation should feel effortless; in short, your customers should be able to guess where an item is without overthinking.
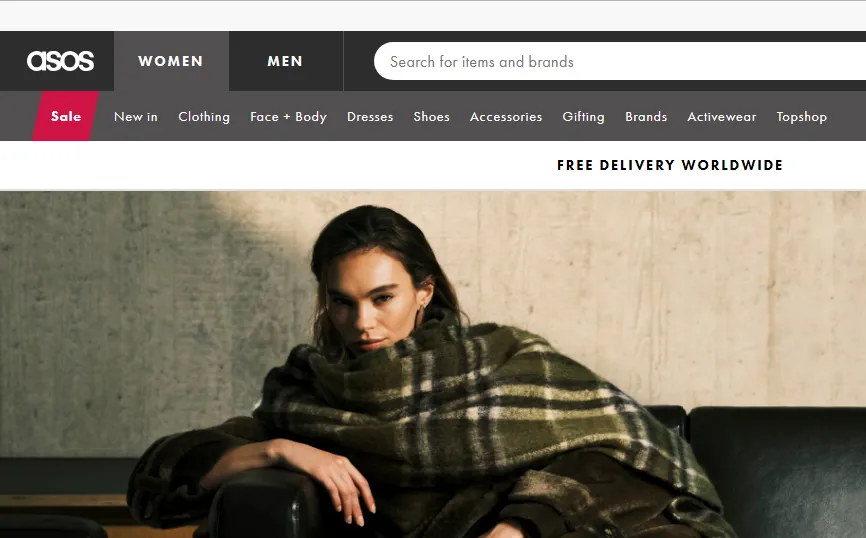
To achieve that, we suggest you limit your top-level menu to a small number of broad, intuitive Shopify product categories, usually between five and ten. For example: “Men,” “Women,” “Accessories,” “Sale,” and “New Arrivals.”
Always use clear, customer-friendly wording rather than technical terms; “New In” works better than “Recently Added Products.” Plus, it’s good practice to maintain naming consistency across your site. If your top menu uses “Women’s Clothing,” avoid naming a collection “Ladies’ Apparel” elsewhere.
You can see how we applied this strategy in our case study with Rossi Furniture here.
3. Use visuals and featured collections strategically
Navigation aside, your visuals and homepage layout play a major role in how shoppers interact with your collections.
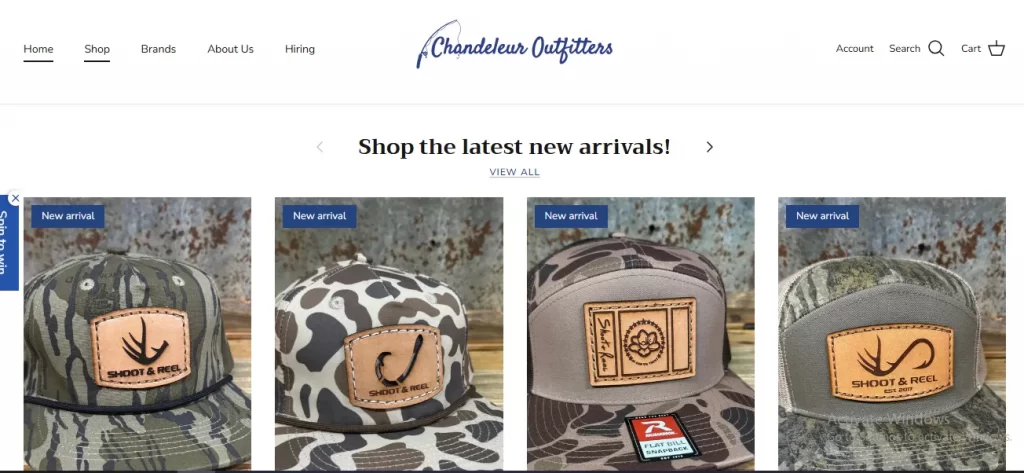
The great news is that in Shopify’s Theme Editor, you can add Featured Collection sections or Product Grids to highlight what matters most. You can choose two to three collections you want to emphasize on your homepage, such as “Latest Arrivals” or “Under $50 Picks”, and use them as shortcuts that immediately draw customers’ attention to what’s relevant or trending.
Additionally, make sure to rotate your featured collections regularly based on season or performance. For example, highlight “Summer Essentials” in June, then replace it with “Back to School Picks” in August. This simple but powerful strategy keeps your store visually fresh and relevant, which encourages repeat visits from returning customers over time.
Ready to take your store organization to the next level?
At LitOS, we help Shopify brands create cleaner, smarter, and more scalable storefronts. Whether you’re reorganizing products, optimizing navigation, or planning for growth, our team ensures every detail works in harmony, so your store not only looks great but performs even better.
Learn MoreBonus: Extra Apps for Advanced Product Sorting
All in all, learning how to organize products on Shopify using the built-in features is quite simple. Nevertheless, we must say these tools might still feel limited for stores that want deeper automation or smarter merchandising. So, if you’re looking to further fine-tune how your collections appear, the five Shopify apps below can take your product organization to the next level:
| App name | Core features | Best for |
| Bestsellers reSort – Organizer Free plan available Paid plan: from $9.99 to $39.99/month | – Automatic sorting using advanced rule-based logic – Custom sorting per collection and featured product pinning. – Smart tagging, automated promotions, detailed analytics | Stores wanting to highlight trending or high-performing products. |
Jedi Product & Collection Sort Built for Shopify Free plan available Paid plan: from $2.99 to $49/month | – Dynamic collections using AI, nested sorting. metafields and layered sorting. – Automatically pushing sale items up and sold-out items down. – Adjustable sorting frequency for real-time updates. | Stores that want AI-based sorting to keep collections relevant automatically. |
| Collection Sort & Category |KX Free trial available From $19 to $299/month | – AI-powered merchandising A/B testing – Personalized product recommendations & automated resorting. | Merchants who want to use AI-driven, data-backed merchandising to personalize product displays |
| ST: Product & Collection Sort Free plan available Paid plan: from $19 to $179/month | – Sorting products by views, add-to-cart, revenue, or inventory metrics. -Pinning featured items – Demoteing sold-out products – Multi-segment sorting. | Store owners wanting full control over merchandising with both automated and manual adjustments. |
| Sort’d – Prime Collection Sort Built for Shopify Free plan available Paid plan: $29 or $70/month | – Visual drag-and-drop merchandiser “Built for Shopify.” – Automating sorting and updates across all collections. – Smart push-up and push-down rules for in-stock and sold-out products. | Shopify users wanting effortless, visual merchandising |
How to Organize Products on Shopify: FAQs
How do I categorize my products on Shopify?
You can categorize products on Shopify by using collections.
To create one, go to Products > Collections > Create collection. You can add products manually or set up automated rules (for example, “Product tag is Summer” or “Price is under $50”) so that new items matching those criteria are automatically added.
How to group items on Shopify?
Grouping items works similarly to categorizing them; you’ll use collections to bring related products together. For example, you can create a “Gift Sets” or “New Arrivals” collection page by grouping several products under one theme or purpose. If you want more flexibility, combine tags (like “holiday,” “eco-friendly,” or “bestseller”) with your collections.
How to organize inventory on Shopify?
To organize your inventory effectively, you should ensure that every product has accurate titles, SKUs, and tags. Then, use Shopify’s Inventory section under Products to monitor stock levels, edit quantities, and sort items by availability or vendor. You can also assign products to locations if you manage multiple warehouses or fulfillment centers.
How do I rearrange the order of products on Shopify?
To change how products appear within a collection, go to Products > Collections, select a collection, and look for the Sort dropdown. You can reorder items manually by choosing “Manually” and dragging products into the order you prefer. Alternatively, Shopify allows automatic sorting by parameters like Best Selling, Newest, Price (Low to High), or Alphabetical Order.
Final Words
And that’s a wrap on how to organize products on Shopify. When your collections make sense and navigation flows smoothly, visitors can find what they need faster and are far more likely to make a purchase. It’s a small investment of effort that totally pays off in the long term!
For more assistance on Shopify’s storefront design and organization, you can check out our blog or contact the LitOS team directly.

