How to Change Your Shopify Theme Without Losing Content
Whether you’re just getting started with your brand’s development or are planning a major overhaul, you may find yourself wanting to switch things up visually at some point. To get the most out of your website design, we will guide you through a tutorial on How to change themes on Shopify effectively.
In today’s tutorial, we will focus on the following key points:
- The preparation steps
- How to change themes on Shopify without losing content
- Most-asked questions about how to change theme on Shopify
Not gonna let you wait any longer, let’s jump right into it!
How to change themes on Shopify in 6 steps:
- Back up your data
- Choose a suitable theme
- Open the Theme Library
- Preview your new template
- Publish the design
- Test the live version
Prepare Before for the Shopify Changing Themes
When we started running our first online business on Shopify last year, our team clearly had difficulty picking the right website design. Hence, it is inevitable that we would have to change theme on Shopify multiple times (even after the website has been published).
Before guiding you on how to change themes on Shopify, let’s first understand the content in Shopify.
#1. Shopify core content is stored separately from the theme, making it theme-independent:
- Products
- Collections
- Pages
- Blog posts
- Customer data
#2. Theme-specific content is how your content is displayed and some functionality is highly linked to your theme:
- Navigation menus
- Homepage layout and content blocks
- Theme settings (colors, fonts)
- Custom code
- Special app-related content display
We understand that it may not be possible to transfer all content perfectly when changing Shopify themes. Here are some tips to minimize content loss and streamline the process.
#1. Back up your data
Most of you have gone through a phase where you build the Shopify website from scratch. Then you must know how exhausting and time-consuming it could be to start over again. This means that none of us would dare to lose any data appearing on the current website.
Shopify has already auto-saved most of your design and content along the way. This means that no content is lost or altered when you switch Shopify themes. However, any customizations to the source code (CSS, HTML, or Liquid Code) or the store’s URL structure might disappear. For this reason, we suggest you back up data yourselves to avoid data loss possibilities after Shopify changes the theme.
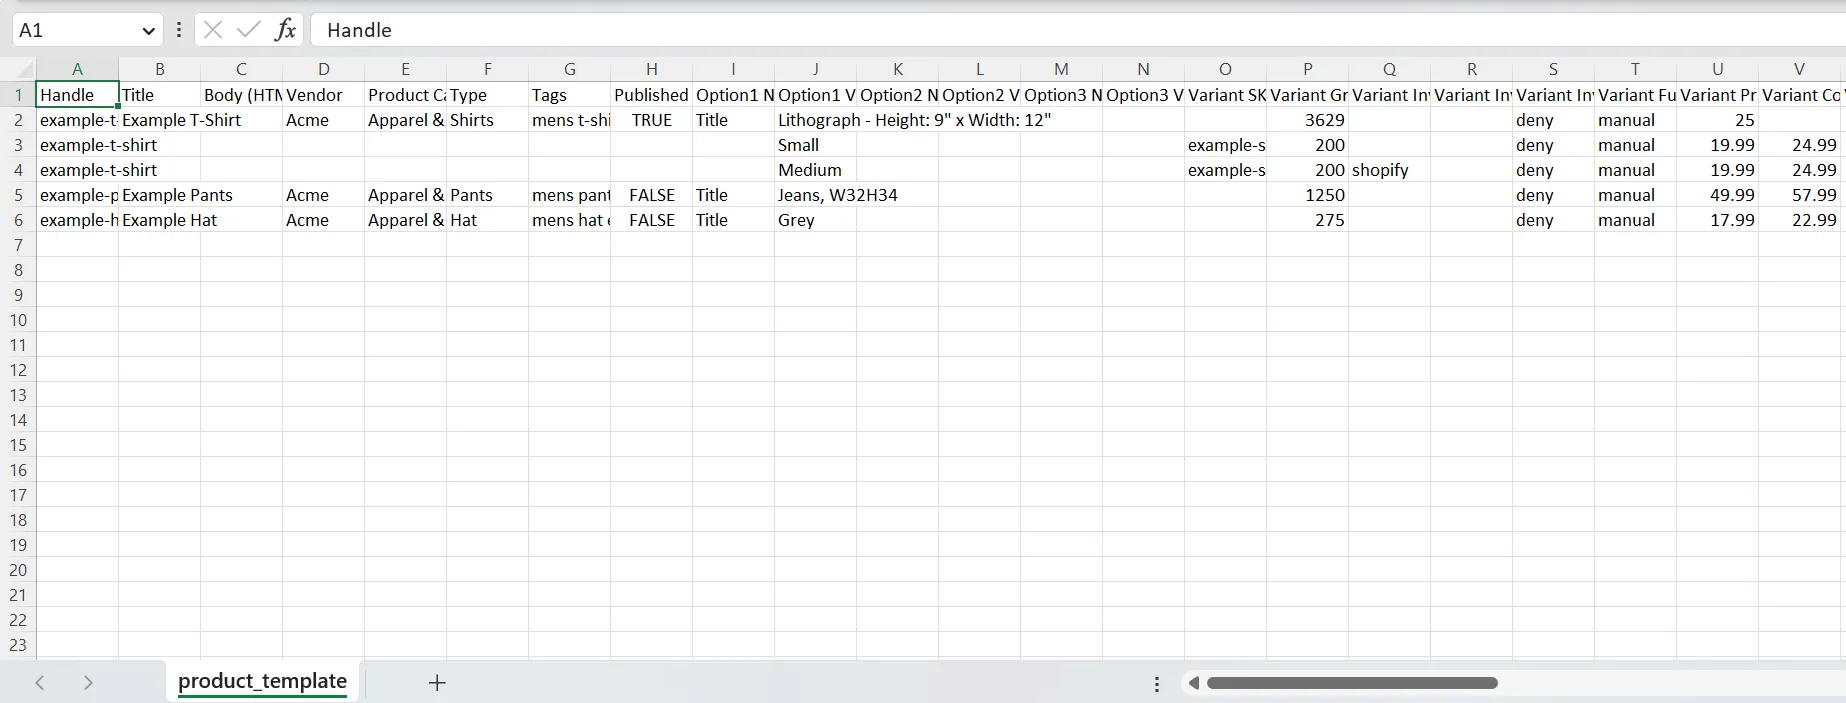
From our experience, your file should include the Products, Customers, Orders, and Theme files. These are the crucial elements that every store needs to operate their businesses smoothly.
Fortunately, Shopify has added a direct “Export” button to your main web pages. For instance, you can easily download the Shopify CSV file by clicking “Export” at the top of your Products page.

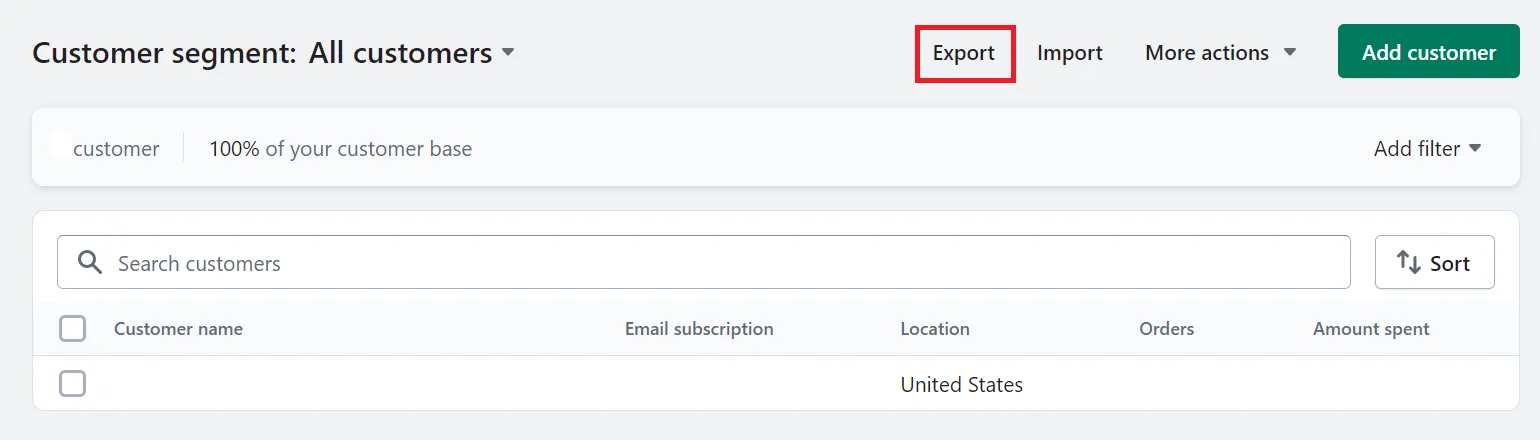
This applies the same for the Customers page, too:
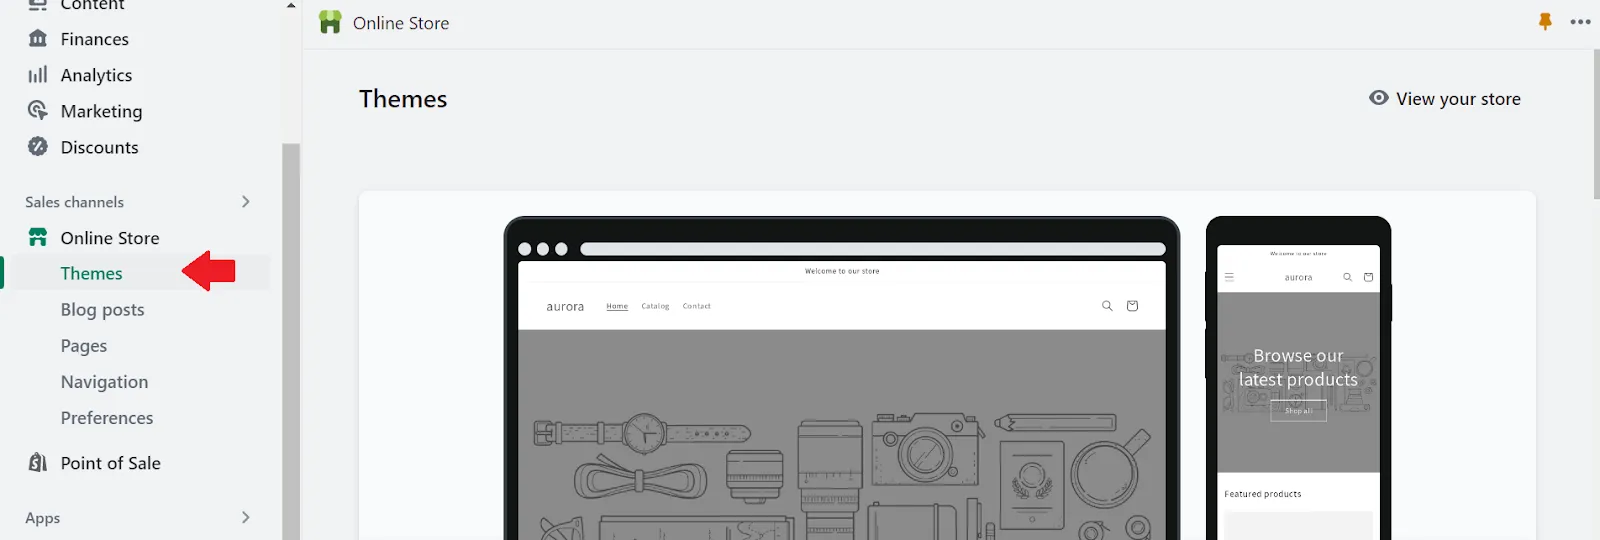
Another noticeable thing is to save your existing theme file. This way, you can still recover the old theme if the new style does not satisfy you enough. Firstly, open the Sales Channels > Online Store > Themes in Shopify page:
Scroll to the “Current Theme” section and choose “Download theme file” from the “Actions” dropdown as what we are doing below:
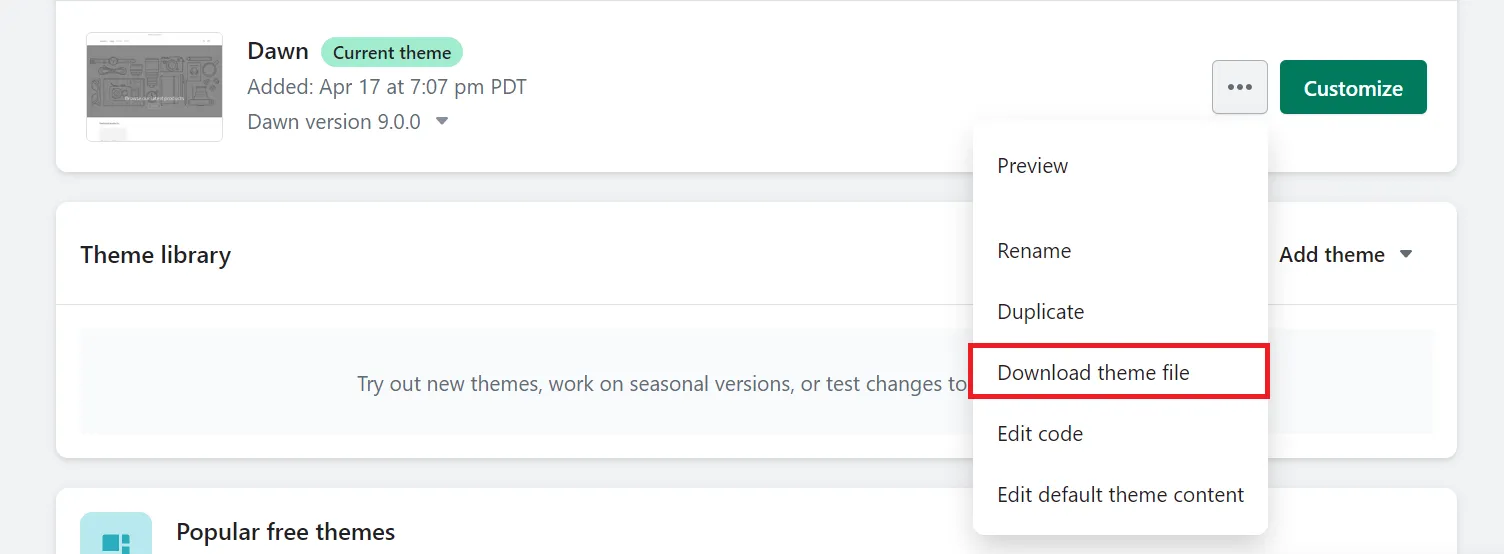
Now, the theme file has been downloaded to your device for future use.
#2. Choose a similar Shopify theme
Of course, if you are looking for steps on how to change themes on Shopify, you will need a new theme to replace the current one. Don’t worry because there are 100+ themes available in the Shopify theme store for you to choose from (free and paid).
Shopify premium themes will cost around $140 – 400. We love that most of them come with multiple customization tools, SEO optimization, and high-converting features to grasp your customers’ attention from the first visit.
After you finish backing up your website and selecting a new theme, we recommend taking note of the following before making any changes to the theme:
- 1. Capture screenshots of your homepage, product pages, and blogs to have a record of your previous design.
- 2. Create detailed notes about any custom code placements on your website to ensure you can restore them if needed.
- 3. Compile a list of all the apps that significantly modify your store’s layout or content.
How to Change Your Shopify Theme Without Losing Content?
Here we go—the part you have been waiting for! We’ll show you how to change themes on Shopify in 4 simple steps. If everything goes right, it will only take a few minutes.
Before we proceed with the steps, once again, we want to note that not all content from your current Shopify theme may be fully transferred to the new theme. This is due to the following reasons:
- 1. Each theme has a unique structure of sections and settings, so some content may not be compatible with the new theme.
- 2. Custom code added to your old theme is unlikely to be automatically transferred to the new theme.
- 3. Some apps create unique page elements or content that may not be compatible with your new theme, causing this content to be lost.
So, we will present the most optimal guide to how to change themes on Shopify with minimal content loss.
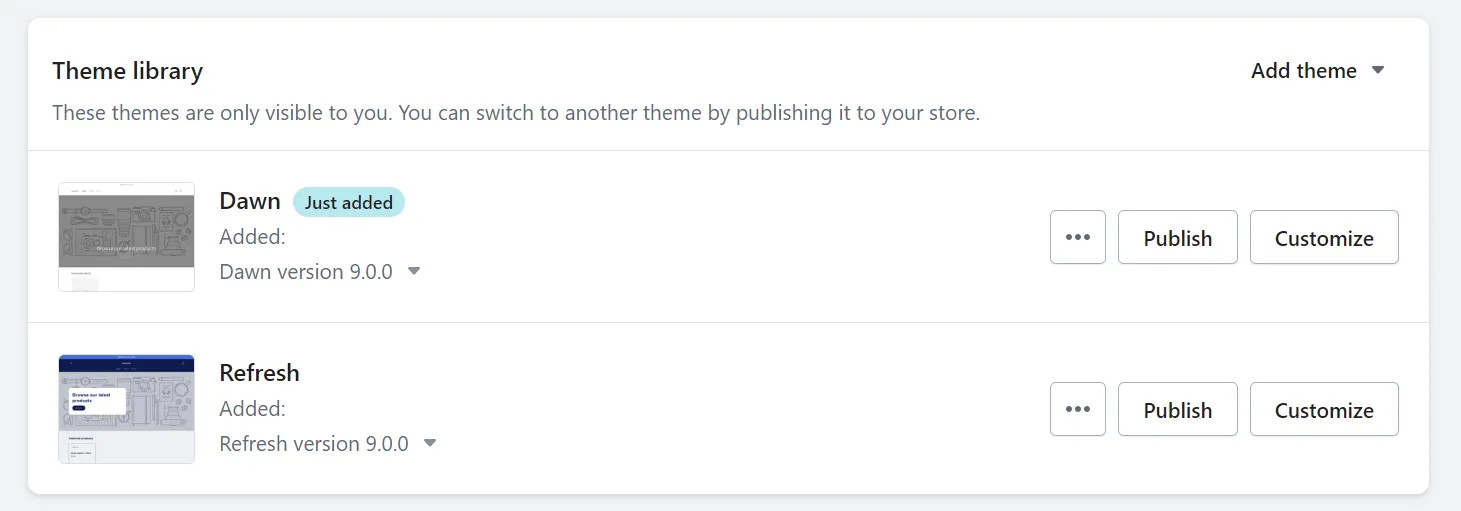
#Step 1: Get access to your Shopify theme library
Navigate to Online Store > Themes and scroll to the “Theme Library” section. All of your old, current, and new Shopify templates will be stored here. Shopify allows you to add up to 20 themes in this library:
Now, let’s replicate your old Shopify theme design in these criteria:
- Homepage layout and content blocks
- Theme settings (colors, fonts)
- Images & Product photos
- Navigation menus
- Collections
- Other sections (like blog, …)
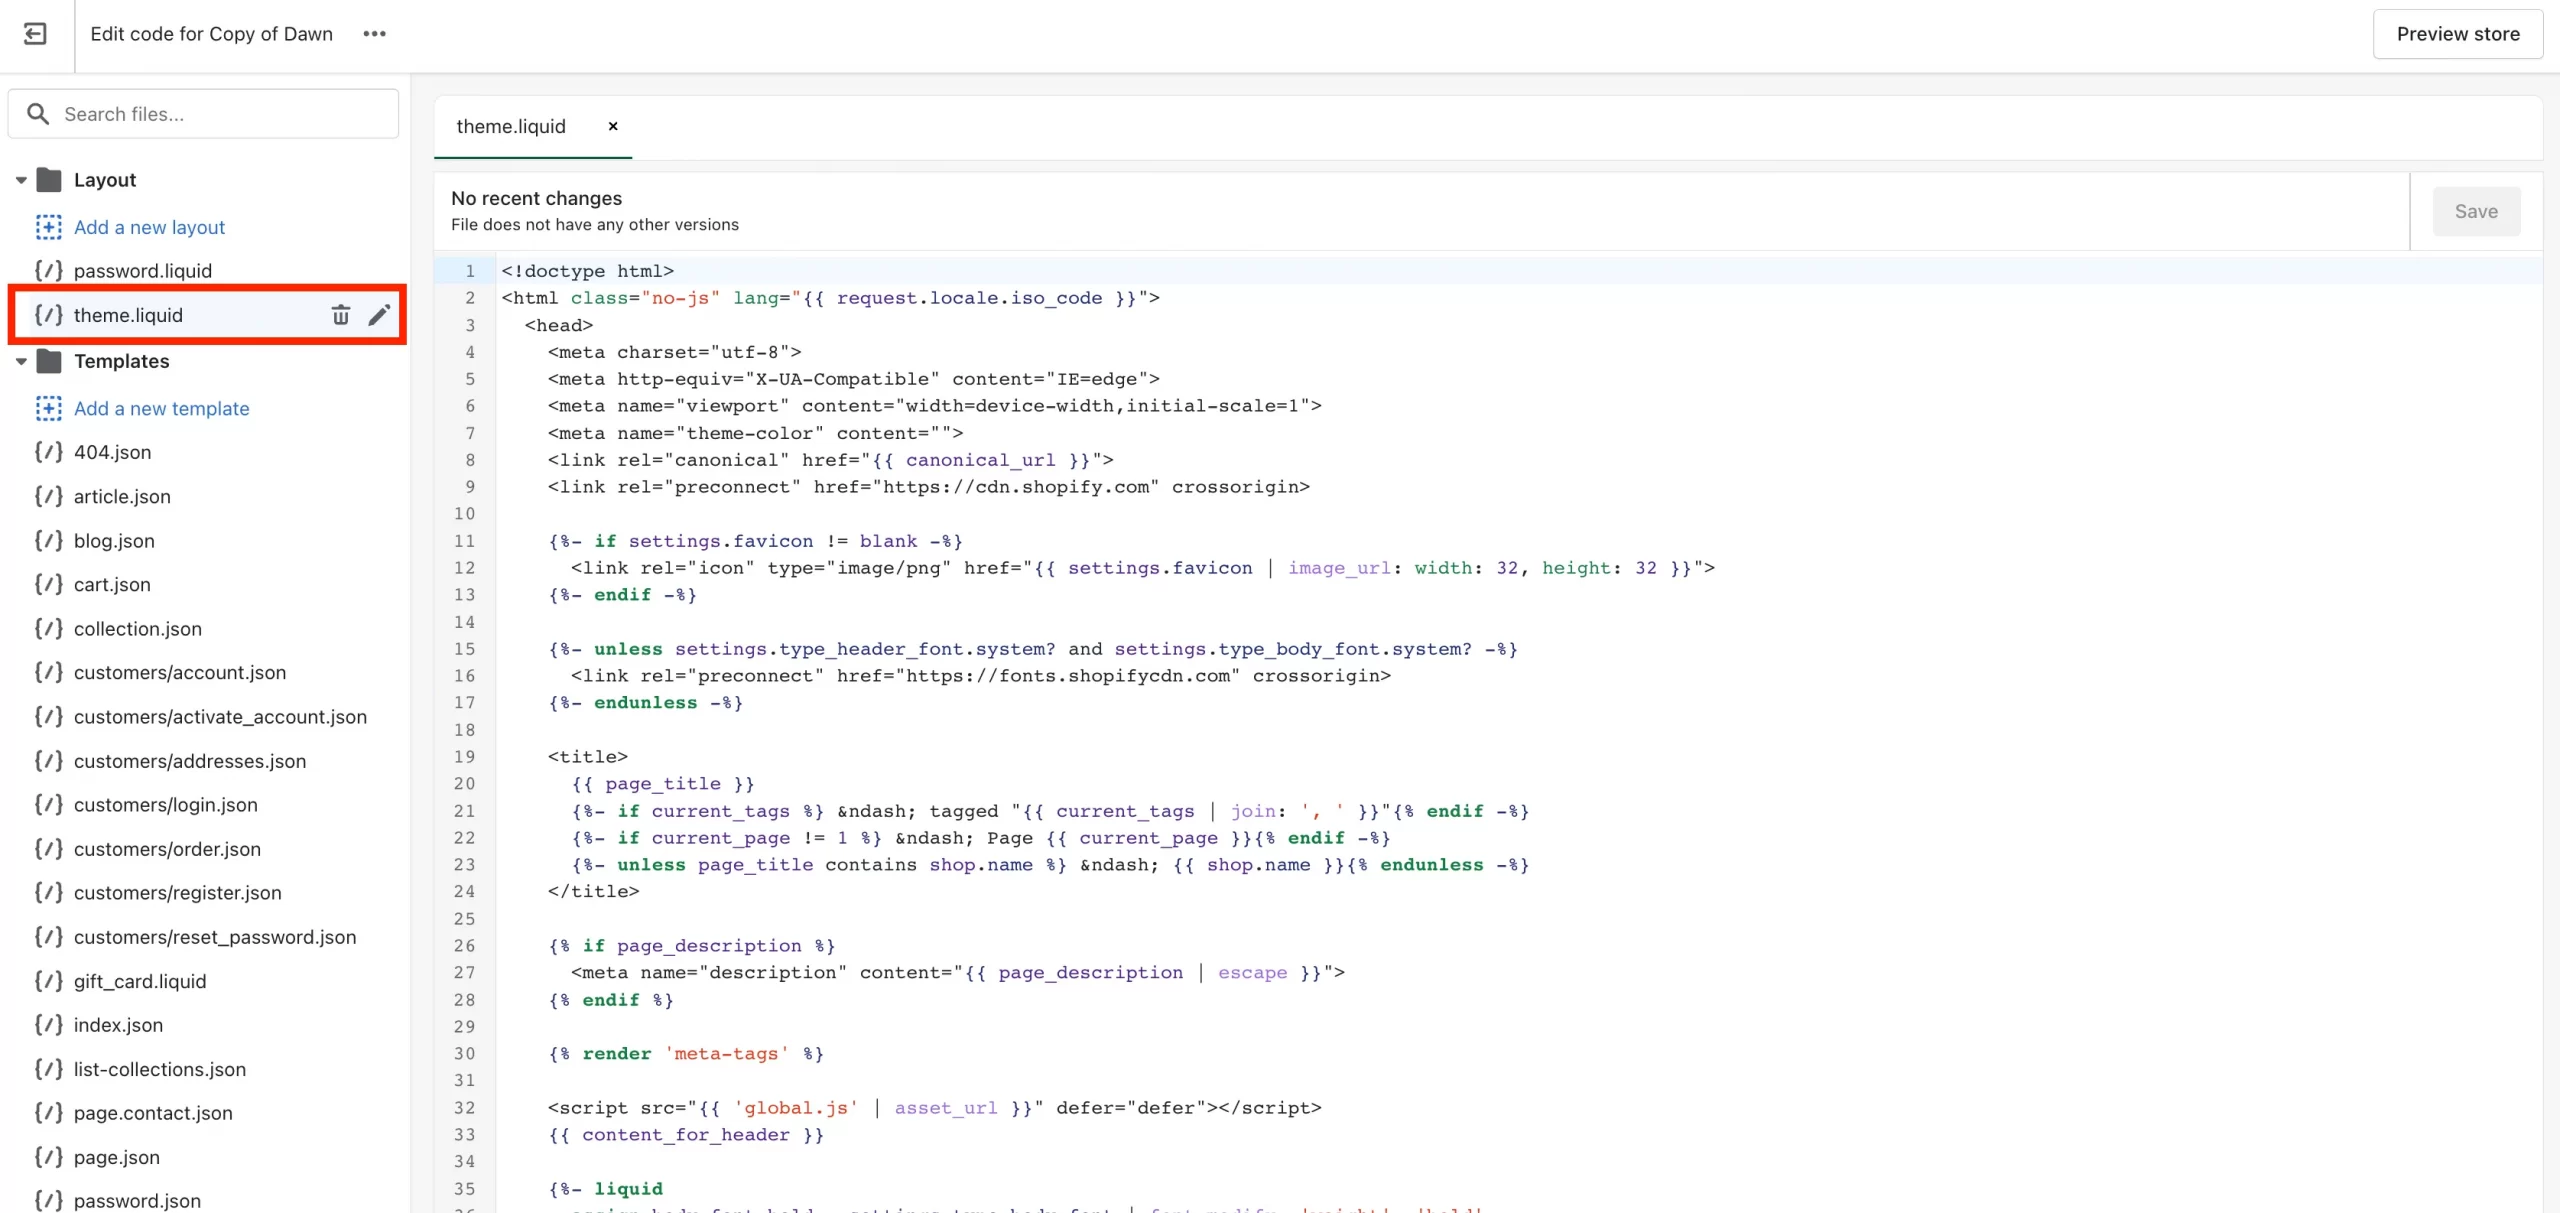
It is important to note that any custom code (HTML, CSS, JavaScript) added to your old theme may not work automatically with your new theme. The themes’ structures differ, which means that the places where you previously inserted your code may not exist or function in the same way in the new theme.
If something is missing from the new theme that can only be added via custom code or app integration, you will need to add it via the code editor.
Here’s a strategy you can use when switching Shopify themes:
- Make sure to take detailed notes of what each piece of custom code does and where it’s located in your current theme. For example, you might have placed it in the theme.liquid file or within a specific section.
- Take a look at the structure of your new theme files and try to find equivalent places where you can implement your custom code
- Finally, be sure to test thoroughly after adding each piece of code to the new theme.
Our sole recommendation here for you is to be patient, and make adjustments gradually. Then, use the preview feature to check your progress often.
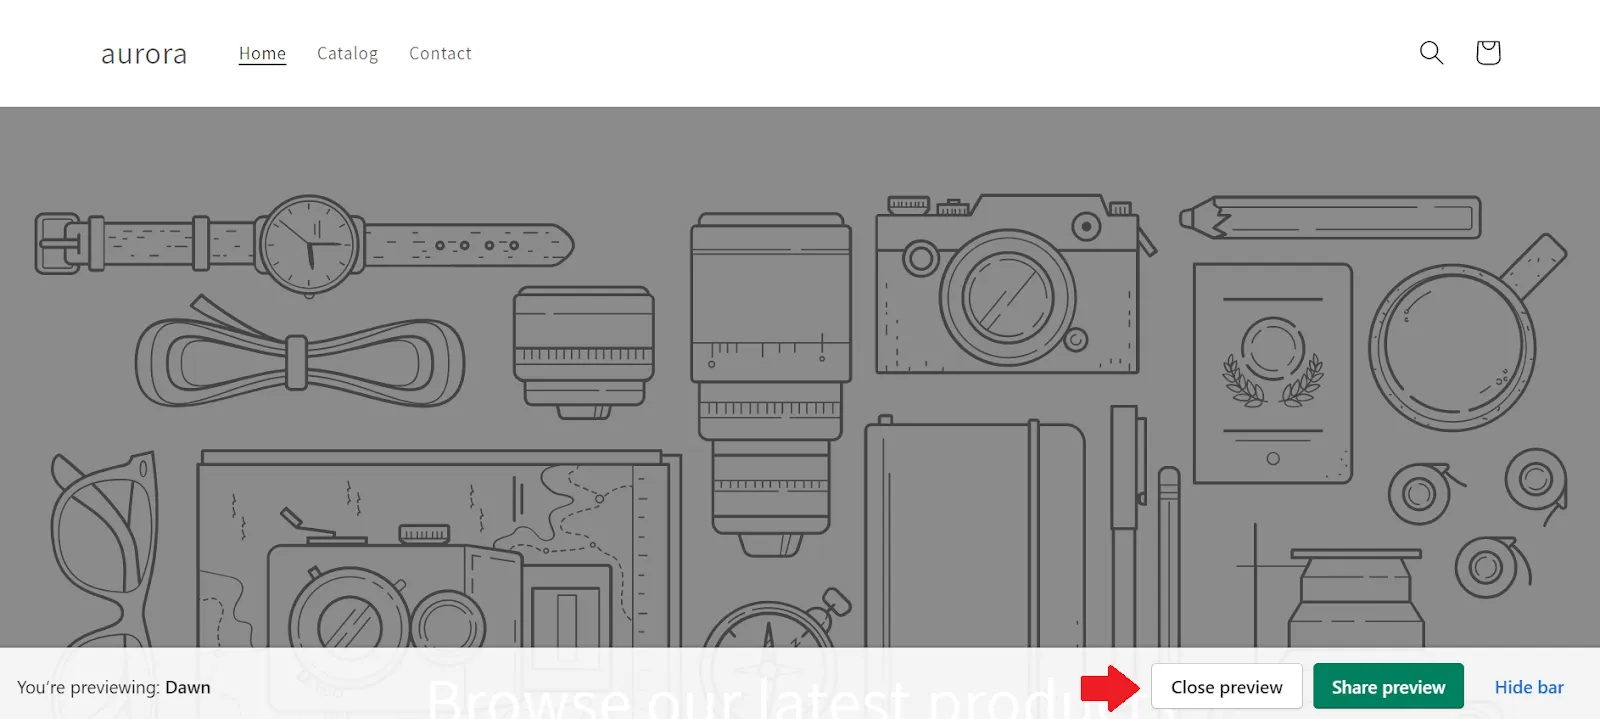
#Step 2: Preview your chosen Shopify website template
You can easily notice your new Shopify website theme at the top of this “Theme Library” section. Select the “Preview” options from the “Actions” drop-down menu to check your newly customized template before publishing:
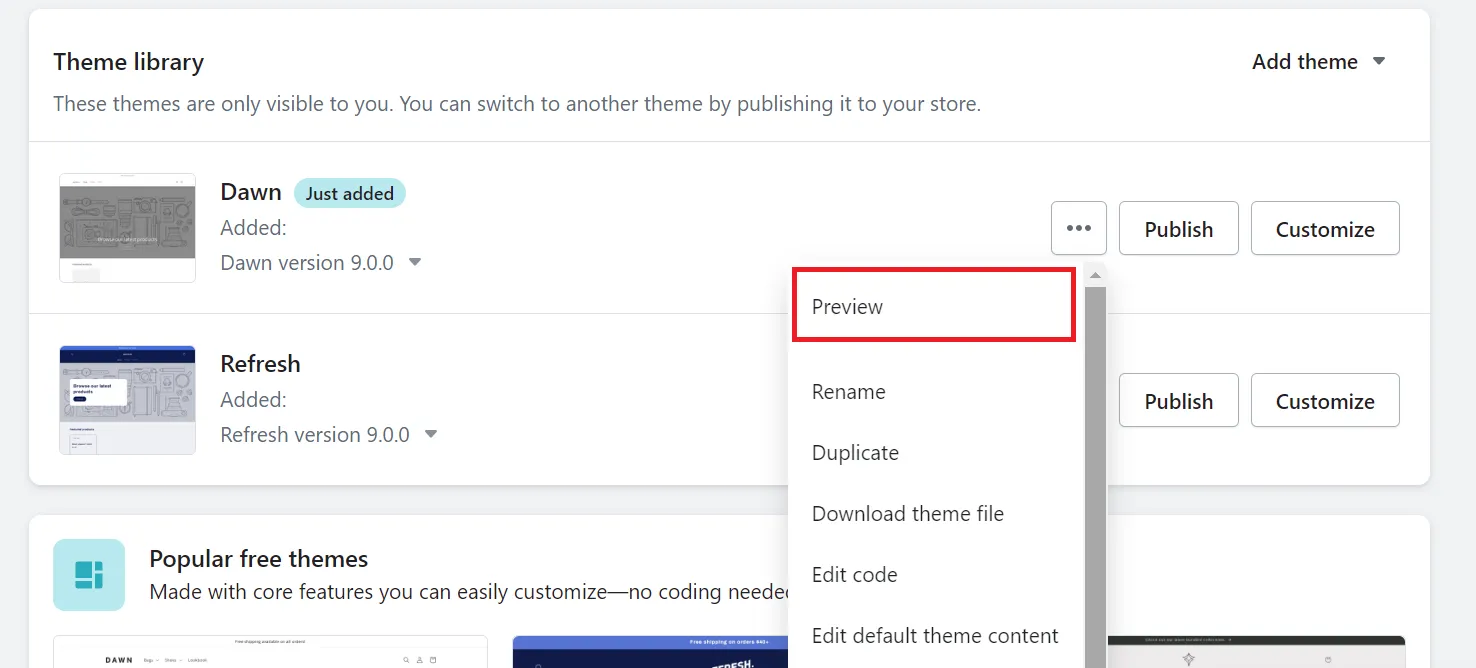
We recommend going through the site beforehand to ensure nothing goes wrong after changing your Shopify website themes. Once you have finished checking, exit the preview version by clicking on the “Close Preview” button at the bottom right corner of the screen:
#Step 3: Publish your Shopify theme
Now, it’s time to give your website a brand-new look! Hit “Publish”:
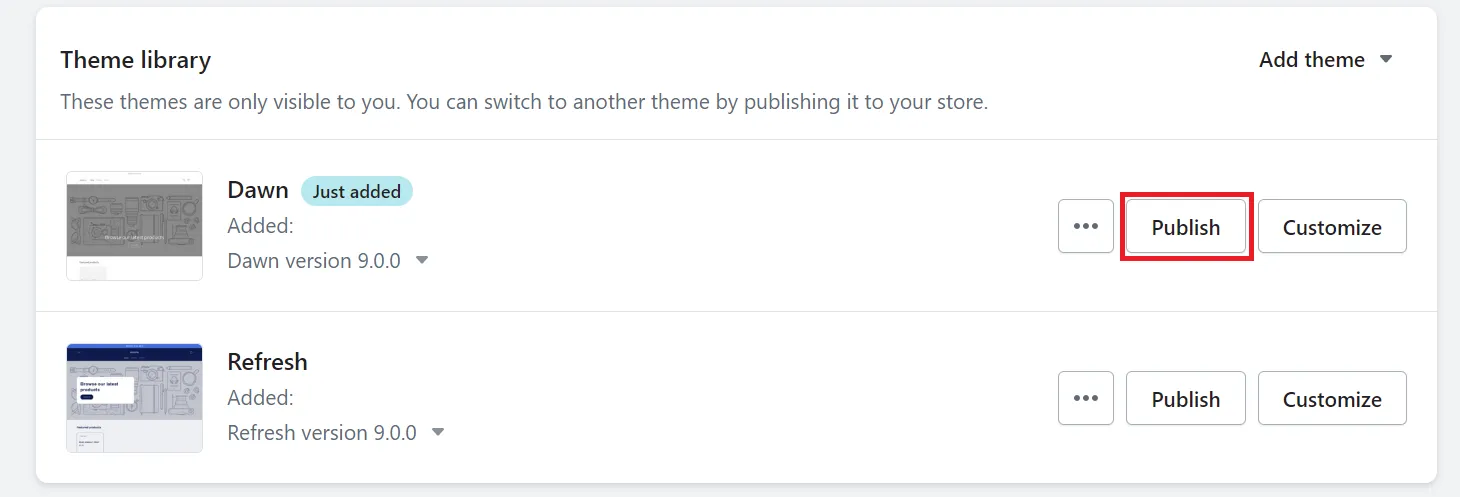
After that, a notification window will pop up on your device to confirm that you are attempting to change the current theme. Continue choosing “Publish” to allow visitors to see and use the new theme.
#Step 4: Test your live theme
For the final step on how to change themes on Shopify, you should test your live theme to ensure that your customers receive the best shopping experience. Doing this can fix possible issues on time (if needed).
Other Risks of Changing Your Shopify Theme
#1. User experience disruption
When considering a new theme for your Shopify website, it’s important to keep in mind that customers may need some time to adjust to the changes. If the new theme is significantly different from the old one, it could initially be confusing for shoppers to navigate. This could lead to higher bounce rates as customers may leave the site if they feel lost or frustrated.
It’s worth noting that new themes may have different ways of handling product filtering, search, or the checkout process, which may take some time for shoppers to get used to. Therefore, you need patience and clear communication.
#2. SEO impacts
New themes can alter your site’s URL structure, navigation, heading tags (H1, H2, etc.), and how content is organized. These changes may temporarily affect your search engine rankings.
Certain website themes may not be optimized as well as others. A theme that takes longer to load can negatively impact user experience and search engine optimization, especially on mobile devices. If a website theme is not optimized for mobile devices, it can hurt the website’s search engine rankings since search engines prioritize mobile-friendly websites.
#3. Increased development time and costs
When you switch to a new theme, you might find that it doesn’t exactly match your previous design. This presents an opportunity to customize and enhance your store’s look and feel, which can elevate your brand presence and attract more customers. While this might require some additional resources and time, the payoff can be significant.
How To Change Themes on Shopify – Recap
We must say that the steps on how to change Shopify theme were not as difficult as you might think. By altering the theme settings Shopify, you will be able to impress visitors and increase your conversion rate in no time. As we have taken you through the tutorial, here’s a quick recap in case you need it:
How to change themes on Shopify in 6 steps:
- Back up your data
- Choose a suitable theme
- Open the Theme Library
- Preview your new template
- Publish the design
- Test the live version
Final Thoughts
If you go into the process with a clear idea of what you and your customers want, switching to a new Shopify theme has never been easier. Hopefully, our article today on how to change themes on Shopify has helped you to update your brand aesthetic and functionality. As a result, you can boost your conversions and gain higher profits.