Shopify and BigCommerce are two of the biggest names in the eCommerce market. If you know a thing or two about eCommerce, then you may have paid attention to Shopify. However, there is still room for improvement when it comes to Shopify’s SEO. Also, many merchants also find it cumbersome to process the checkout payments due to Shopify’s transaction fee.
If you are having trouble with your current Shopify store and you will want to migrate to a more supportive one, BigCommerce seems to be an ideal solution for you. It’s a reliable online platform that helps you grow your business effectively and efficiently.
In this article, LitExtension – #1 Shopping Cart Migration Expert will walk you through 6 short steps to migrate from Shopify to BigCommerce in minutes with the help of LitExtension:
- 💡 Step 1: Backup data from Shopify
- 💡 Step 2: Create a new BigCommerce store
- 💡 Step 3: Set up Source Cart and Target Cart
- 💡 Step 4: Select entities you want to migrate
- 💡 Step 5: Migrate from Shopify to BigCommerce
- 💡 Step 6: Perform post-migration activities
Let’s dive into each step to see what you need to do!
Need Help To Migrate Your Store?
If you are intending to migrate from Shopify to BigCommerce, LitExtension offers a great migration service that helps you transfer your data from the current eCommerce platform to a new one accurately, painlessly with utmost security.
How to Migrate from Shopify to BigCommerce
Shopify to BigCommerce Migration – The Preparation
#1. Back up data on your Shopify store
Firstly, it’s important to back up your data before making any changes to your store. However, you do not need to worry about any distortion of your database when migrating to the BigCommerce store with LitExtension. We can assure you that we won’t edit any information in your Source store in any way. The backup process will take place securely and accurately.
Yet, having a backup for your Shopify store is still a recommended practice to ensure the security of your business-critical data.
There are 3 common ways you can go about backing up and restoring your data:
Option 1: Manually back up Shopify data by using CSV files.
However, you should keep in mind that you cannot export your entire store – just parts of it. It can only export products, customers, orders, gift cards, discount codes, and themes. For the rest, you need to handily copy and paste to CSV files. You can check out our article on BigCommerce import CSV files for clear guidance.
Option 2: Building a Backup Solution for Shopify store using Shopify’s public APIs.
Once you have a better understanding of the APIs that are available, you can plan out how to leverage them to get all the available information from your store. However, one of the biggest challenges you have to face is keeping up with Shopify’s changing APIs. This means that if you build a backup solution today, it may become broken soon due to its incompatibility.
Option 3: Using Automated Backup for Shopify – Rewind.
This is the ultimate backup and data recovery solution that is recommended by Shopify and Shopify Plus. It is able to do this by using all of Shopify’s public APIs to ensure that it can provide the most holistic and accurate backup for your store. Rewind continuously works with these APIs and is on top of every change that comes along.
#2. Set up a new BigCommerce store
After backing up your files successfully, it’s time to create a new BigCommerce home and begin your migration.
Firstly, you need to register a new BigCommerce account by filling out the form to get started. This platform offers a 15-day free trial with no credit card needed and no strings attached.
Next, enter your email, create a password, provide your proposed or existing store’s name, and answer a few simple questions abou/t your business. After that, you will be directed to your BigCommerce dashboard, where you will learn how to build an eCommerce website.
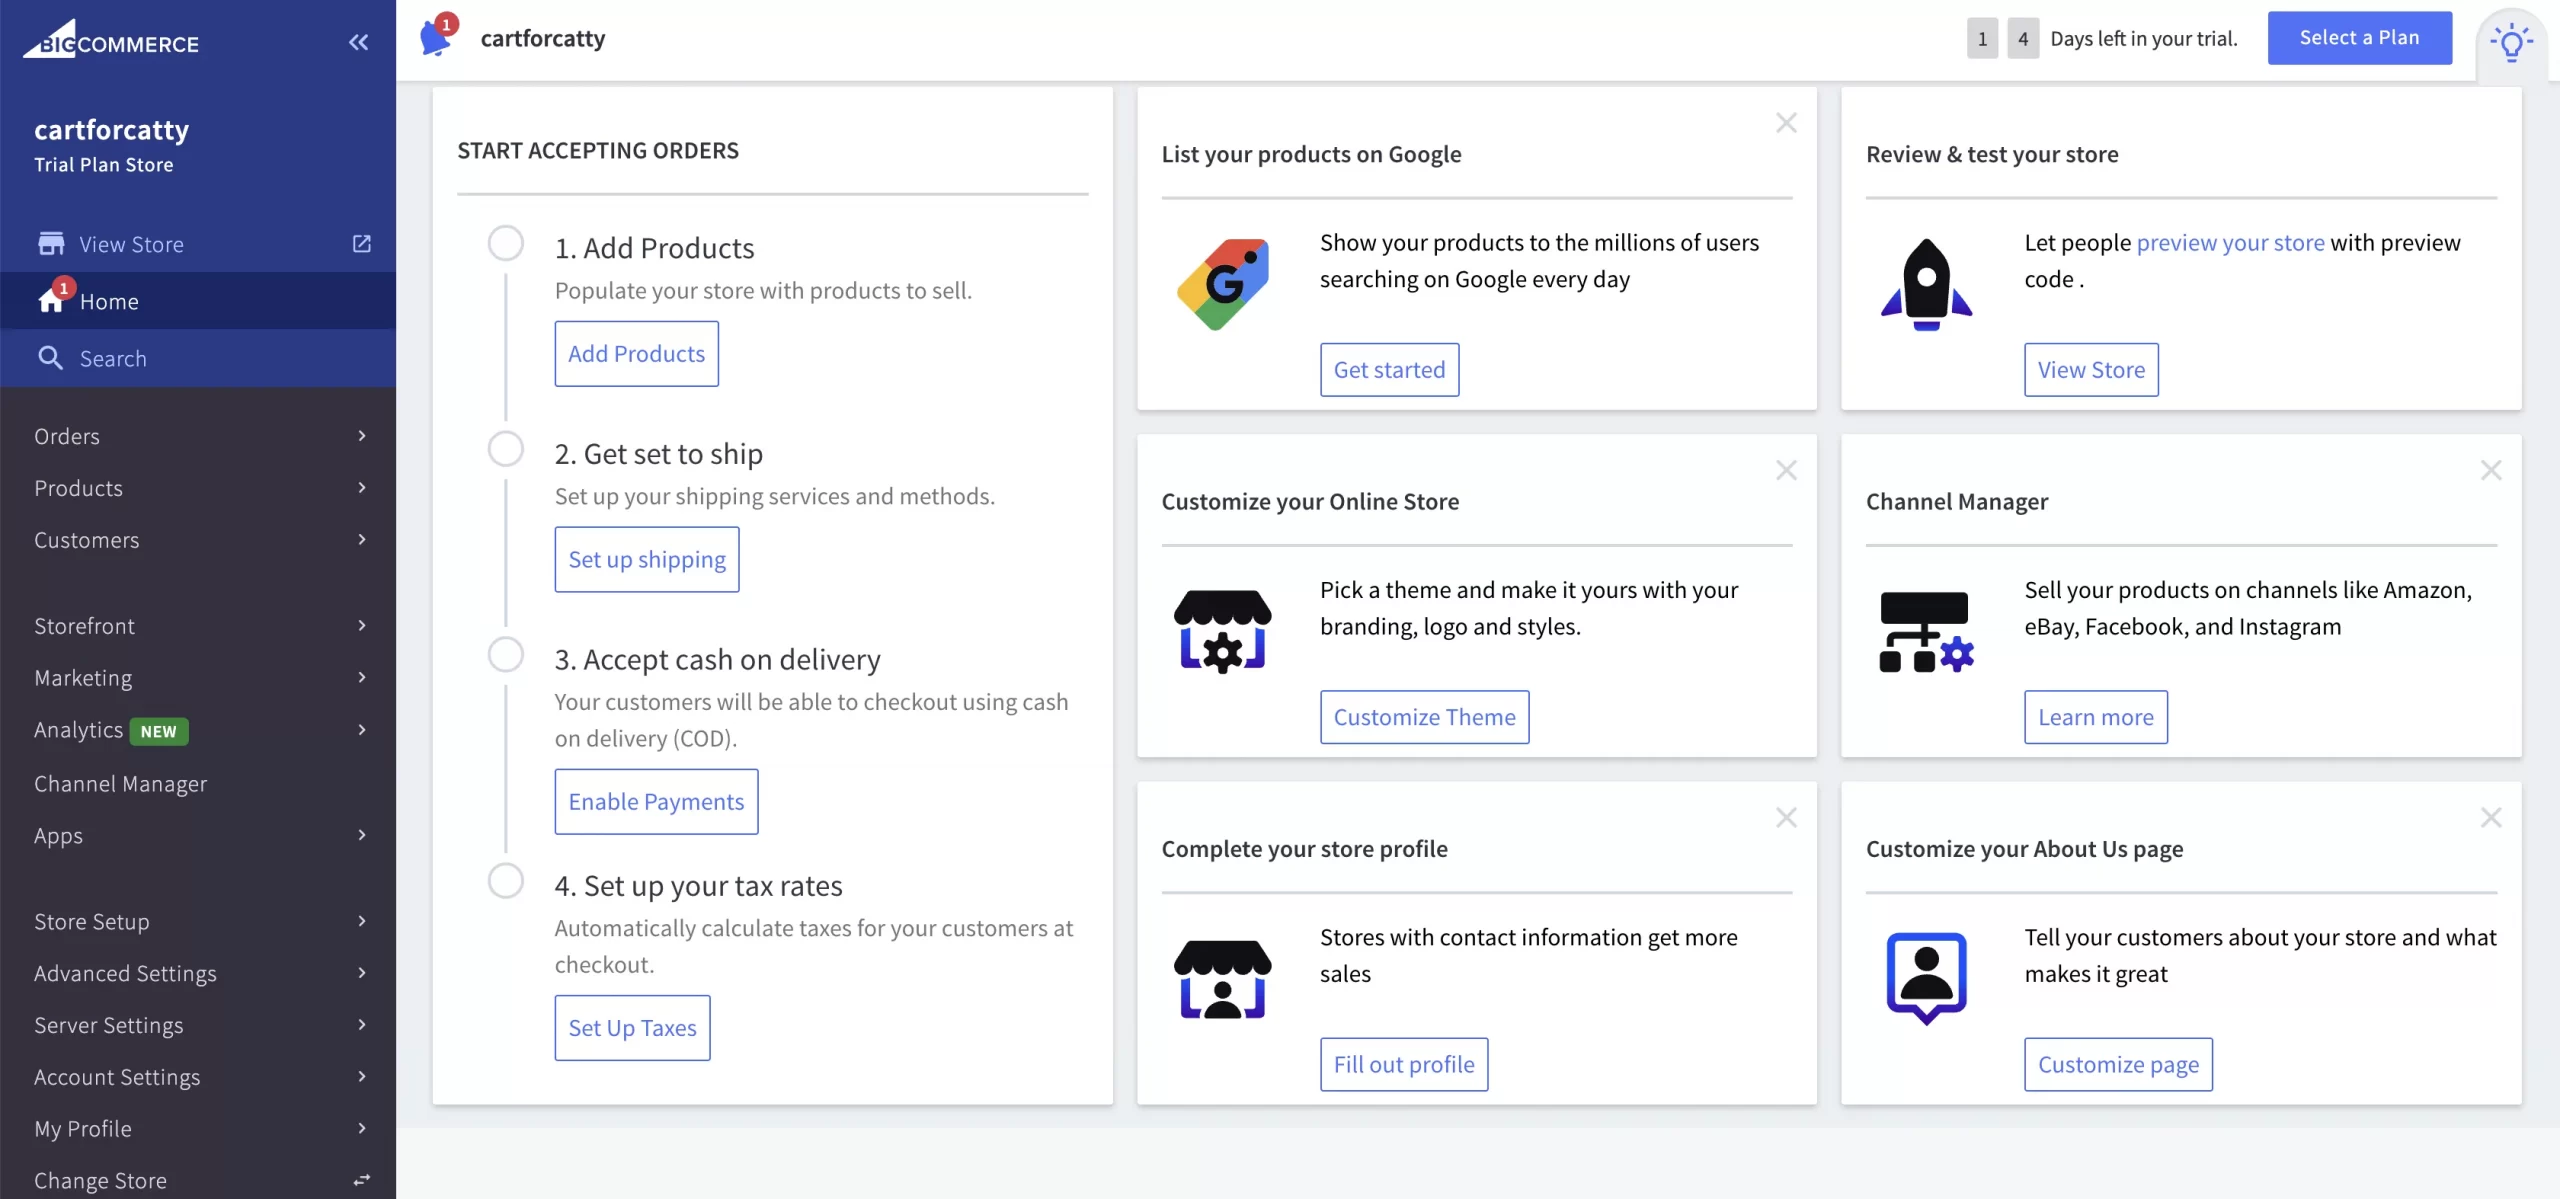
You don’t need to worry about BigCommerce advanced features while building and launching your store. Luckily, BigCommerce support team is always available to help you via phone and chat 24/7 whenever you have specific questions about any feature.
How to Migrate from Shopify to BigCommerce in 3 Steps
To begin with, LitExtension allows you to migrate data from one eCommerce platform to another robust one using our automated migration service. With 12+ years of experience, LitExtension guarantees to satisfy all merchants’ needs to perform the transfer speedily, seamlessly, and accurately. We provide migration services among 140 platforms, such as migrating from Magento to BigCommerce, WooCommerce to BigCommerce, etc.

Furthermore, if you don’t have plenty of time to run the migration process, you can always hand over the task to our specialists using our All-In-One migration full service. With a very affordable price and a Personal Assistant, we can guarantee a smooth store transition for you.
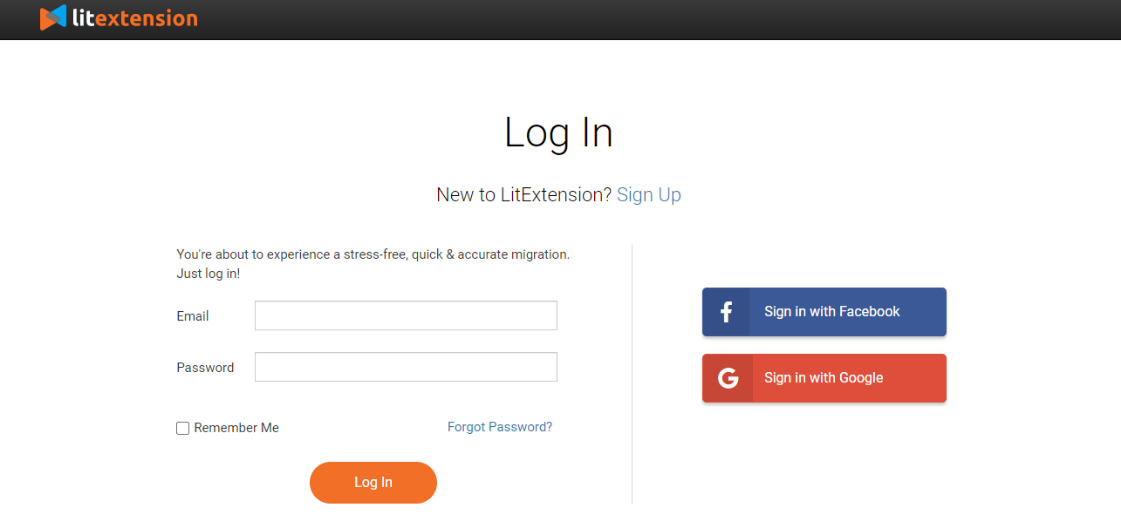
First and foremost, you need to login to LitExtension using email and password. You can choose to sign in with Facebook or Google to save time.
Step 1: Set up Source Cart and Target Cart
Now that you have a new LitExtension account, you can create your new migration from Shopify to BigCommerce by simply clicking on “Create New Migration”.
In the migration setup page, you need to enter the Shopify source store information, including your store URL and your API password.
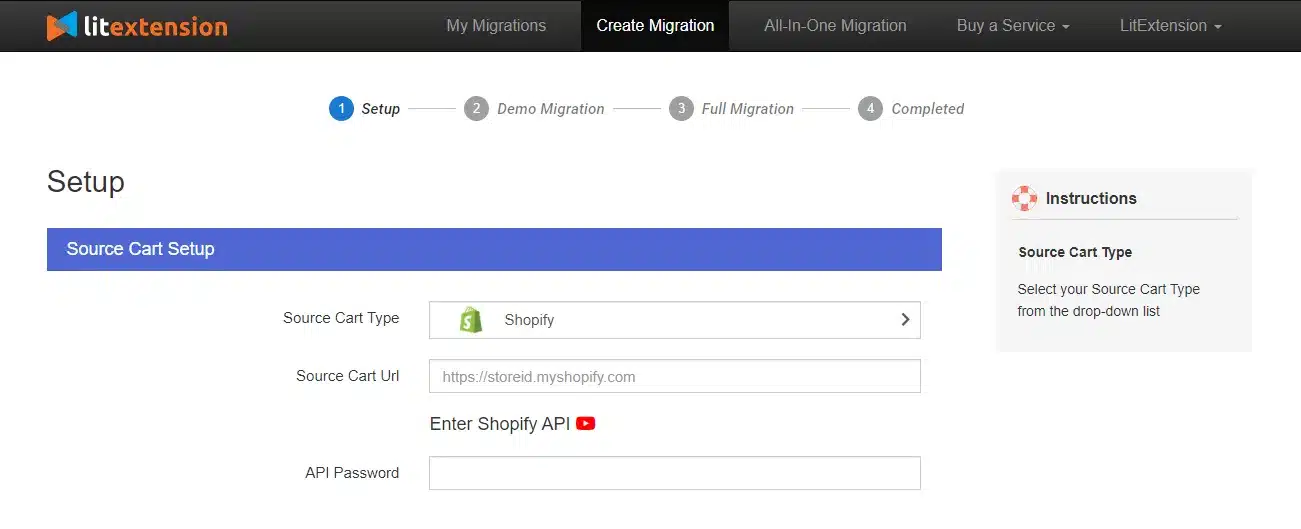
In case you don’t know how to get an API password from your Shopify store, watch this video to get the job done easily:
Next, moving to the Target Cart, choose BigCommerce from the drop-down list. Then enter your store URL. For this platform, you also need to provide us with your API Path, API token, and Client ID/Username.
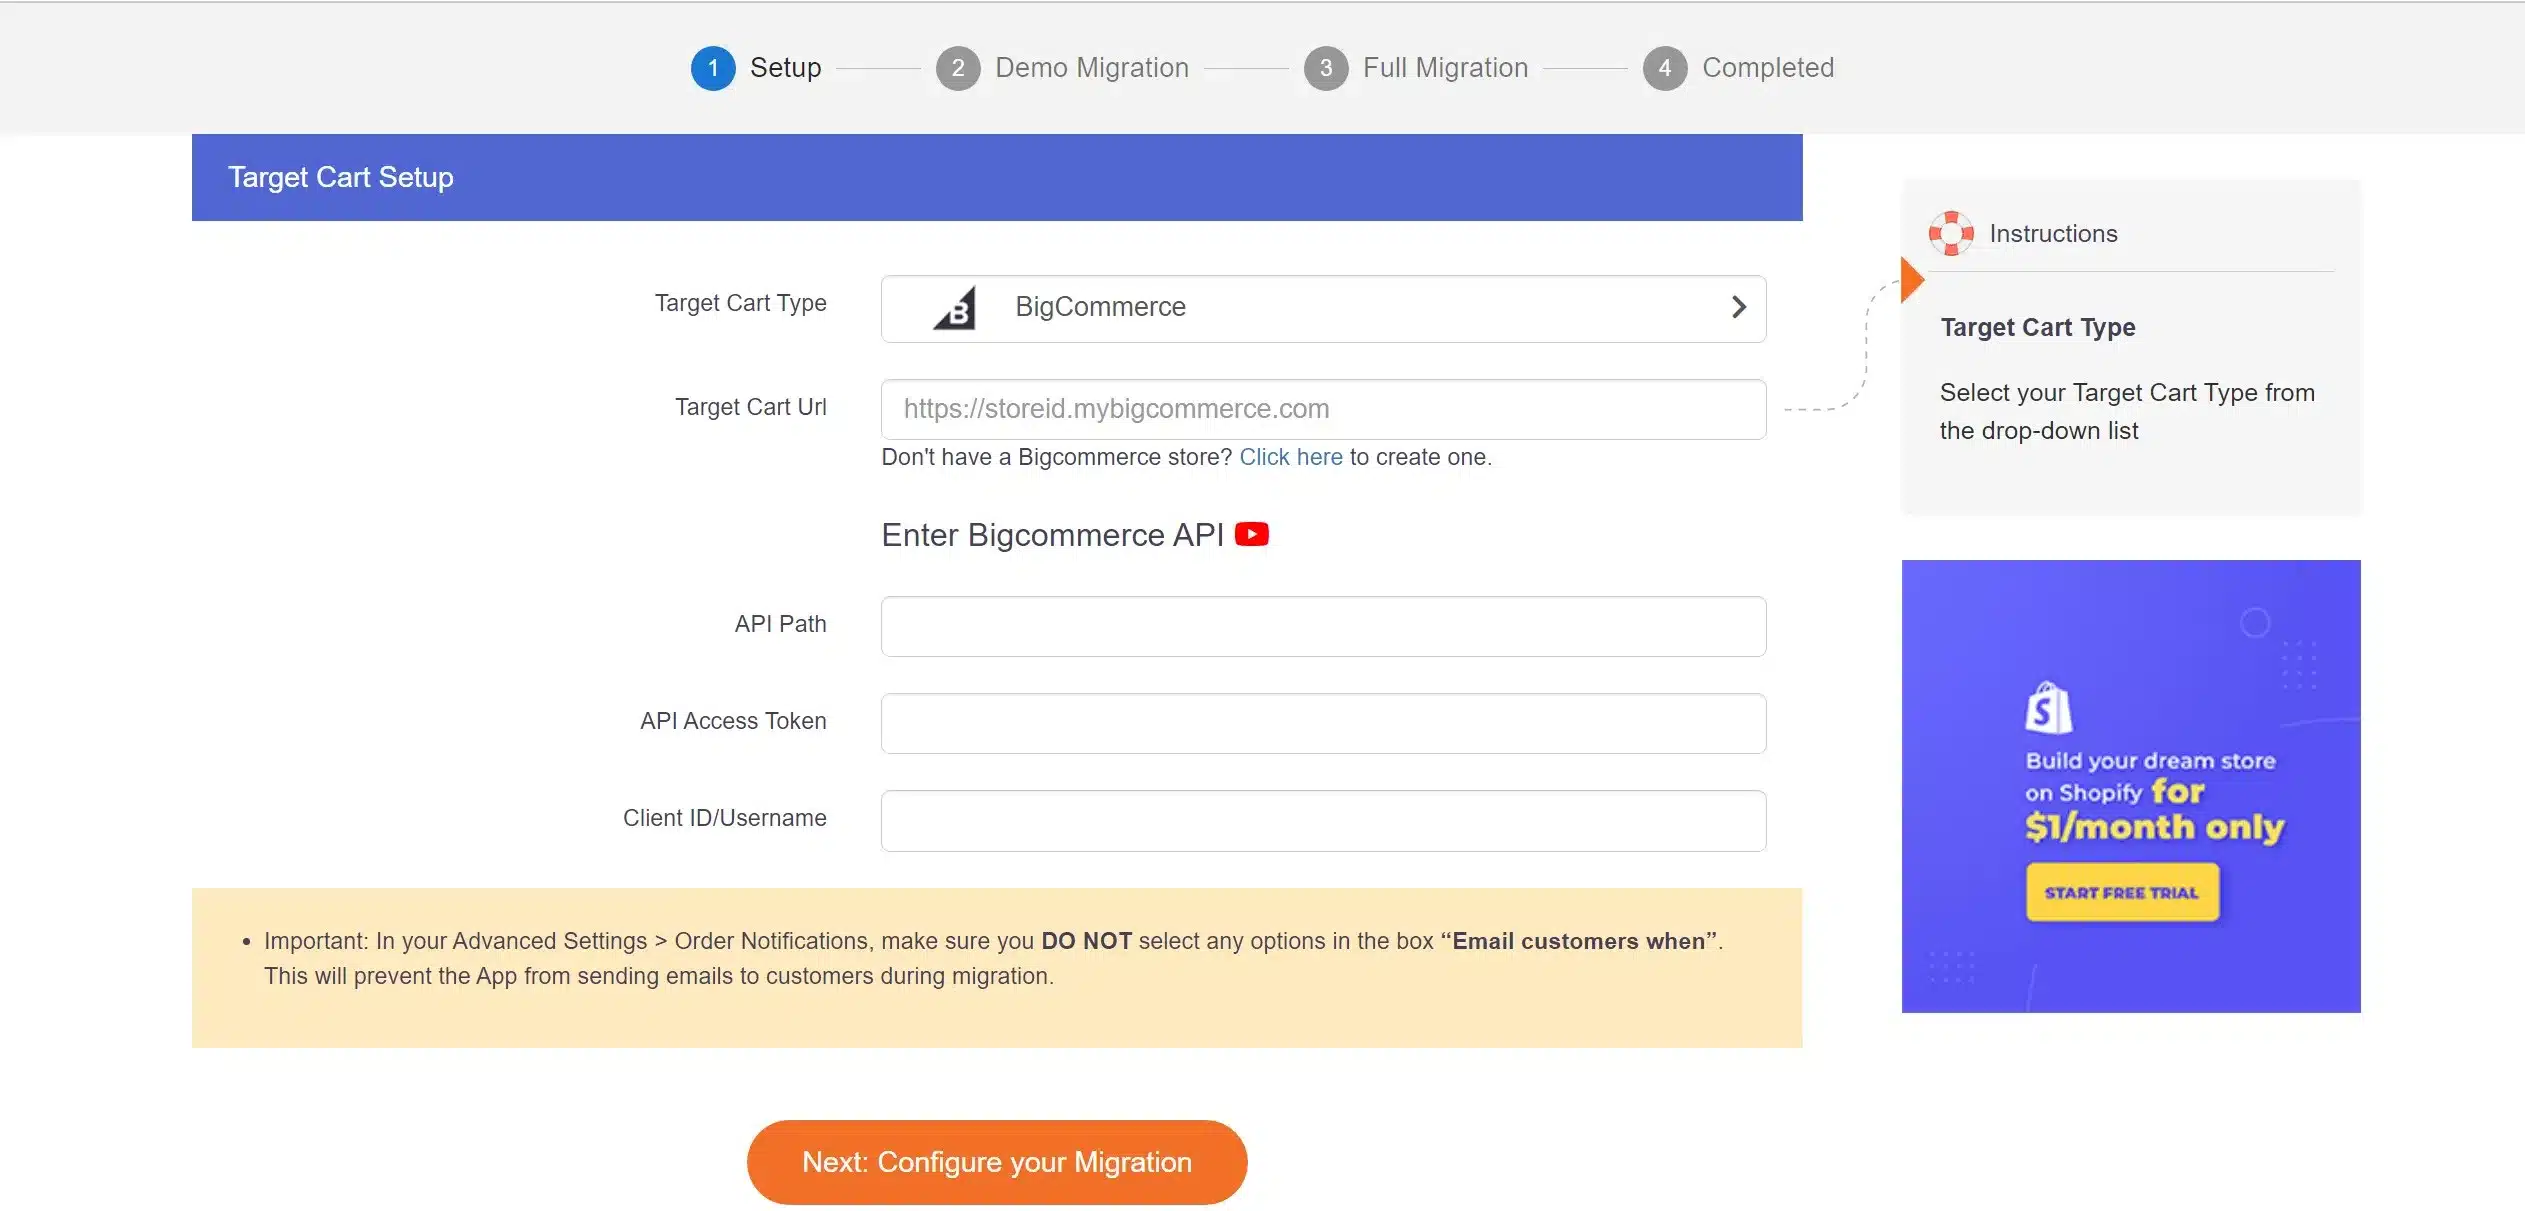
Important note: In your Advanced Settings > Order Notifications, make sure you DO NOT select any options in the box “Email customers when”. This will prevent the App from sending emails to customers during migration.
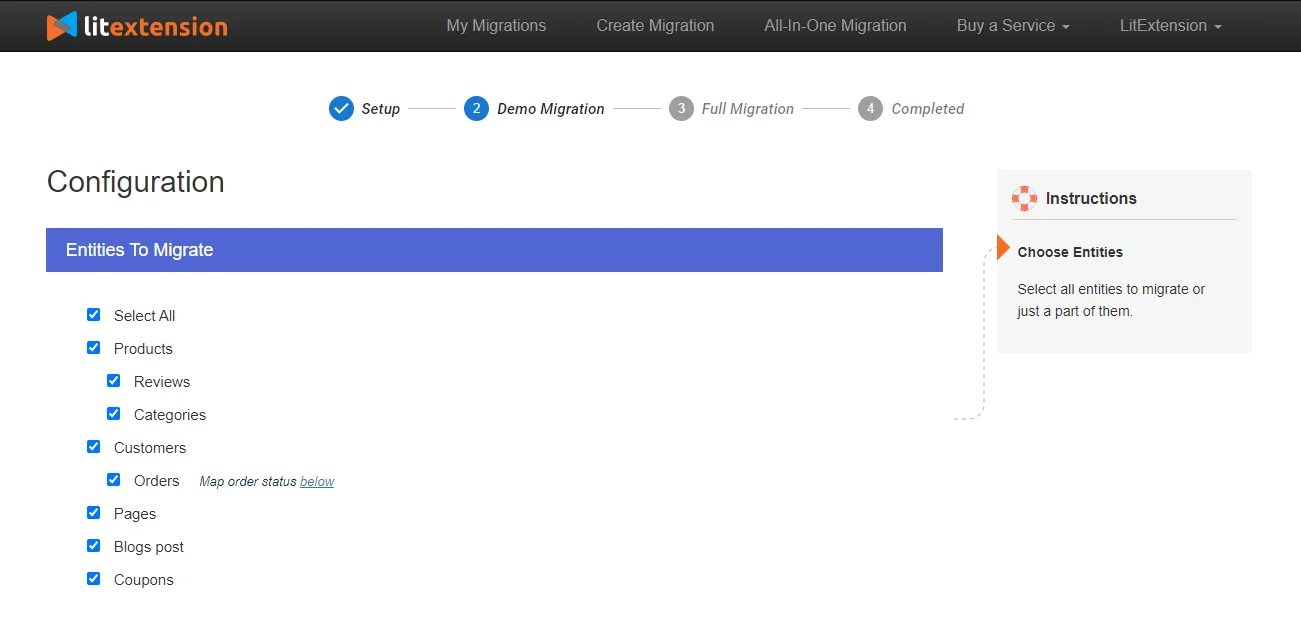
Step 2: Select entities and additional options
This is where you choose entities that you want to migrate from Shopify to BigCommerce. LitExtension allows you to transfer all of the important data, including products, customers, orders, and so on. You can select either all of them together or some certain data.
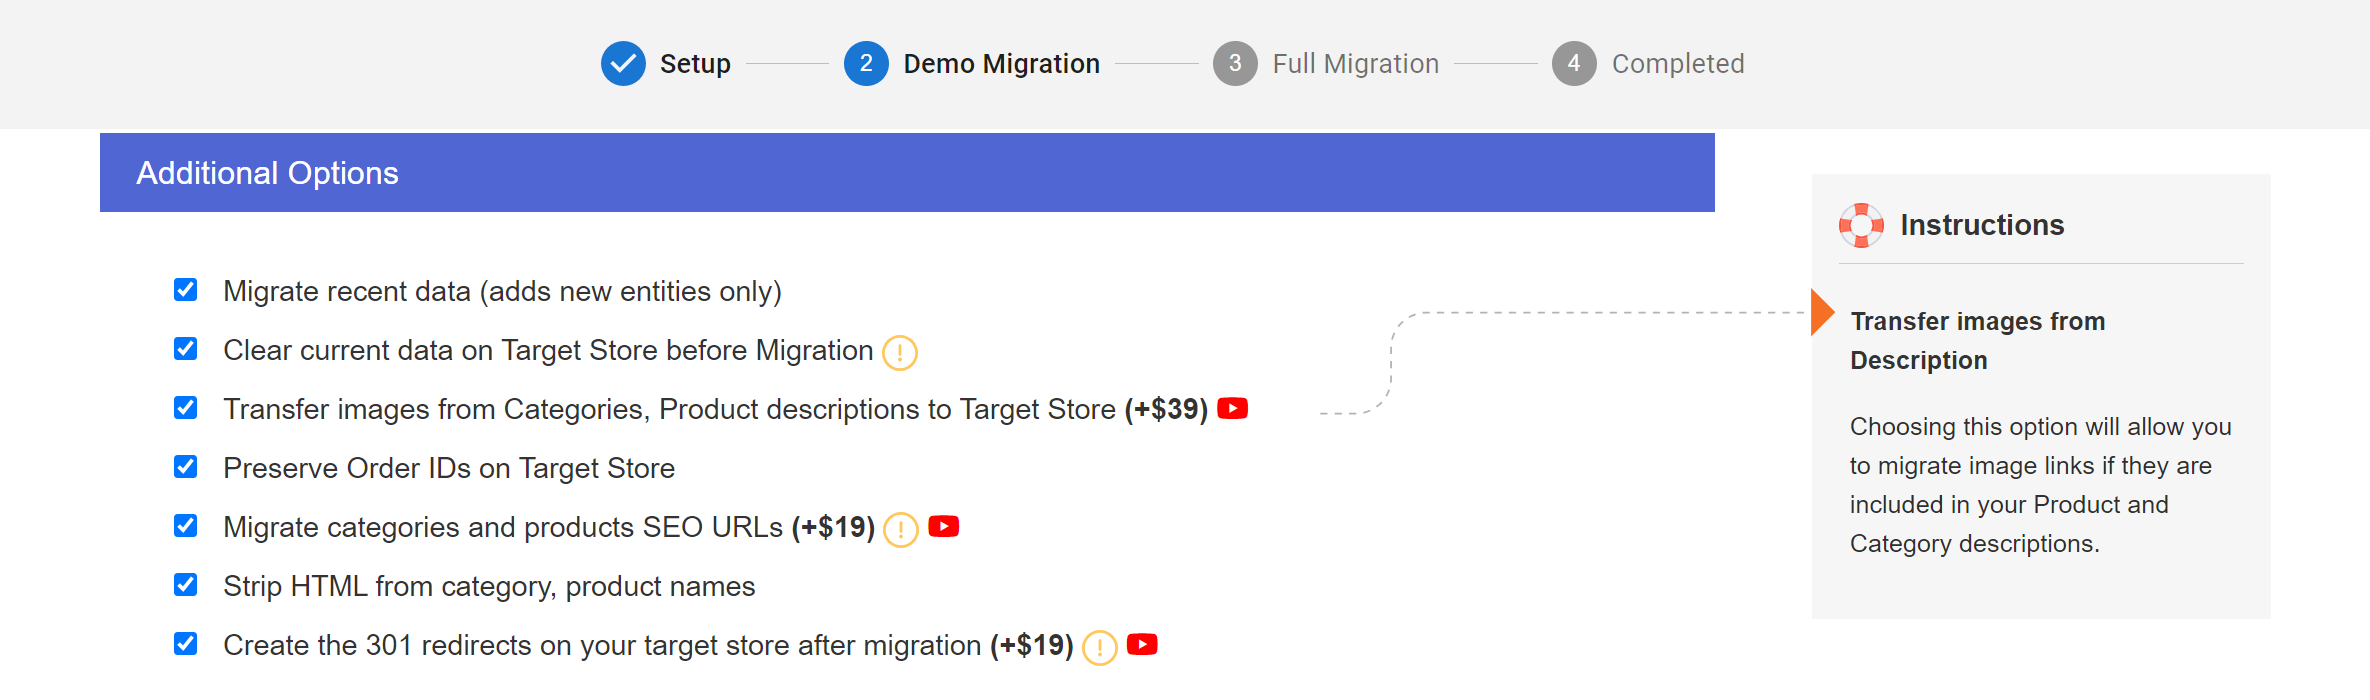
LitExtension also provides Additional Options here to extend your migration potentials, such as preserving product IDs on Target store, Strip HTML from category, product names.
You can also perform language mapping to ensure that your new store will display correspondingly.
Step 3: Migrate Shopify to BigCommerce
We highly recommend you try a demo first to see how our system works.
Also, you can choose the “Skip Demo Migration” button to perform full migration right away. Once the migration starts, it will run on the server smoothly.
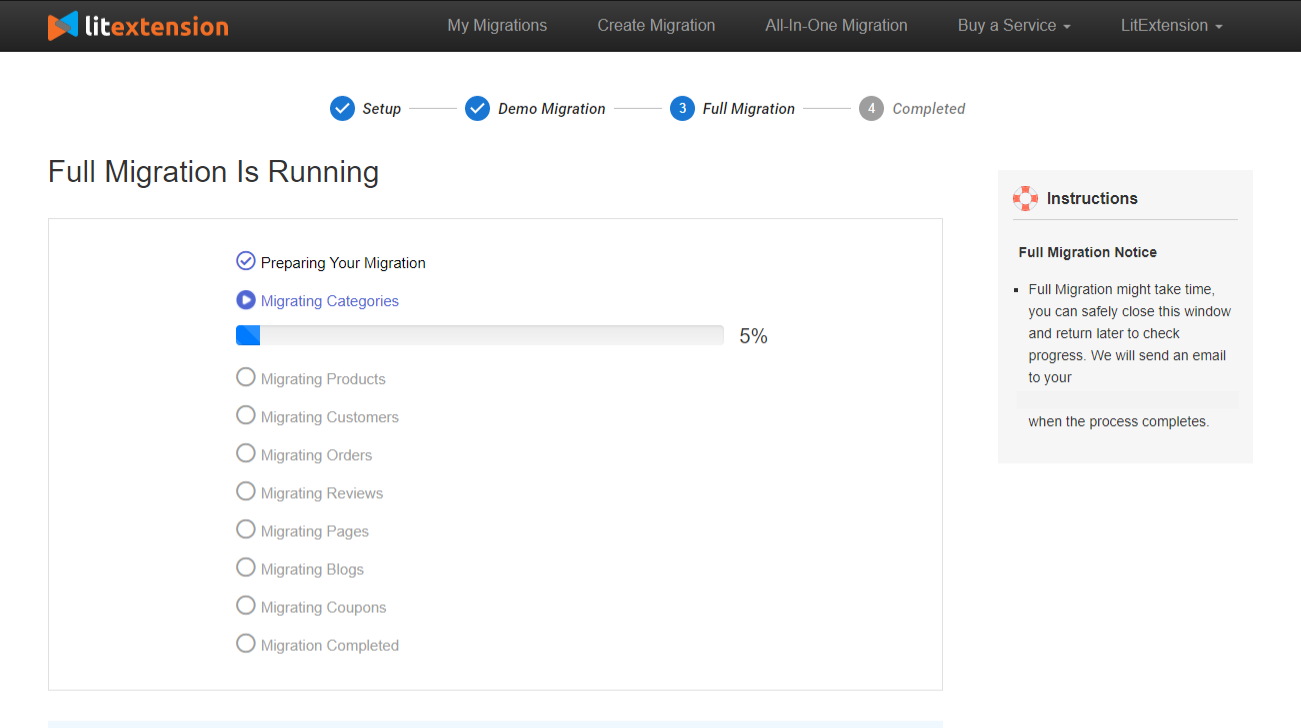
There’s no need to keep your PC on while the process is running, it’s completely safe to turn it off! Just relax and have a cup of coffee, you will receive a notification email when the migration is completed.
Want To Migrate To BigCommerce?
If you are intending to migrate to BigCommerce, LitExtension offers a great migration service that helps you transfer your data from the current eCommerce platform to a new one accurately, seamlessly and securely.
Post-migration Activities
Finally, some steps need to be taken for your store to go live. Here is the checklist to set up your BigCommerce store after the platform migration.
#1. Migrate newly appearing and edited data
During the migration process, LitExtension still keeps your old Shopify store running normally. Thus, you still receive new orders and customers while setting up your new BigCommerce site. This is when our services, such as Recent Data Migration, Smart Update, and Re-migration come in handy.
- Recent data migration helps you transfer all the data that have newly appeared or added in your Shopify during and after the migration.
- Smart Update allows you to update data that has been edited and, at the same time, migrate those that recently appeared in your website during and after the migration.
- Re-migration service enables you to migrate your data all over again.
Within 3 months of using our full migration service, all the services above are totally FREE. However, bear in mind that your total additional entities are less than 10% of the total number of entities in the very first transfer.
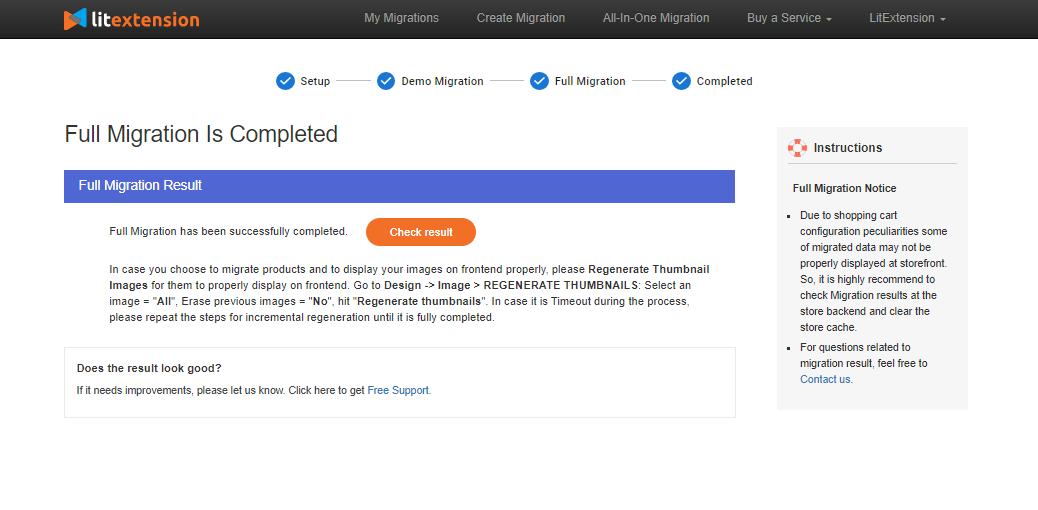
#2. Check results after the migration
Now you have transferred all your data to BigCommerce, click on “Check result” to double-check everything. Please follow the checklist below:
- Ensure all your products are on your front-end and back-end.
- Make sure all your products appear in the catalog, under the categories, and in onsite search.
- Examine every link in menus, header, footer, and inside the pages.
- Try making a purchase in your new store.
You can find more information in our article: How to check results after full migration.
Otherwise, you can contact the LitExtension support team for further assistance.
#3. Design themes
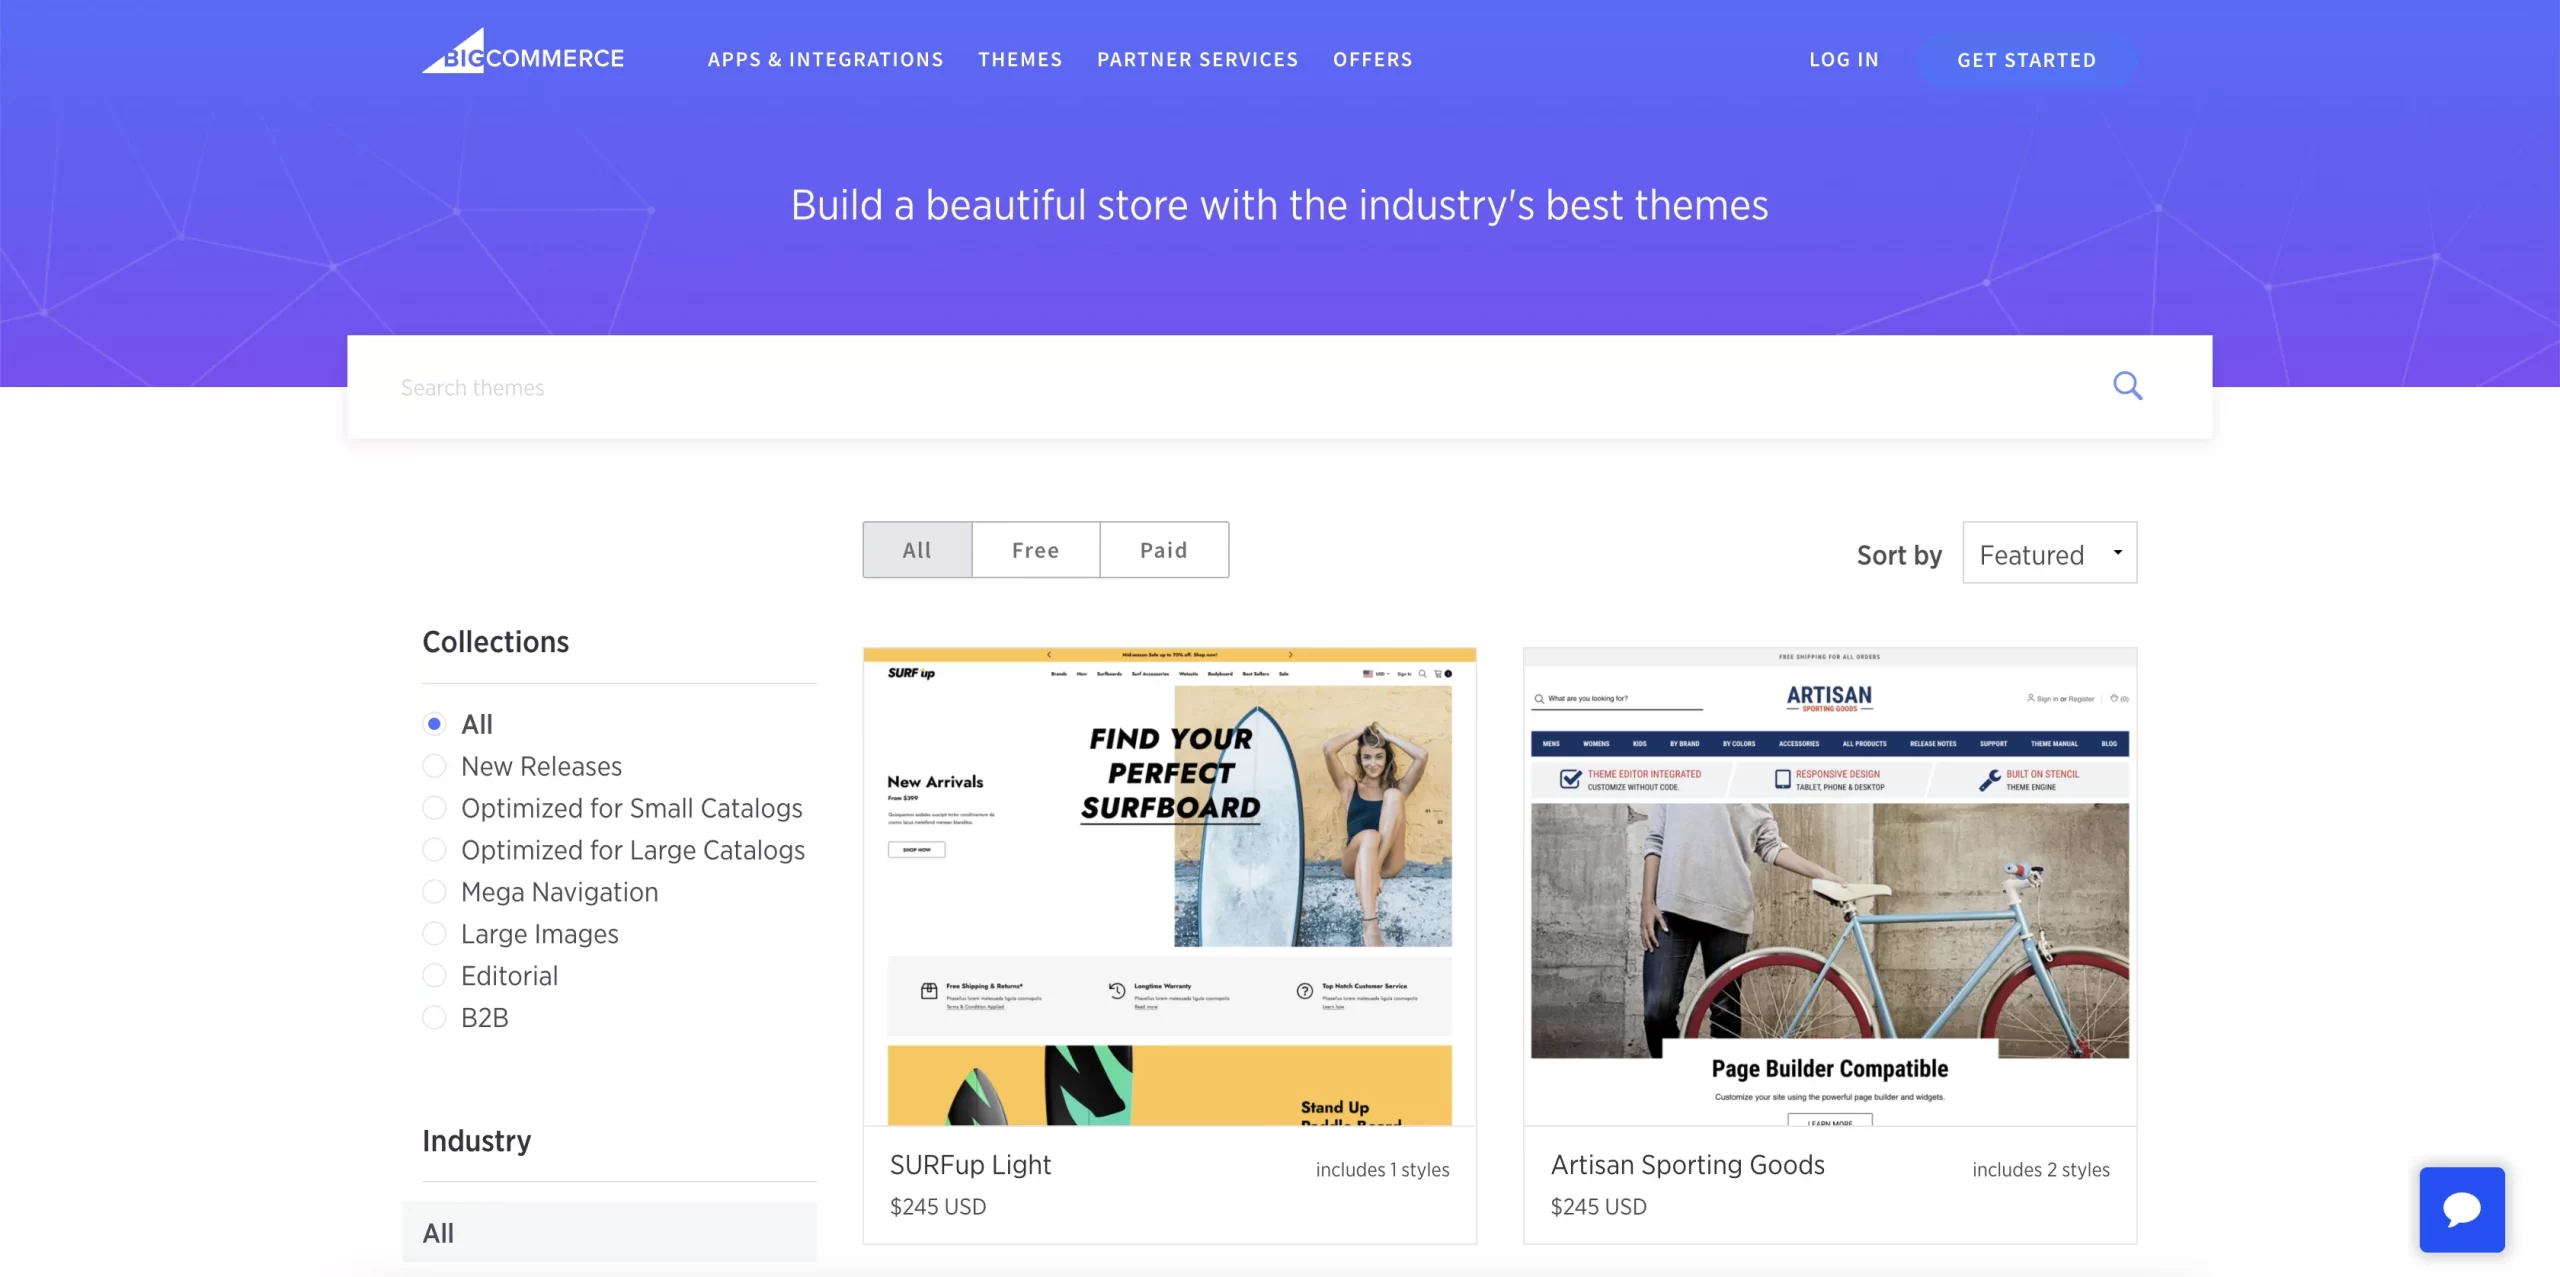
The bad news is that you cannot use your old Shopify theme in your new website due to its incompatibility. You can either customize your new theme to look similar to your old one or give your site a brand-new look. In BigCommerce, there are 15 free themes and around 130 paid themes which range from $145 to $300. Besides the BigCommerce theme store, you can search for a variety of themes in Themeforest or Templatemonster, etc.
Luckily, we have made a collection of 8 best BigCommerce themes where you can find a suitable design for your website.
#4. Configure tax & shipping options
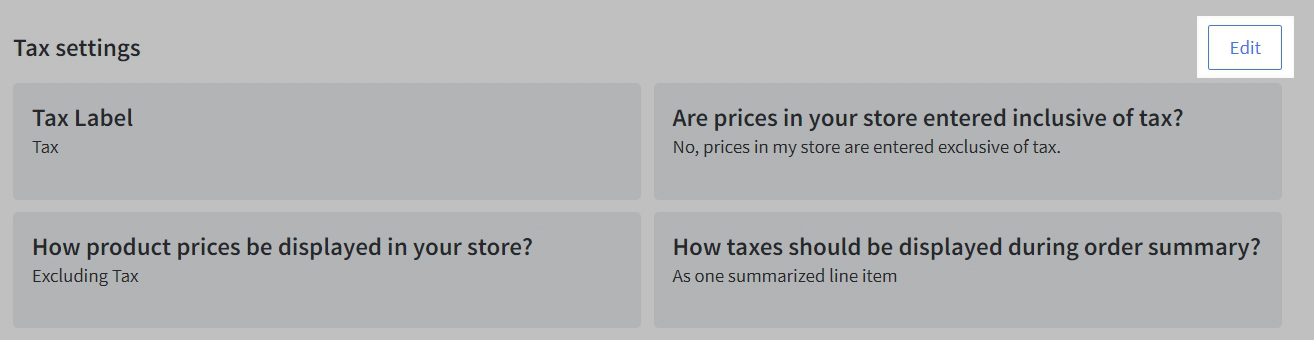
Next, you need to set up your tax, tax rates, and shipping options is one of the key tasks you want to perform when setting up an eCommerce website. Your tax settings control how taxes are calculated and appear on the storefront and apply to both manual tax and automatic tax setups.
Go to Store Setup › Tax, scroll down and click Edit next to Tax settings to get started.
BigCommerce also has made a detailed guide to set up tax that you can check out for more info.
Additionally, configuring shipping options is an important step that allows you to set up static and real-time shipping quotes to display on your storefront. Go to Store Setup -> Shipping to get started. If you’re new to BigCommerce, the built-in shipping setup can walk you through configuring your origin address and the shipping services you want to offer.
Curious about the BigCommerce platform? Read on:
#5. Establish payment methods
BigCommerce offers over 65 integrated payment gateways to its users. Some of them are PayPal, Stripe, Square, Apple Pay, etc. All BigCommerce plans require no transaction fees. You just need to pay credit card rates, the higher the plan you choose, the less you have to pay for credit card rates.
To view the available payment gateways, go to Store Setup -> Payments, and click on “Online Payment Methods”
Locate your desired payment gateways and click “Set up”. Once you’ve entered your credentials and settings, click “Save”. Your payment gateway is now set up!
#6. Change DNS and switch domain

When you are setting it up, you will need to get your DNS settings updated to direct to the new IP address. In fact, the easiest and fastest way to do it is to contact your old hosting provider.
Luckily, we also have clear guidance in switching domains after the migration. Let’s check it out to get your job done easily.
#7. Try placing some orders
Now, your new BigCommerce store is ready to launch! However, you should place a test order to understand your customer’s experience of buying things in your new site. Then you can adjust to make the journey more pleasant and efficient.
Here are a few different types of running test orders for:
- Completing a successful and a failed transaction
- Refunding and canceling an order
- Fulfilling or partially fulfilling an order
- Saving a successful order
Migration Made Easy With LitExtension!
Don’t have time to switch from Shopify to BigCommerce? Opt-in for our All-in-One Migration Service and have an exclusive Personal Assistant carry out the BigCommerce Migration for you without having to lift a finger.
How to Migrate Shopify to BigCommerce – Recap
Here are 6 simple steps you could follow to migrate from Shopify to BigCommerce successfully:
1. Back up data on your Shopify website: Export your Shopify information to avoid data lost
2. Create a new BigCommerce store: Don’t forget to get your new website up and running before moving from Shopify to BigCommerce
3. Set up Source Cart and Target Cart: Fill in the essential information about your Source Cart and Target Cart
4. Select entities to migrate: Choose all the data you want to transfer from Shopify to BigCommerce. Feel free to further enhance your migration capabilities with Additional Options.
5. Migrate from Shopify to BigCommerce: Now that everything is ready, it’s time to import to BigCommerce from Shopify.
6. Perform necessary after-migration activities: Remember to check the result after migration and perform some essential tasks to ensure your BigCommerce site works smoothly.
To help you visualize the whole Shopify to BigCommerce migration process, we have made a 2-minute video tutorial with clear instructions, check it below:
Shopify to BigCommerce – FAQs
[sp_easyaccordion id=”59211″]
Final Words
To conclude, LitExtension have shown you the step-by-step guide to migrate your database from Shopify to BigCommerce using the LitExtension tool. We hope this article will help you to visualize the whole process.
With LitExtension, our experts will guarantee accurate performance and the highest level of security for your store’s data.
If you are a merchant and are looking for a way to migrate your data from one eCommerce platform to another robust one, don’t hesitate to contact us via live chat, email to get some advice.
Lastly, visit LitExtension Blog section and join our dynamic eCommerce community to grasp more eCommerce insights.