Shopify’s bulk editing tags feature makes managing your orders, products, and inventory simple and quick while simultaneously changing many products. So how to bulk add tags in Shopify so customers can categorize and find your products as needed?
In this article, we – LitExtension, demonstrate how to manage tags in Shopify:
Before learning how to add tags in bulk in Shopify, let’s first talk about the various tag types available.
Shopify Tags 101
Let’s first look at what Shopify tags are and how helpful they are when used on Shopify sites.
#1 Shopify tag types
So what are tags on Shopify? Shopify tags distinguish between groups of items, including products, orders, draft orders, customers, transfers, and so forth.
This would make it easier to quickly filter and search for something by simply typing the tag’s name into the search bar.
For instance, towards the conclusion of the spring season, you may perform a bulk action to conceal your products from your sales channels by searching for them with the Spring tag on your Products page.
You can create a unique set of tags for each Shopify section that uses tags. A tag you create in one area is not automatically copied to other sections using tags. The different types of tags Shopify can organize are as follows:
- Shopify customer tags
- Blog post tags
- Shopify product tags
- Transfer tags
- Draft order tags
- Shopify order tags
For example, you can use tags like tax exempt or wholesale to describe some of your customers while using tags like packed or tested to organize orders.
#2 Considerations for tags
Take a look at these tag considerations:
- Order and draft order-related tags may contain up to 40 characters.
- Product, transfer, customer, and blog post-related tags have a character limit of 255.
- The case of tags is not essential. For instance, Packed and packed are identical.
- Your tags can only contain letters, numbers, and hyphens.
- Accented letters and other symbols can exclude search results.
- Each blog post, order, draft order, product, customer, and transfer can have up to 250 tags applied to it.
Note: You can put as many tags as you want on your products if your shop is on the Plus plan.
#3 Other ways to use Shopify tags
There are various ways to use tags and organize them:
- Use tags to group related items so you can view them all simultaneously: orders placed with a specific shipping service or manufacturer.
- Use tags for items you want to find quickly: seasonal products, phone orders, or social channel orders.
- Filter customers by tag and create a segment that groups customers with the same tag.
- Use tags to automate Shopify collections.
How to Bulk Add Tags in Shopify
To edit tags Shopify for several products, use the Shopify bulk editor. Here is how to bulk add tags in Shopify.
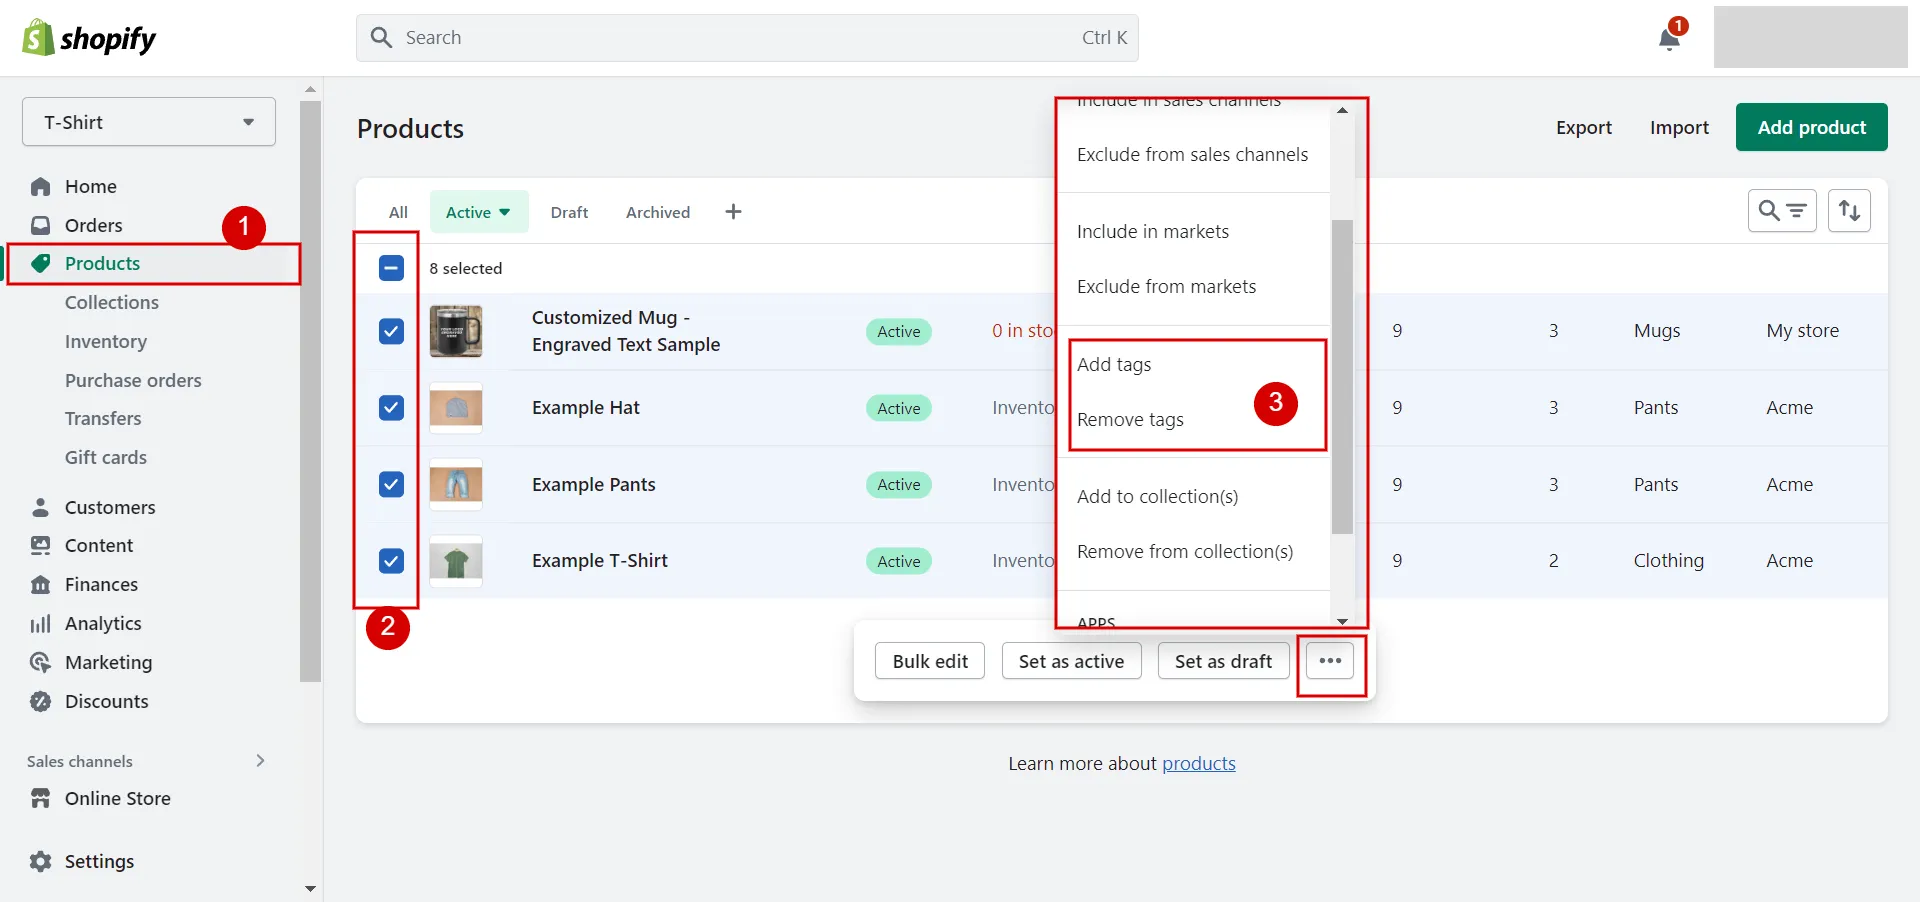
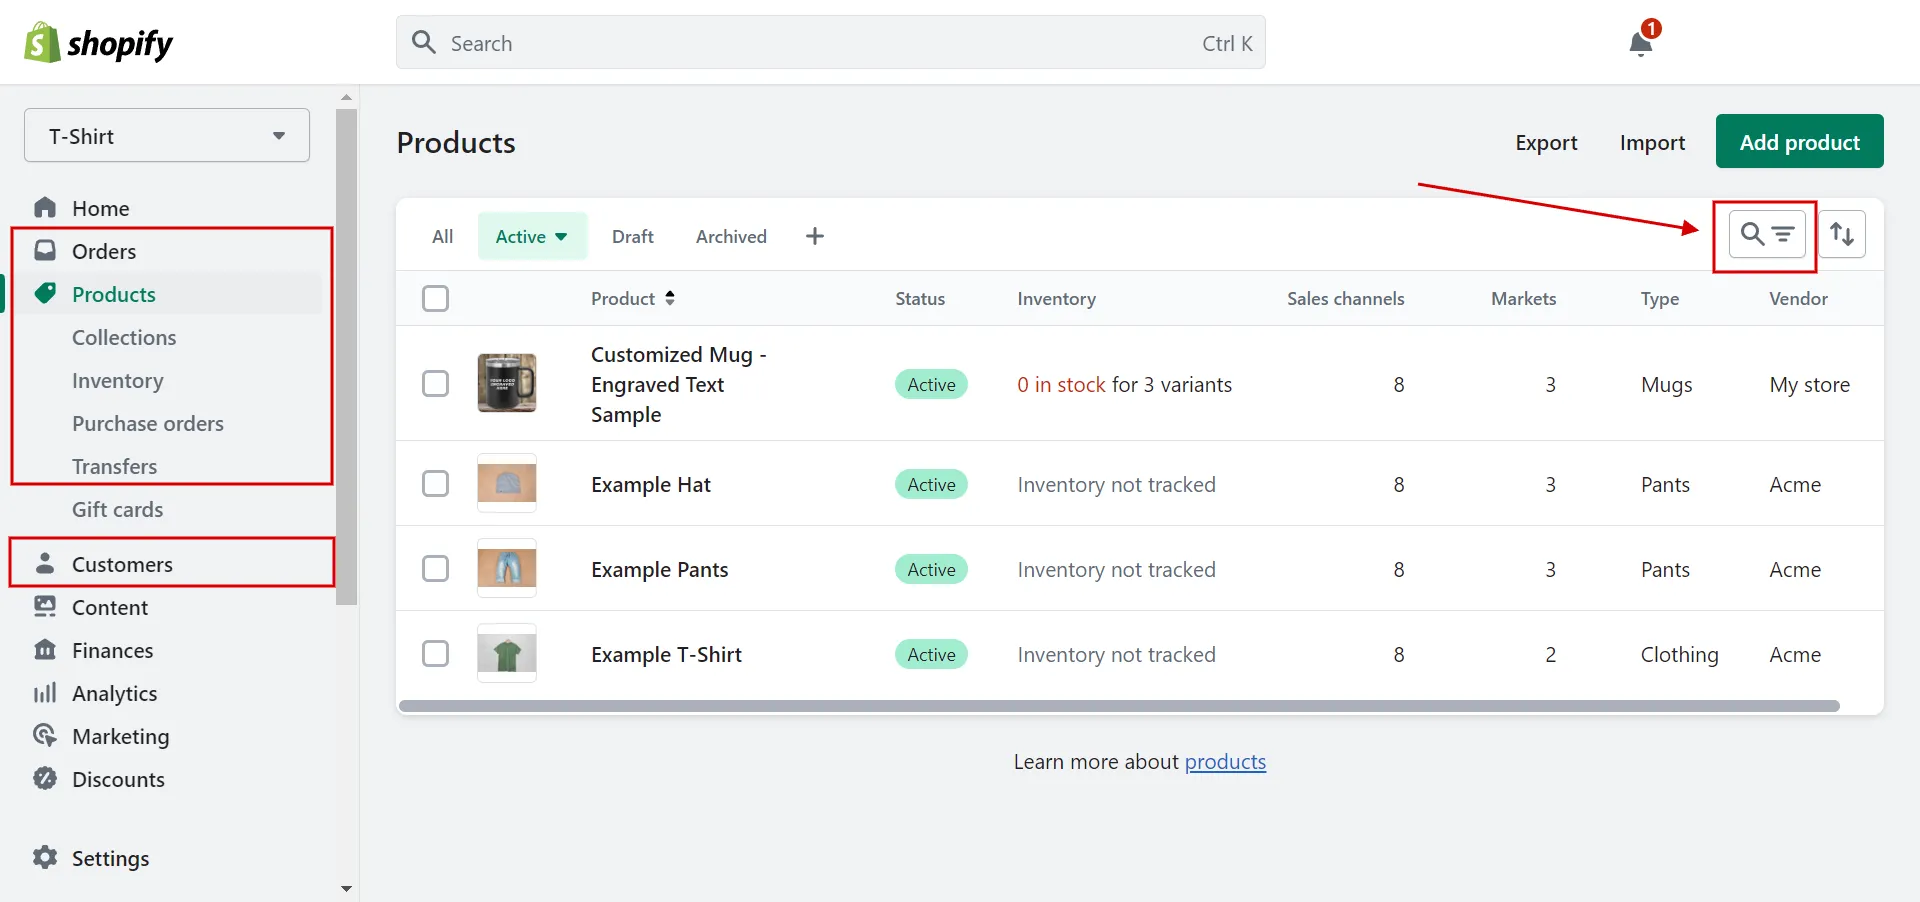
#1 Bulk edit product, transfer, customer, blog post, and draft order tags
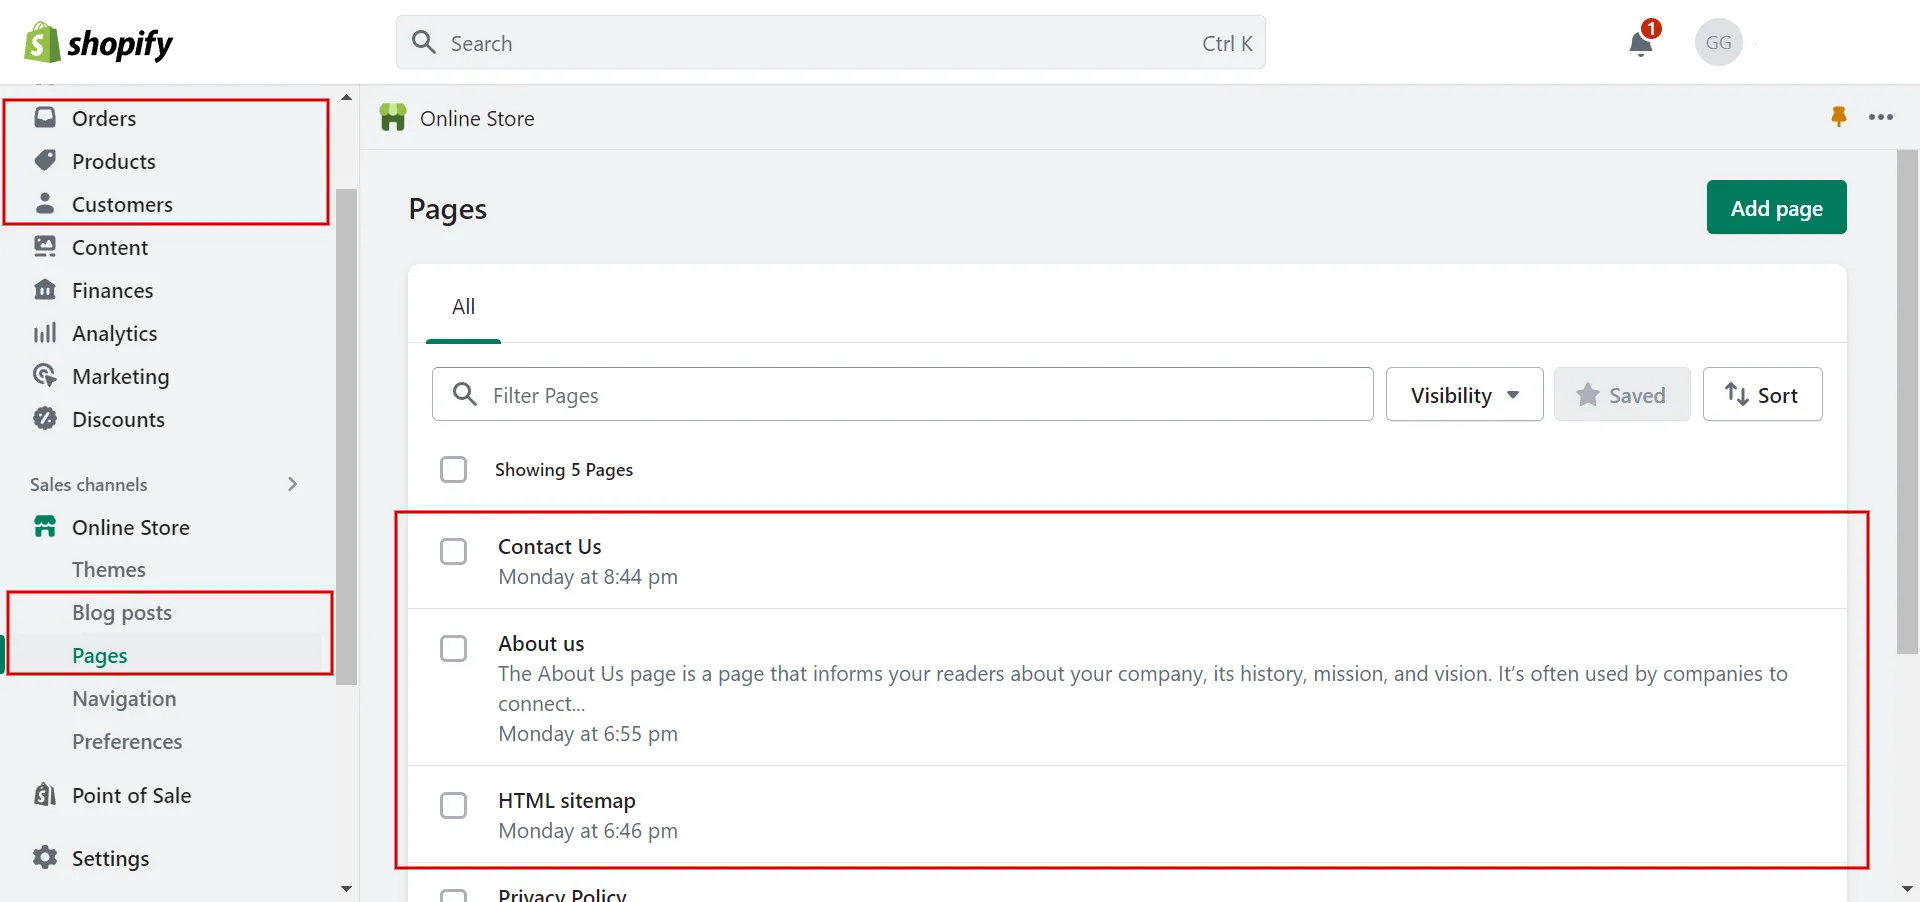
- Step 1: Select a tab.
Click Blog posts, Draft Orders, Products, Transfers, or Customers, from your Shopify admin.
- Step 2: Select detail pages.
Check the blog post, draft order, product, transfer, or customer pages you want to tag.
- Step 3: Edit tags.
Click Add tags or Remove tags and click the tags you want to add or remove.
- Step 4: Save.
Click to Save.
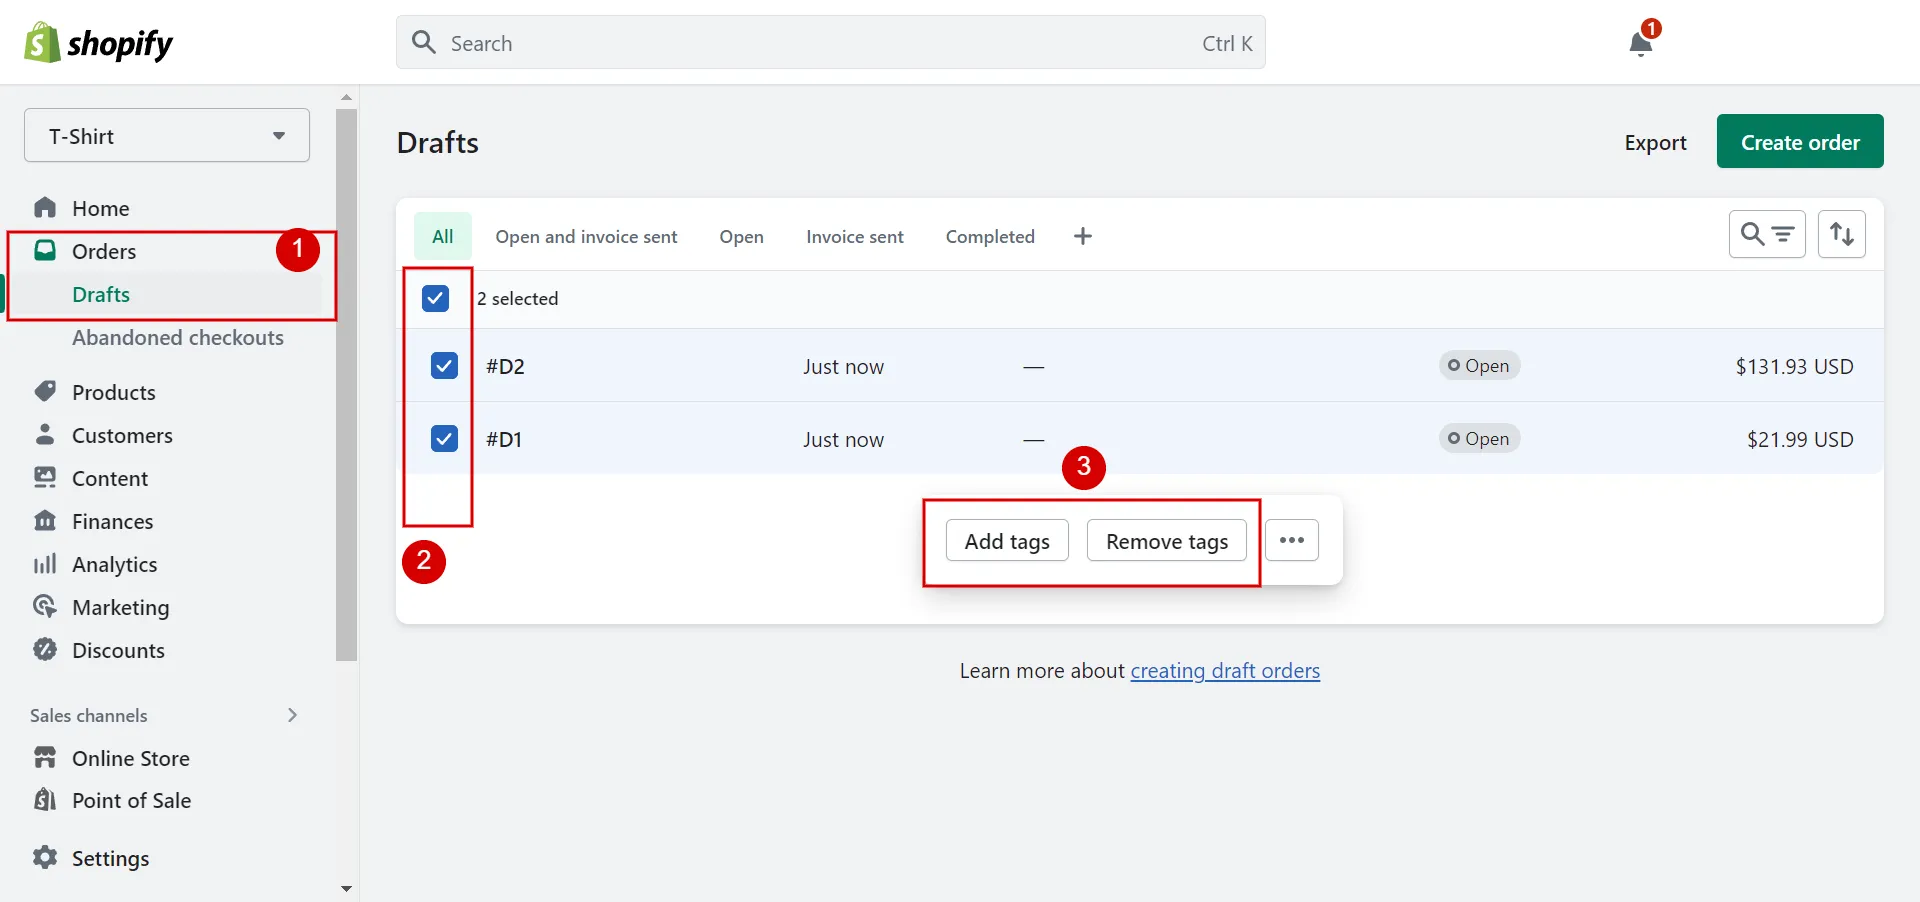
#2 Bulk edit Shopify order tags
- Step 1: Select Orders tab.
From your Shopify admin, click Orders.
- Step 2: Select specific orders.
Check the orders that you want to add or remove a tag from.
- Step 3: Change tags.
Click Add Tags or Remove Tags and click the tags you want to add or remove.
- Step 4: Save.
Save any changes.
And that’s how to bulk add tags in Shopify!
On Shopify, bulk tag editing can be a laborious and time-consuming process. If you are careless, you might have many duplicates or spelling errors and cannot list the best tags for Shopify. As a result, consider using the bulk tag editor app mentioned in the following part.
Let’s walk through various ways of how to add products to Shopify!
How to Manage Tags in Shopify Manually?
You can perform several fundamental operations, such as adding, renaming, and removing tags, to edit tags Shopify.
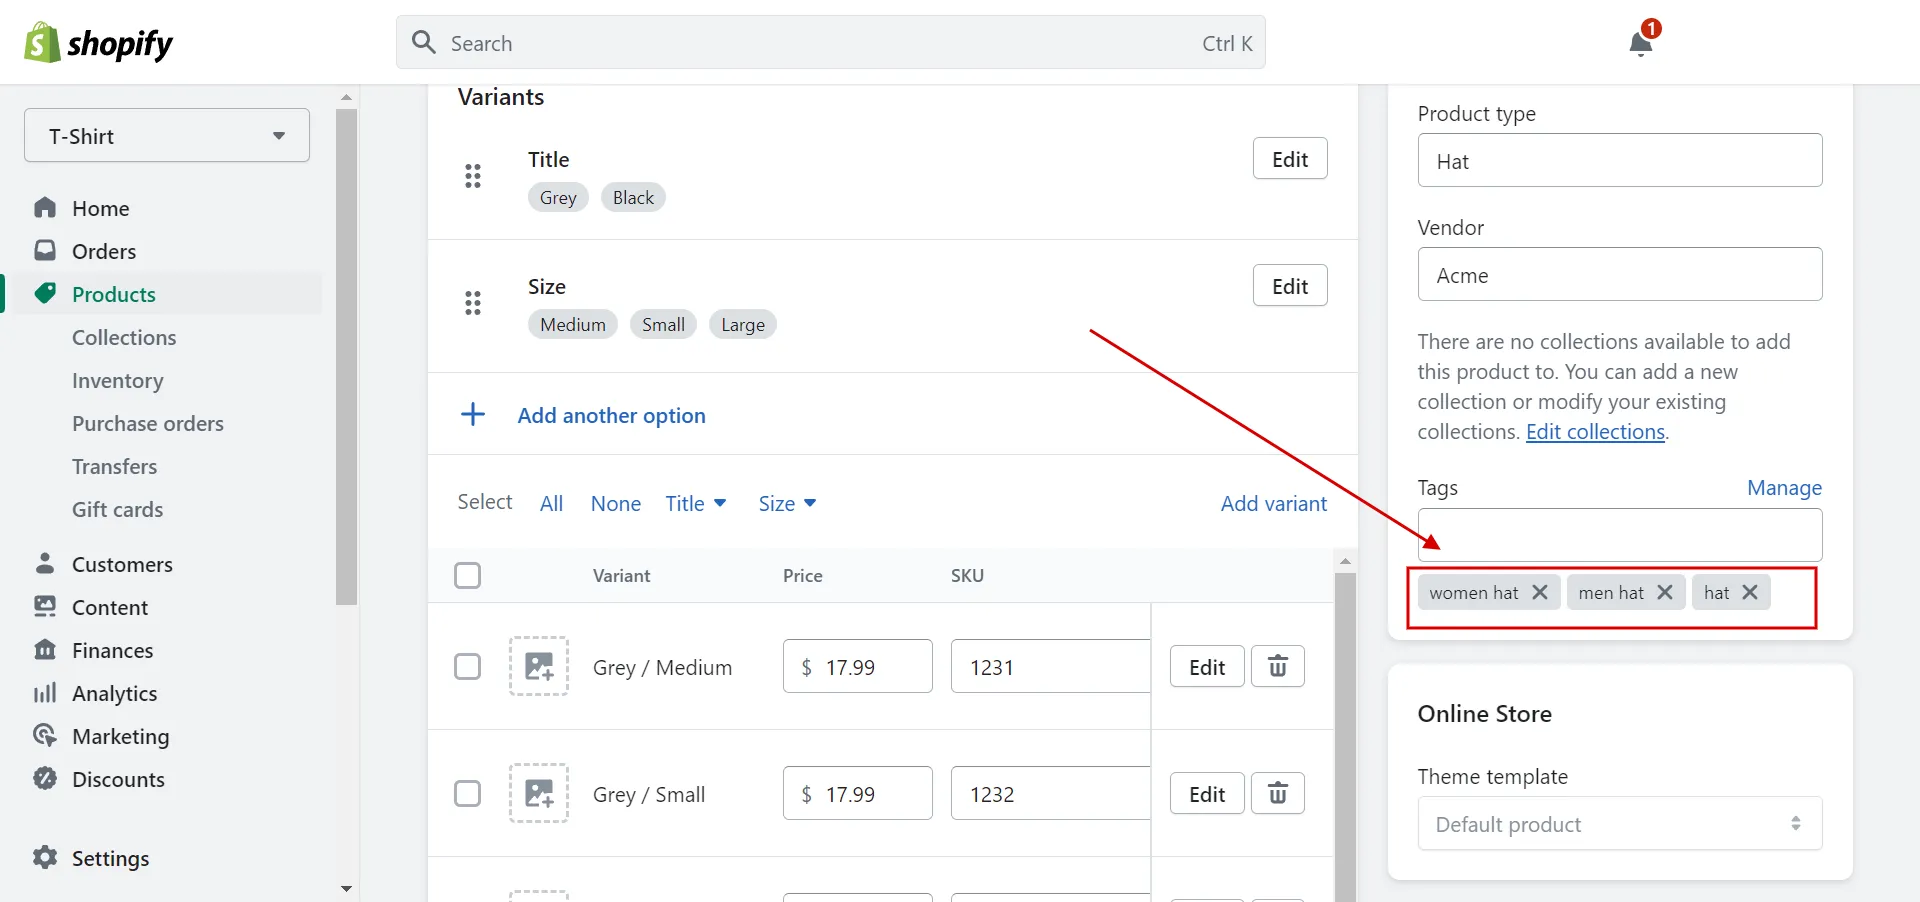
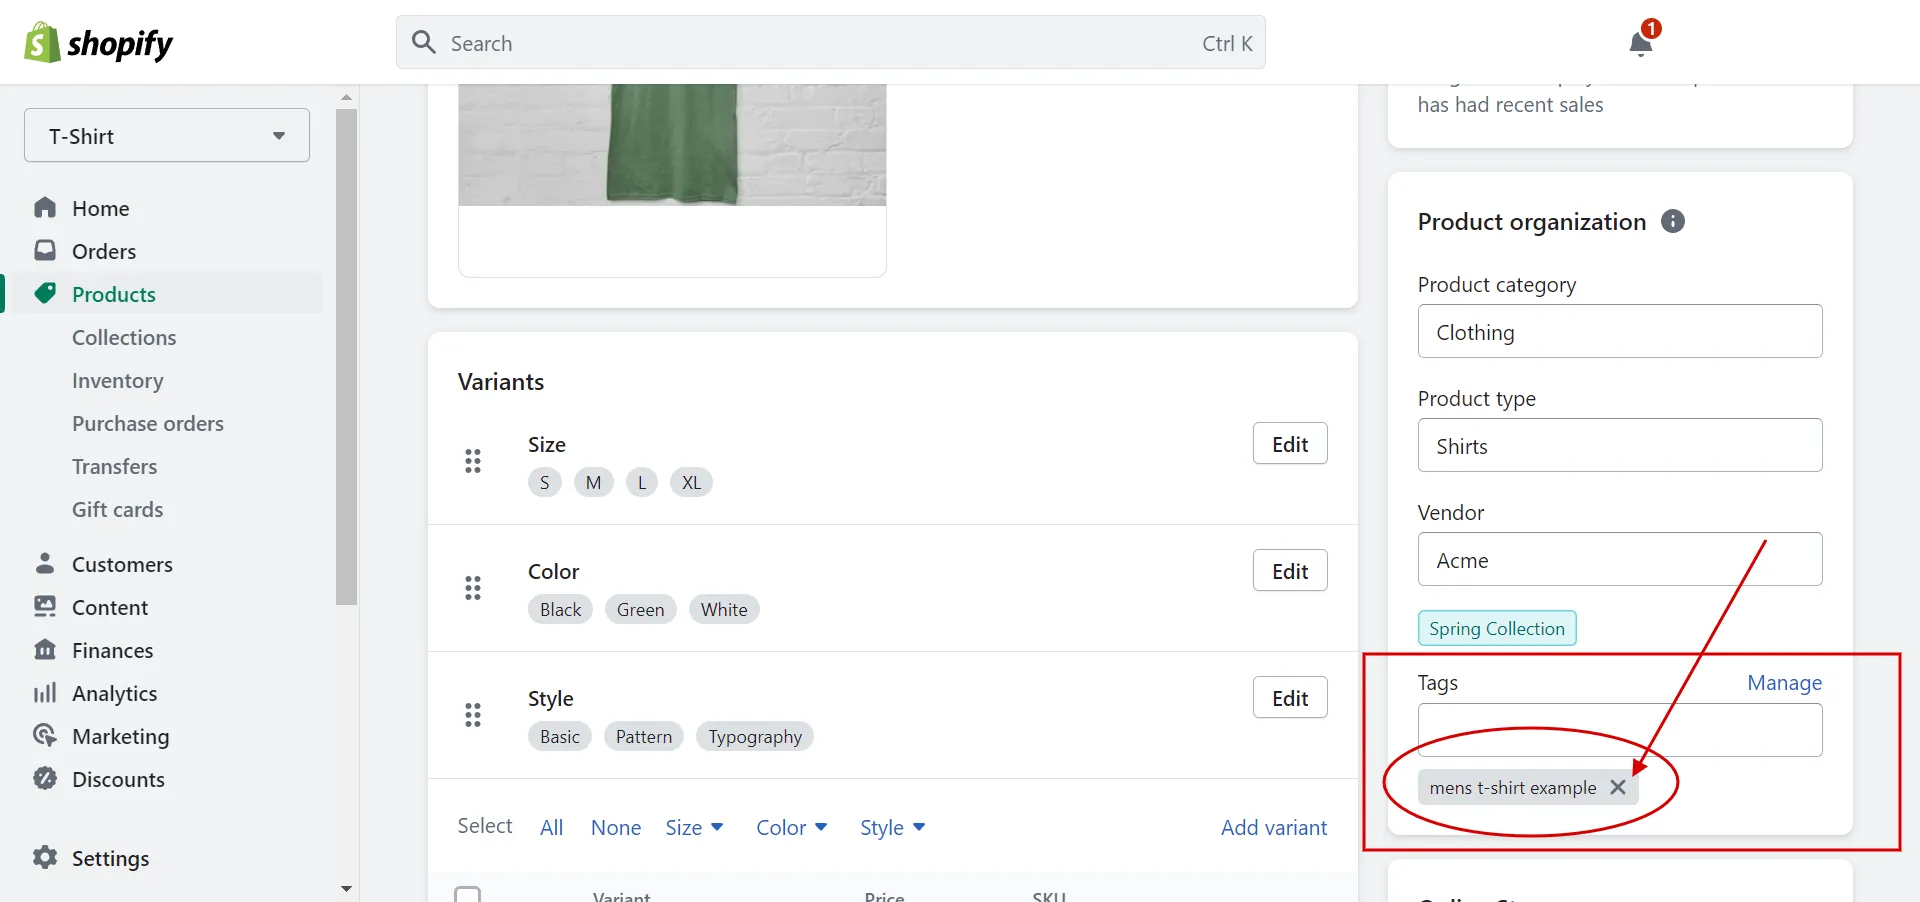
#1 Add a tag manually
Here is how to create a tag in Shopify.
- Step 1: Select details pages.
Open the specific customer, blog post, product, transfer, draft order, or order details page in Shopify.
- Step 2: Enter tags.
In the Shopify Tags section, enter the tag name you want to add, or select it from the list of existing tags.
If you type the name of a new tag, it will automatically be created for future use in the section.
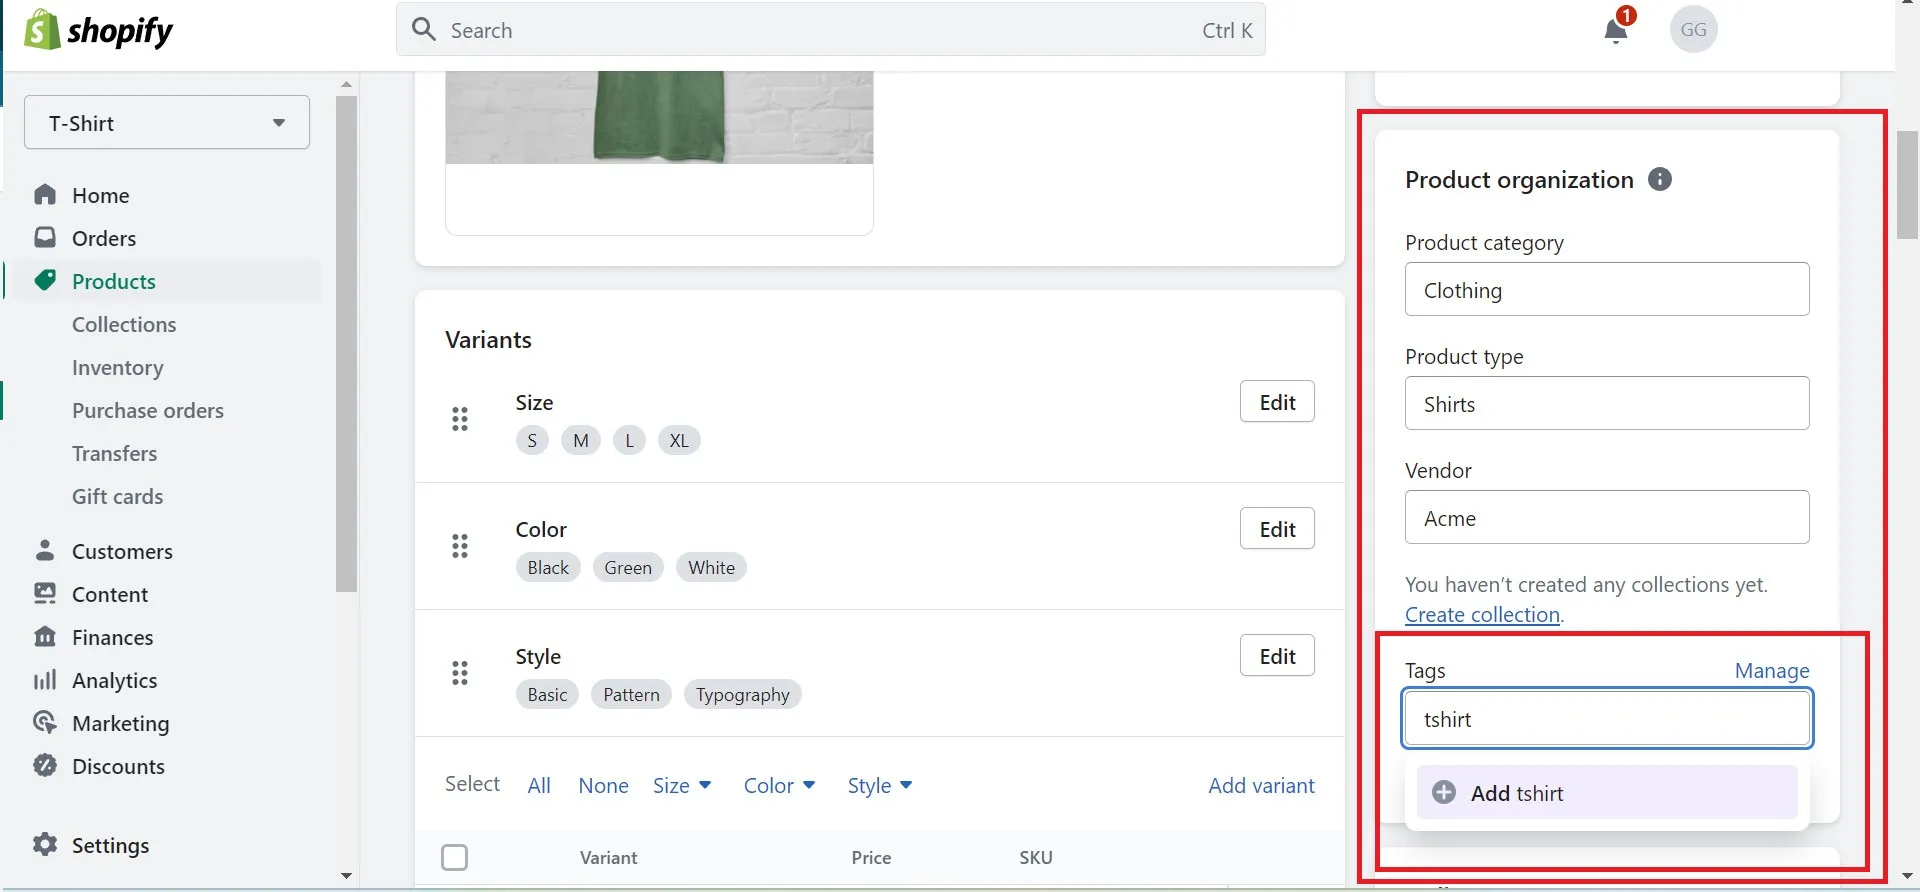
- Step 3: Save.
Save the changes.
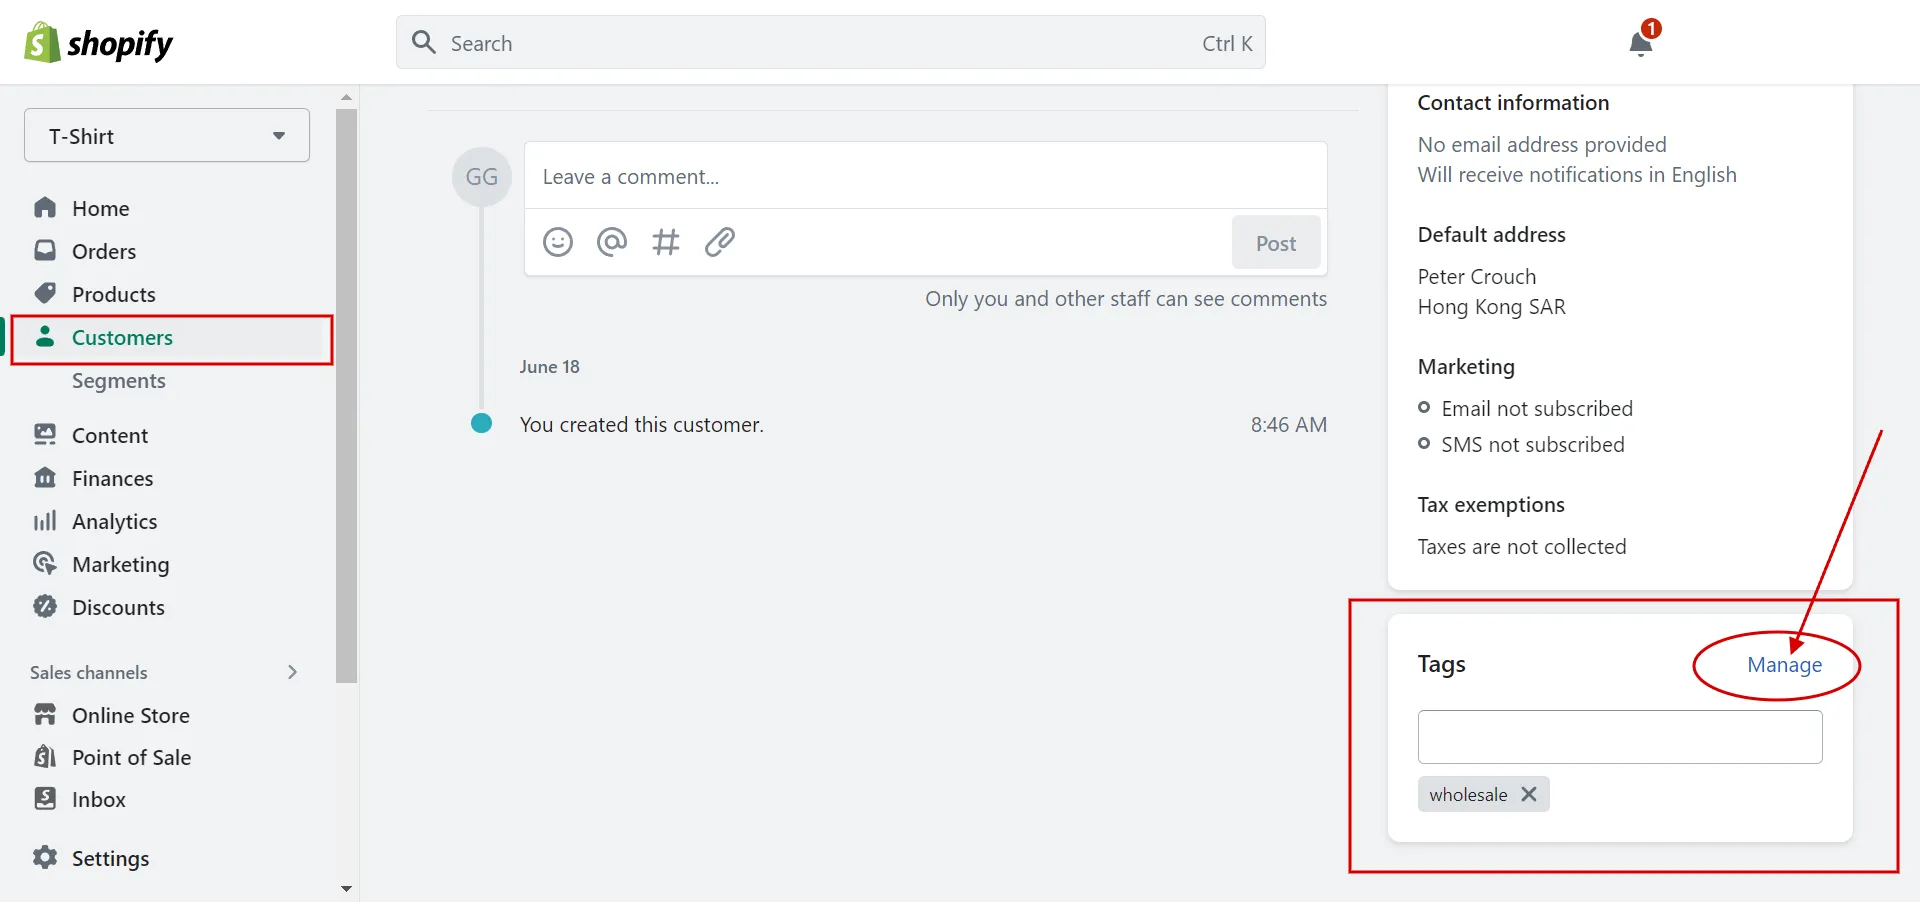
#2 Select tags from a list
Follow a step-by-step guide to select Shopify tags from a list.
- Step 1: Open a detail page.
- Step 2: Click Manage in the Tags area.
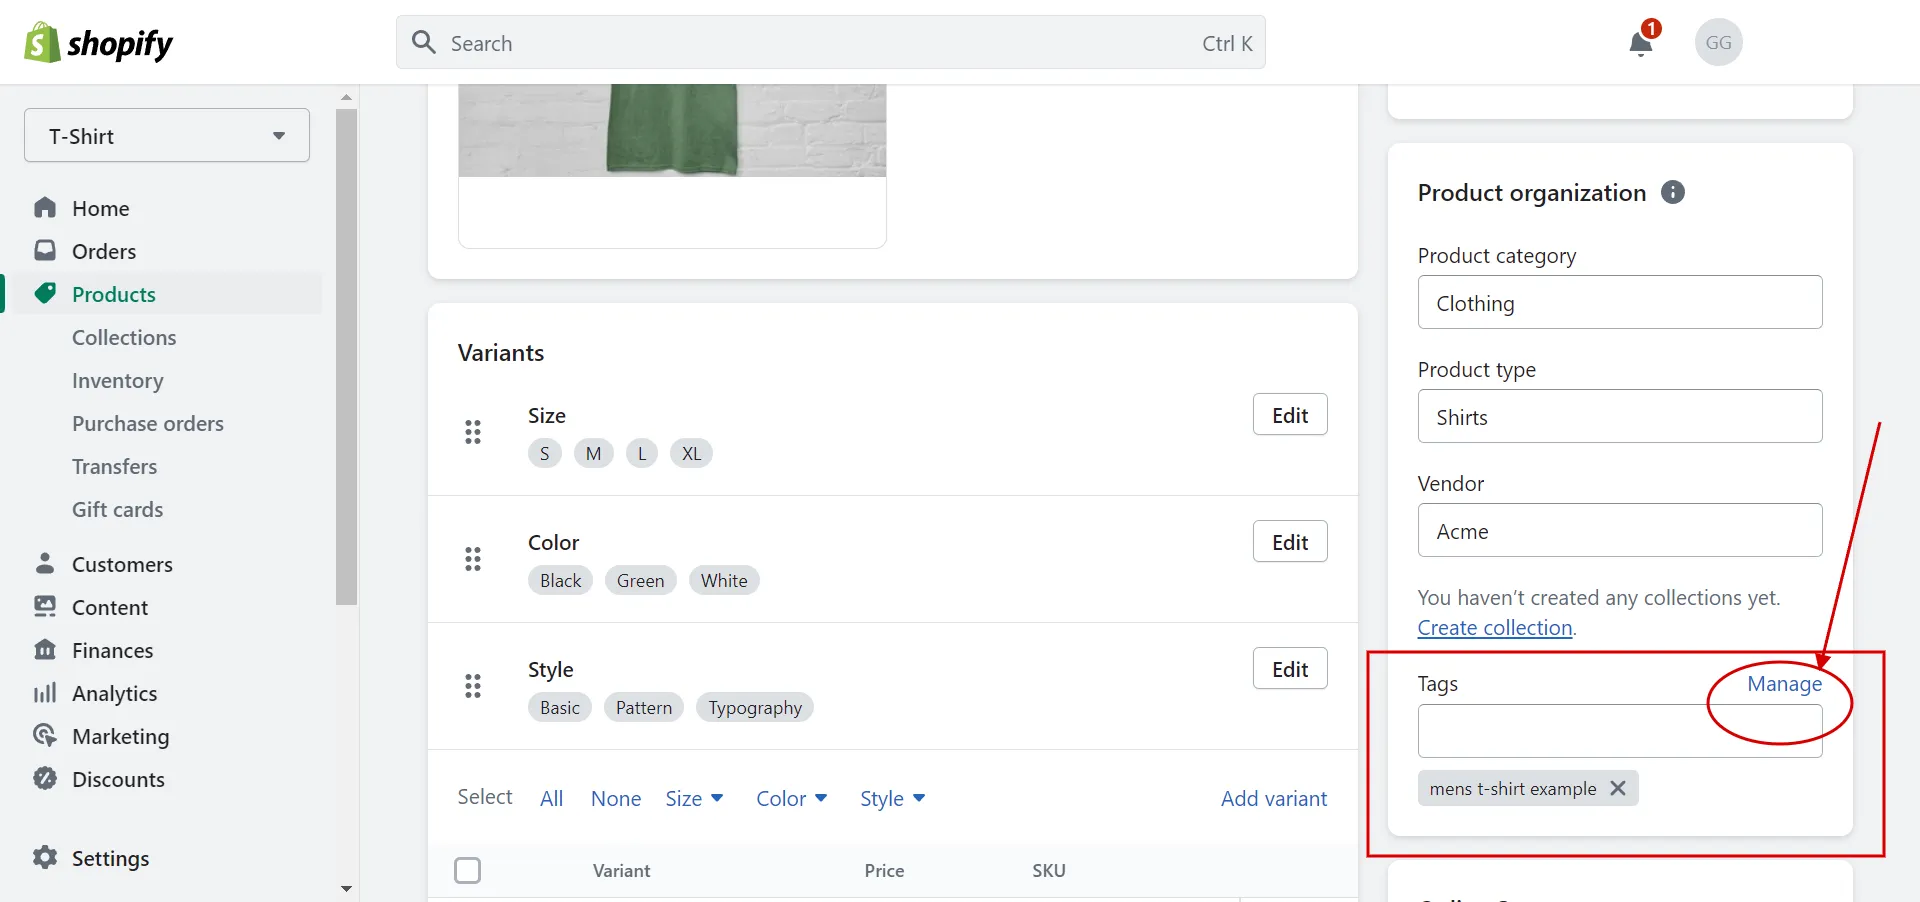
- Step 3: Check the tags on the list Available that you want to apply.
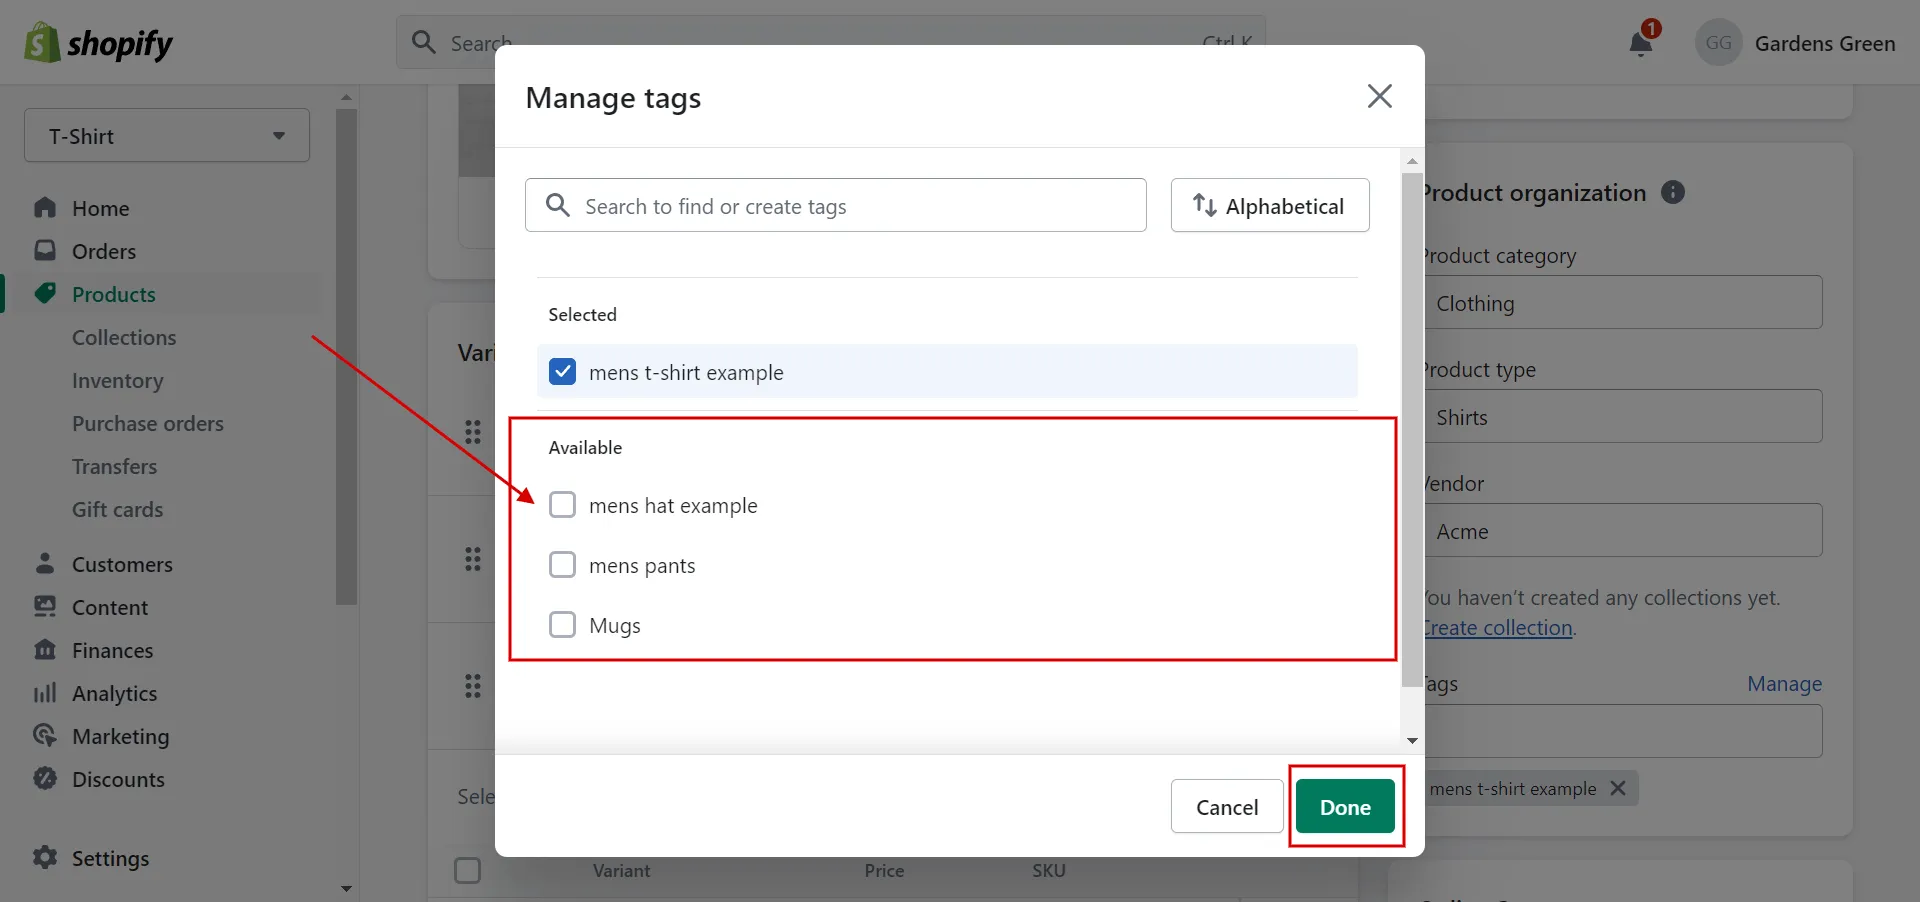
- Step 4: Click Done and Save.
#3 Remove a tag
There are two ways to delete Shopify tags. Let’s take a look.
#3.1 Method 1
- Step 1: Open pages.
Launch the Shopify page with the specific blog post, order, draft order details, product, transfer, or customer.
- Step 2: Remove tags.
Click the x next to the tag that you want to remove.
The tag is removed only from that specific blog post, order, draft order details, product, transfer, or customer.
- Step 3: Save.
Click to Save.
#3.2 Method 2
You can remove a tag from the Manage list on the blog post, order, draft order, product, transfer, or customer details page:
- Step 1: Hit Manage in the Tags section.
- Step 2: Uncheck the tags on the list Selected to remove a tag.

- Step 3: Click Done and Save.
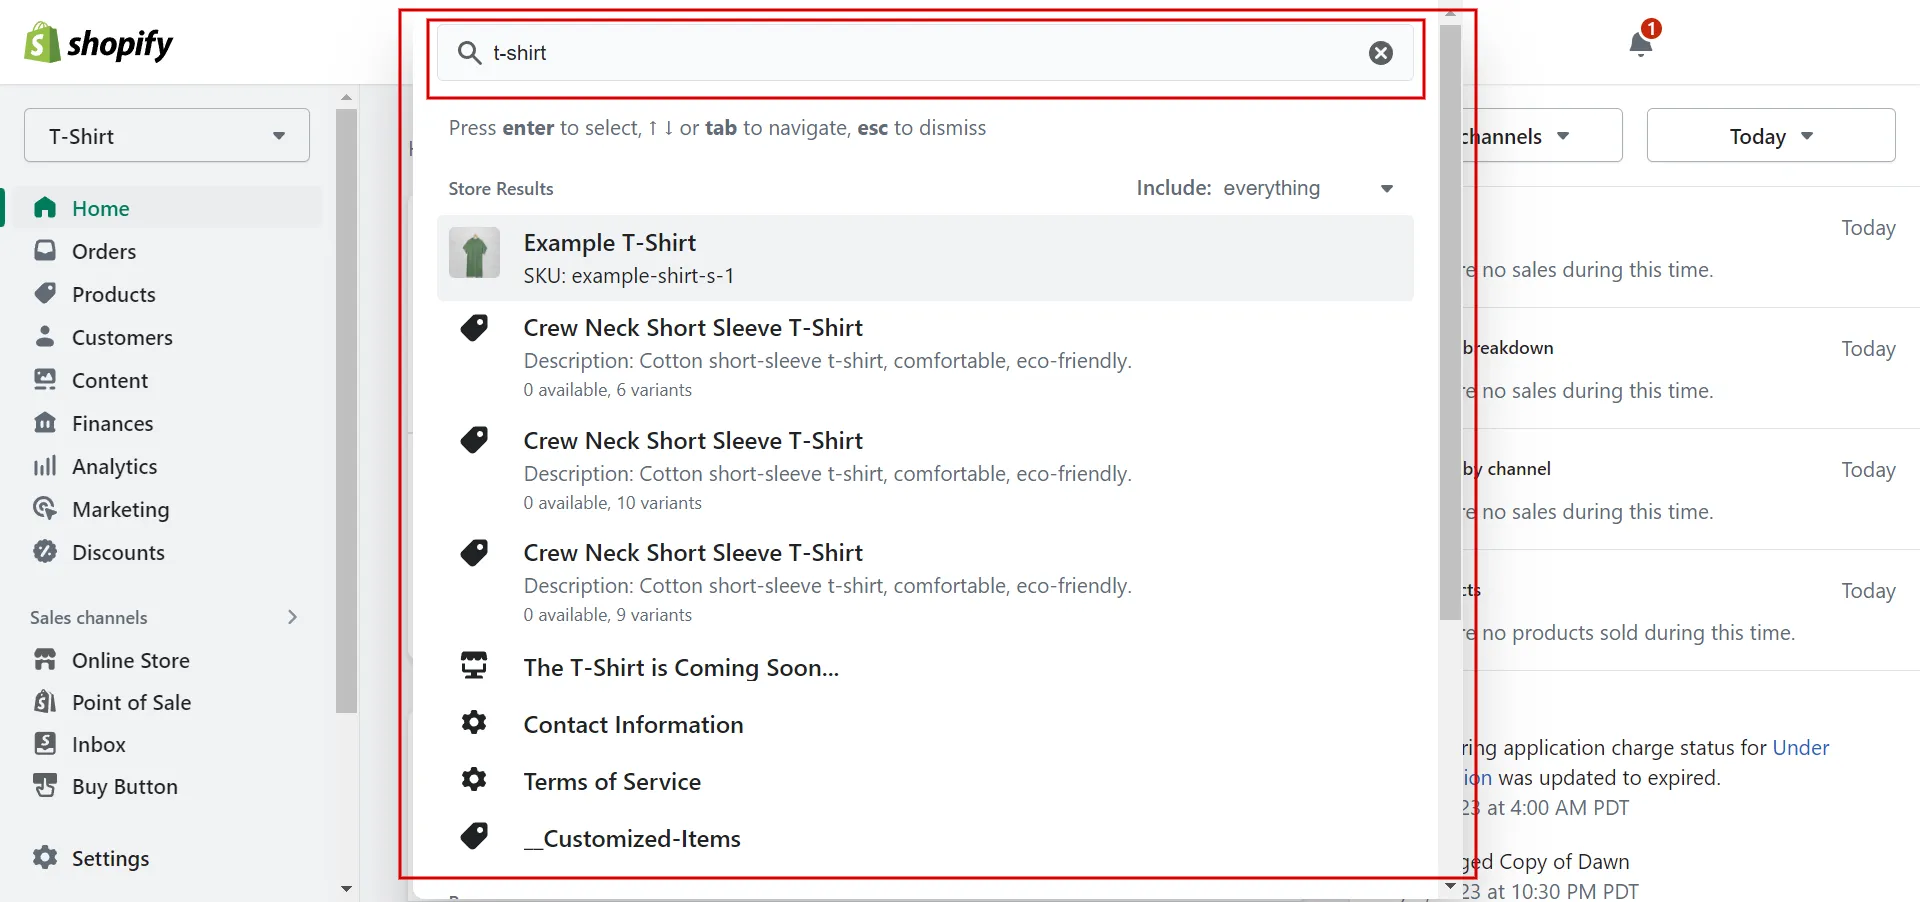
#4 Search by tag in Shopify
Tags speed up related searches. The steps are as follows:
- Step 1: You can type the tag’s name by pressing Ctrl K or entering it in the Shopify search bar.
- Step 2: View the matching results, then click on a result for more information. No search results are returned if you search for a tag that hasn’t been added.
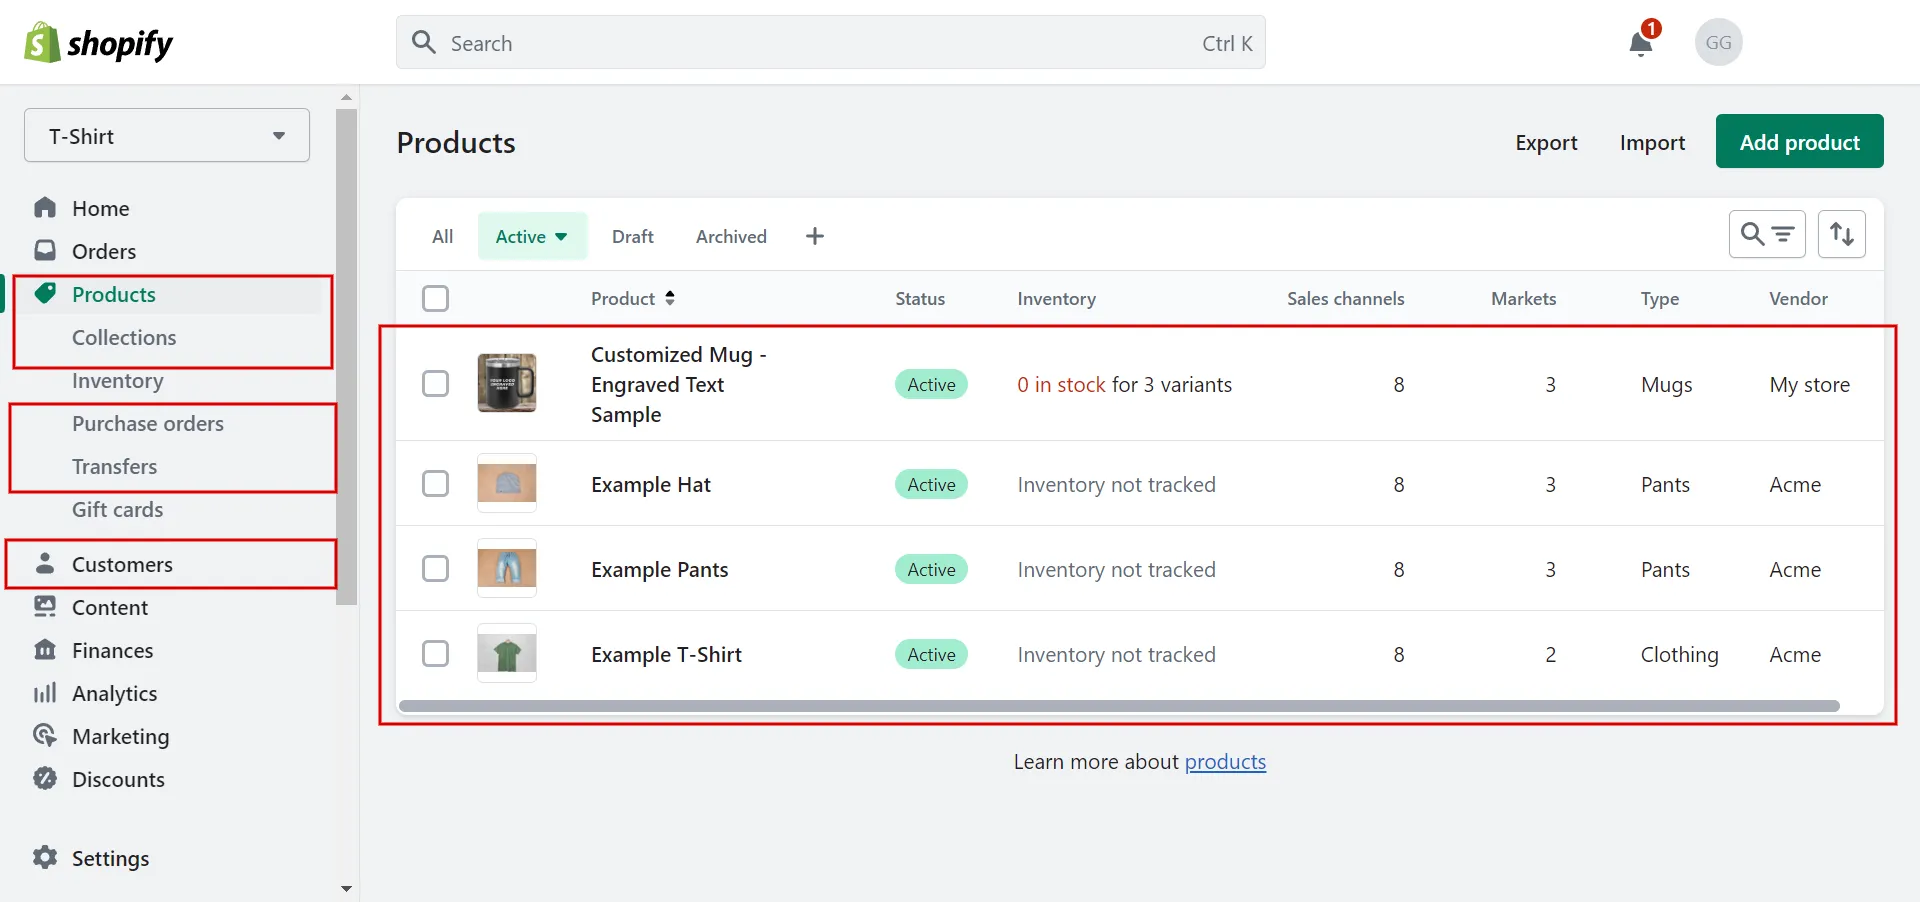
#5 Filter by tag
On the pages for Blog posts, Orders, Draft Orders, Products, and Transfers, you can use Shopify filter by tags. The variants on the Inventory page can also be filtered using Shopify product tags.
Here are the details:
- Step 1: Open a specific tab.
Click Orders, Draft Orders, Inventory, Products, Transfers, or Blog posts from your Shopify admin.
- Step 2: Shopify filter by tags.
Click Tagged with or More Filters.

- Step 3: Add tag name.
Type the tag name you want to use as a filter. There will be a display of filter results.
And that’s how to bulk add tags in Shopify!
Learn more about How to Sort Products in Shopify quickly and effectively.
Want to migrate to Shopify?
If you are intending to migrate to Shopify, LitExtension offers a great migration service that helps you transfer your data from the current eCommerce platform to a new one accurately and seamlessly with utmost security.
Best Bulk Tag Editor App in Shopify
Here is how to bulk add tags in Shopify by applying the Shopify tags API in the App Store.
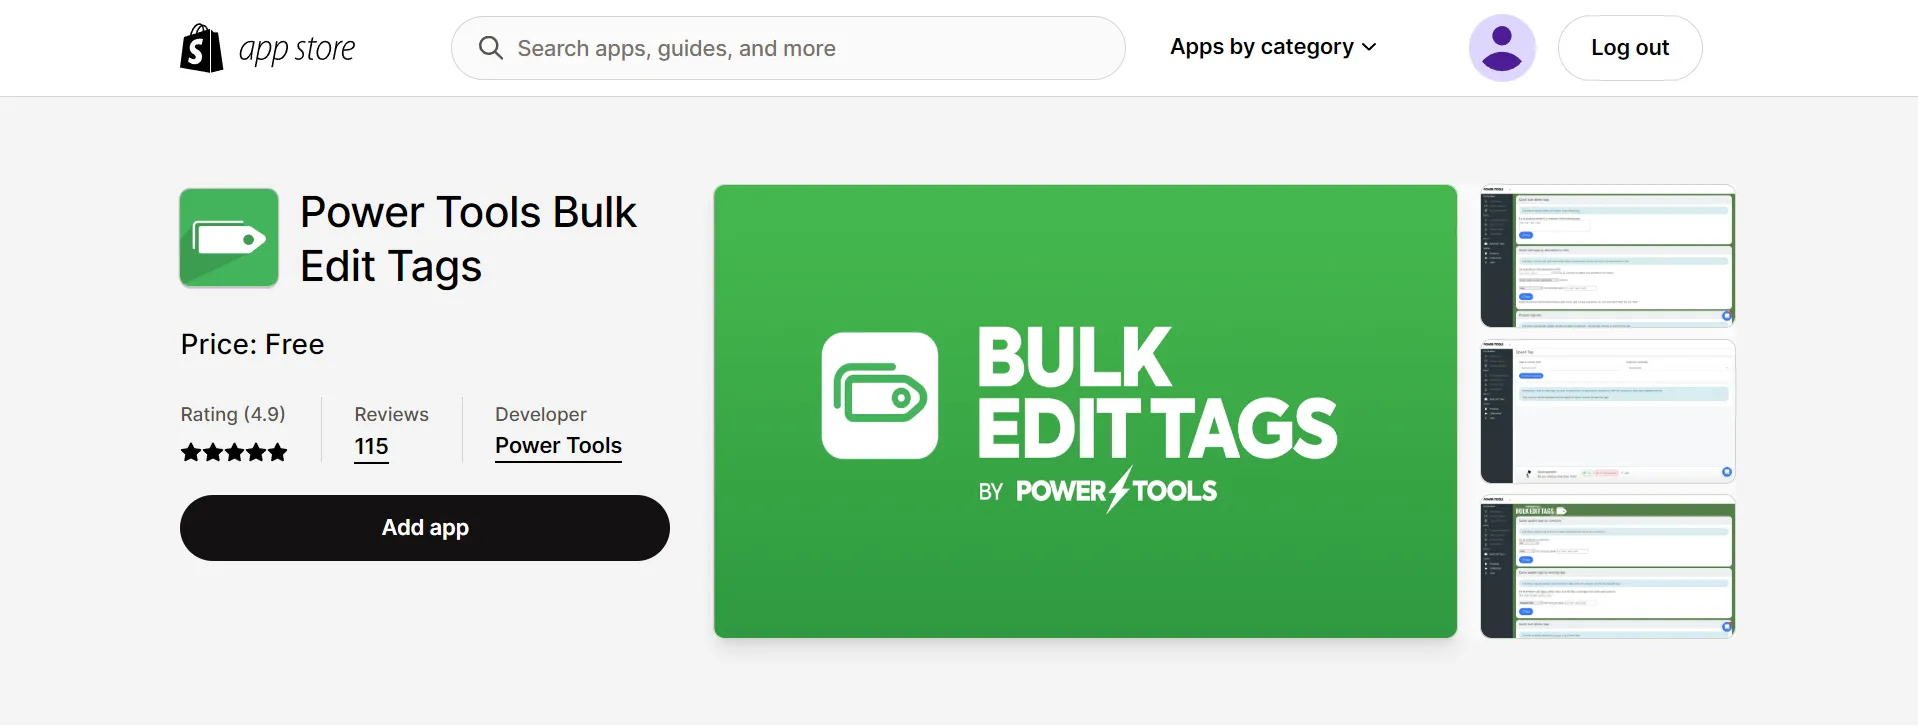
#1 Power Tools Bulk Edit Tags
Power Tools Bulk Edit Tags simplify product tag management by adding, removing, and syncing them by collections, existing tags, or descriptions. Quickly remove tags from all products using the speed tag feature, eliminating manual editing and spreadsheet labor.
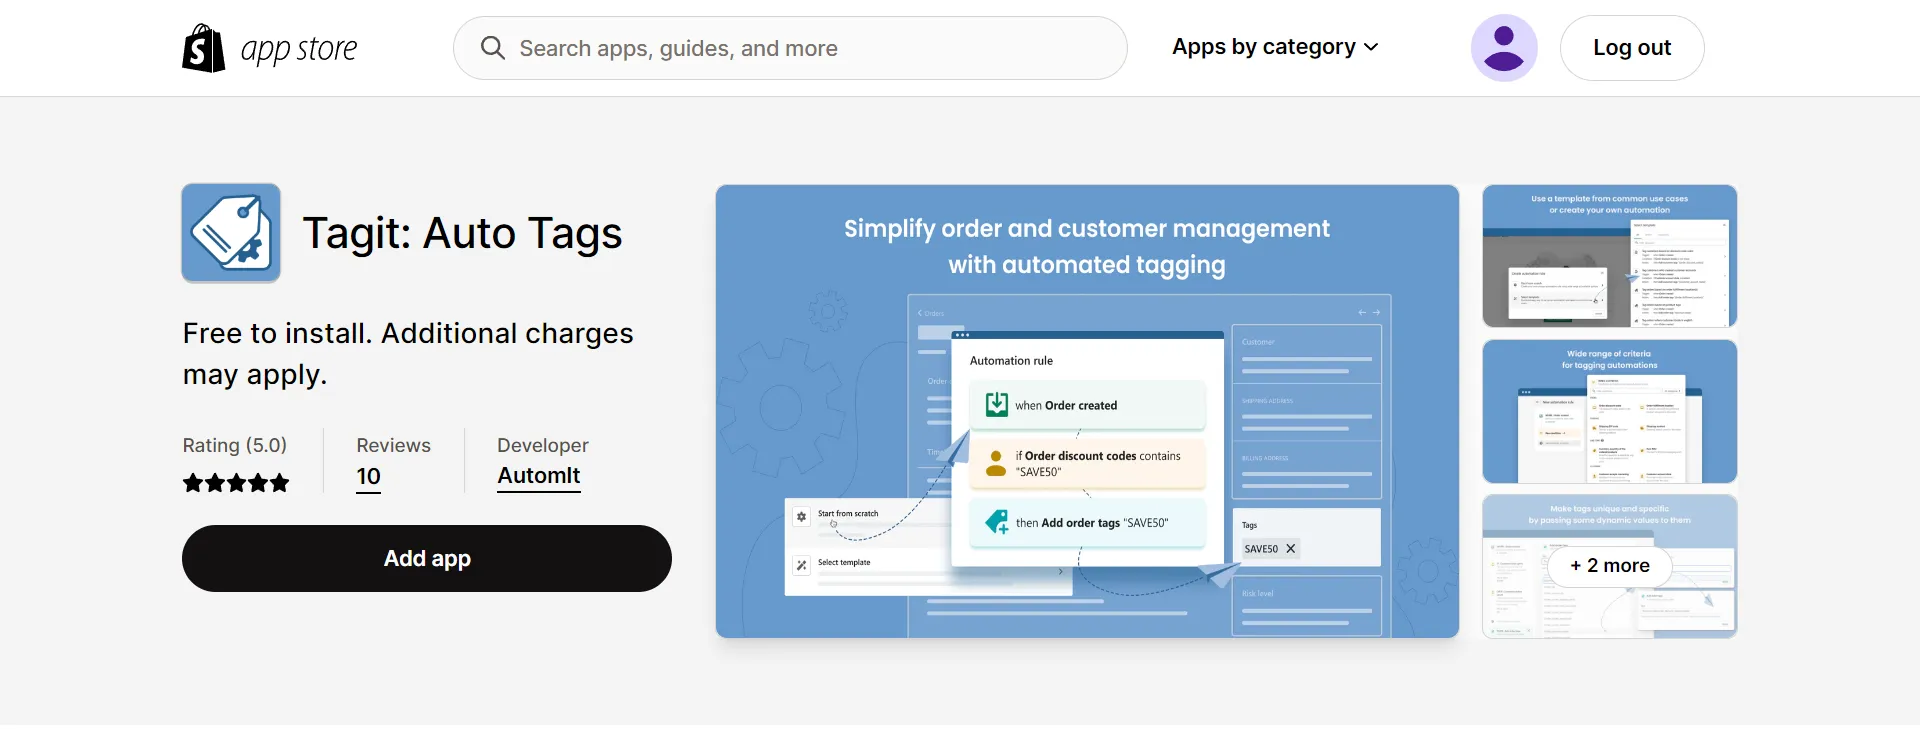
#2 Tagit: Auto Tags
Tagit is a powerful tool for improving order and customer management, enabling real-time search and automation of tags, saving time, and allowing for efficient business growth.
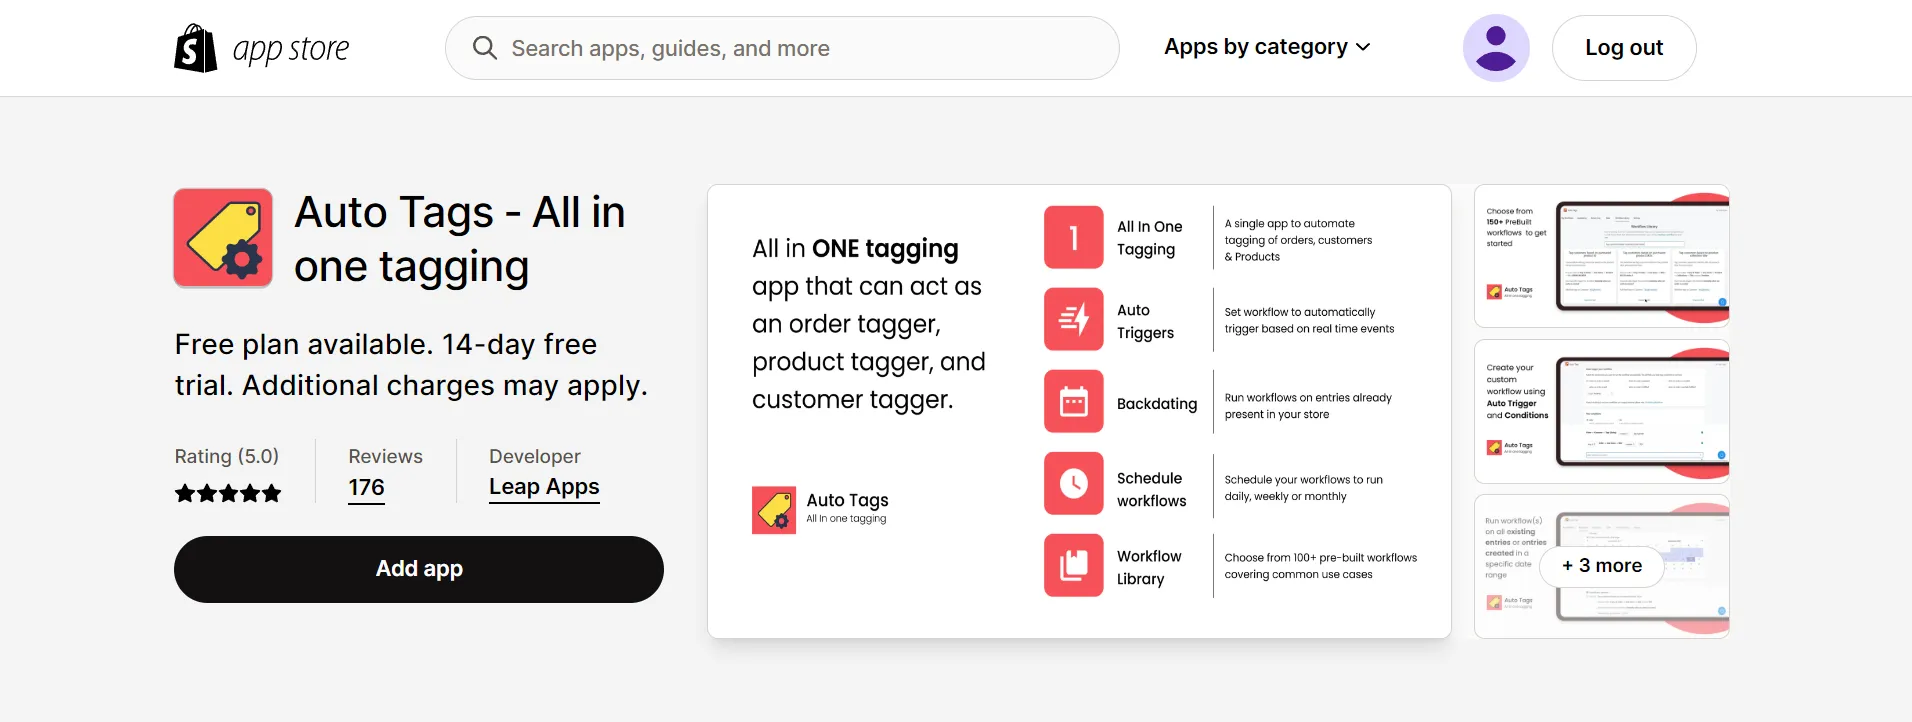
#3 Auto Tags ‑ All-in-one tagging
Autotags create customer segments, categorize products, and streamline order management using the app to organize products, customers, and orders automatically. Set up workflows and filtering conditions for real-time tagging and existing store entries.
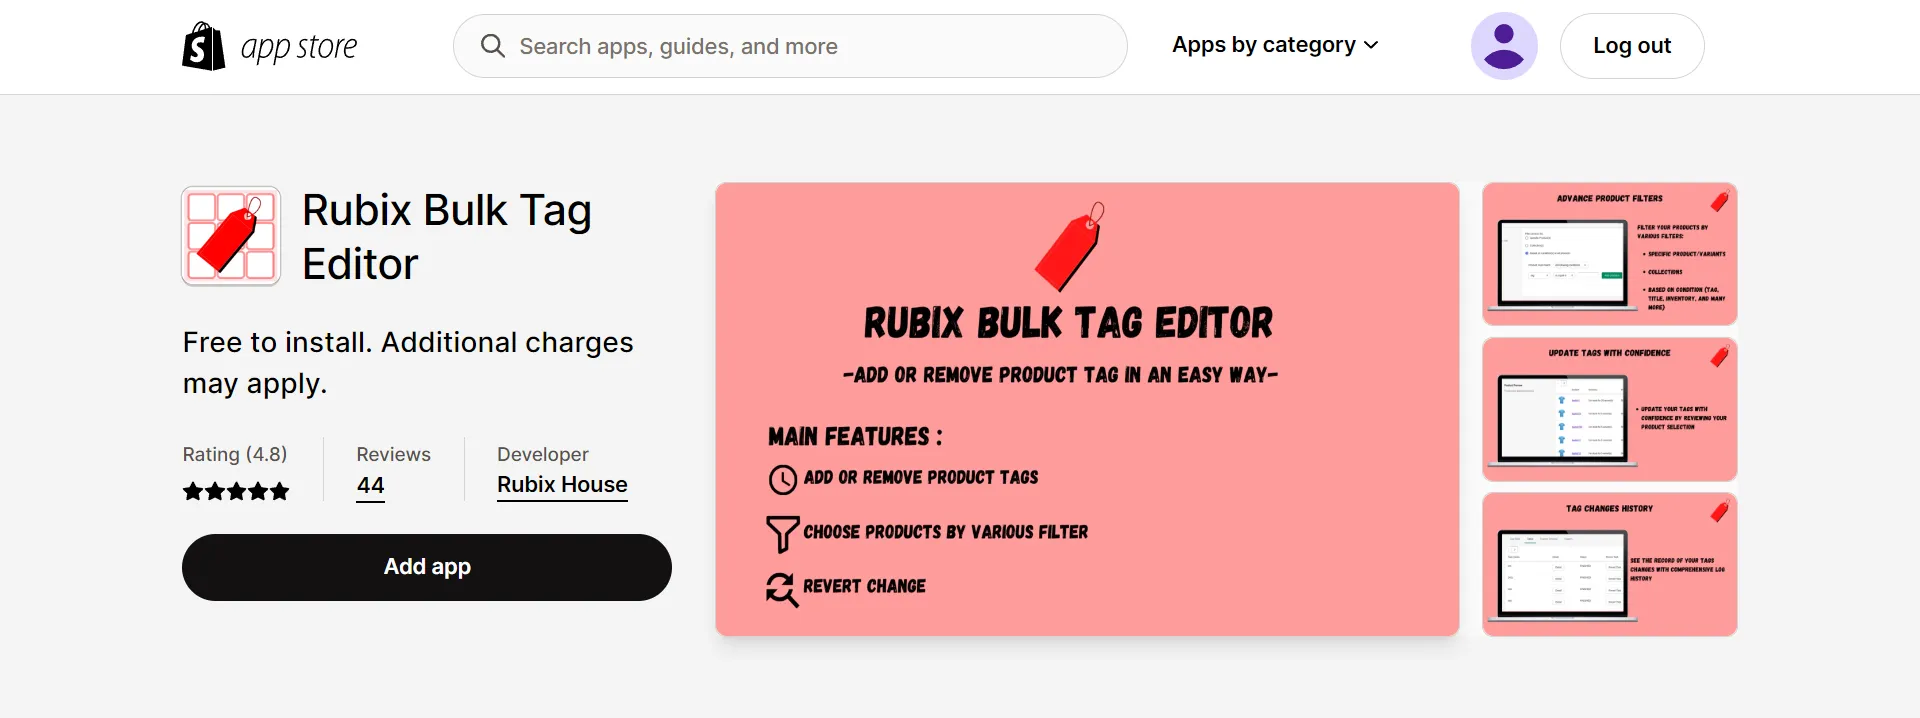
#4 Rubix Bulk Tag Editor
Rubix Bulk Tag Editor offers flexible filters for bulk product tag addition and removal, allowing users to filter by specific products, collections, tags, vendors, titles, product types, SKUs, and created dates. It also provides rollback at any time.
#5 Omega Auto Tags Order Customer
Omega Auto Tags automates adding tags to orders and customers based on product type or purchase amount, allowing real-time flow setup and increased efficiency, allowing businesses to focus on growth.
Discover Shopify review to provide a thorough understanding of what Shopify has to offer.
How to Bulk Add Tags in Shopify – FAQs
[sp_easyaccordion id=”62005″]
Final Words
As you can see, managing the tags is relatively easy, but the outcomes they give you are apparent. You can only scroll some of the way down to find what you want. We hope our article, “How to Bulk Add Tags in Shopify | Complete Guide 2023”, helps you easily create and edit tags.
LitExtension, the #1 Shopping Cart Migration Expert, has the most straightforward and affordable solution for Shopify eCommerce. More advice on managing your online store may be found in our LitExtension blog and eCommerce community.