Do you want to have a WooCommerce migration with no mistakes? If so, don’t miss our WooCommerce migration checklist below. By mapping out each detailed step of this process, you will have an all-around preparation of everything to launch a new WooCommerce store easily.
In this blog, LitExtension – #1 Shopping Cart Migration Expert will guide you through 3 following key points:
Right now, let’s get the full checklist of WooCommerce migration with us!
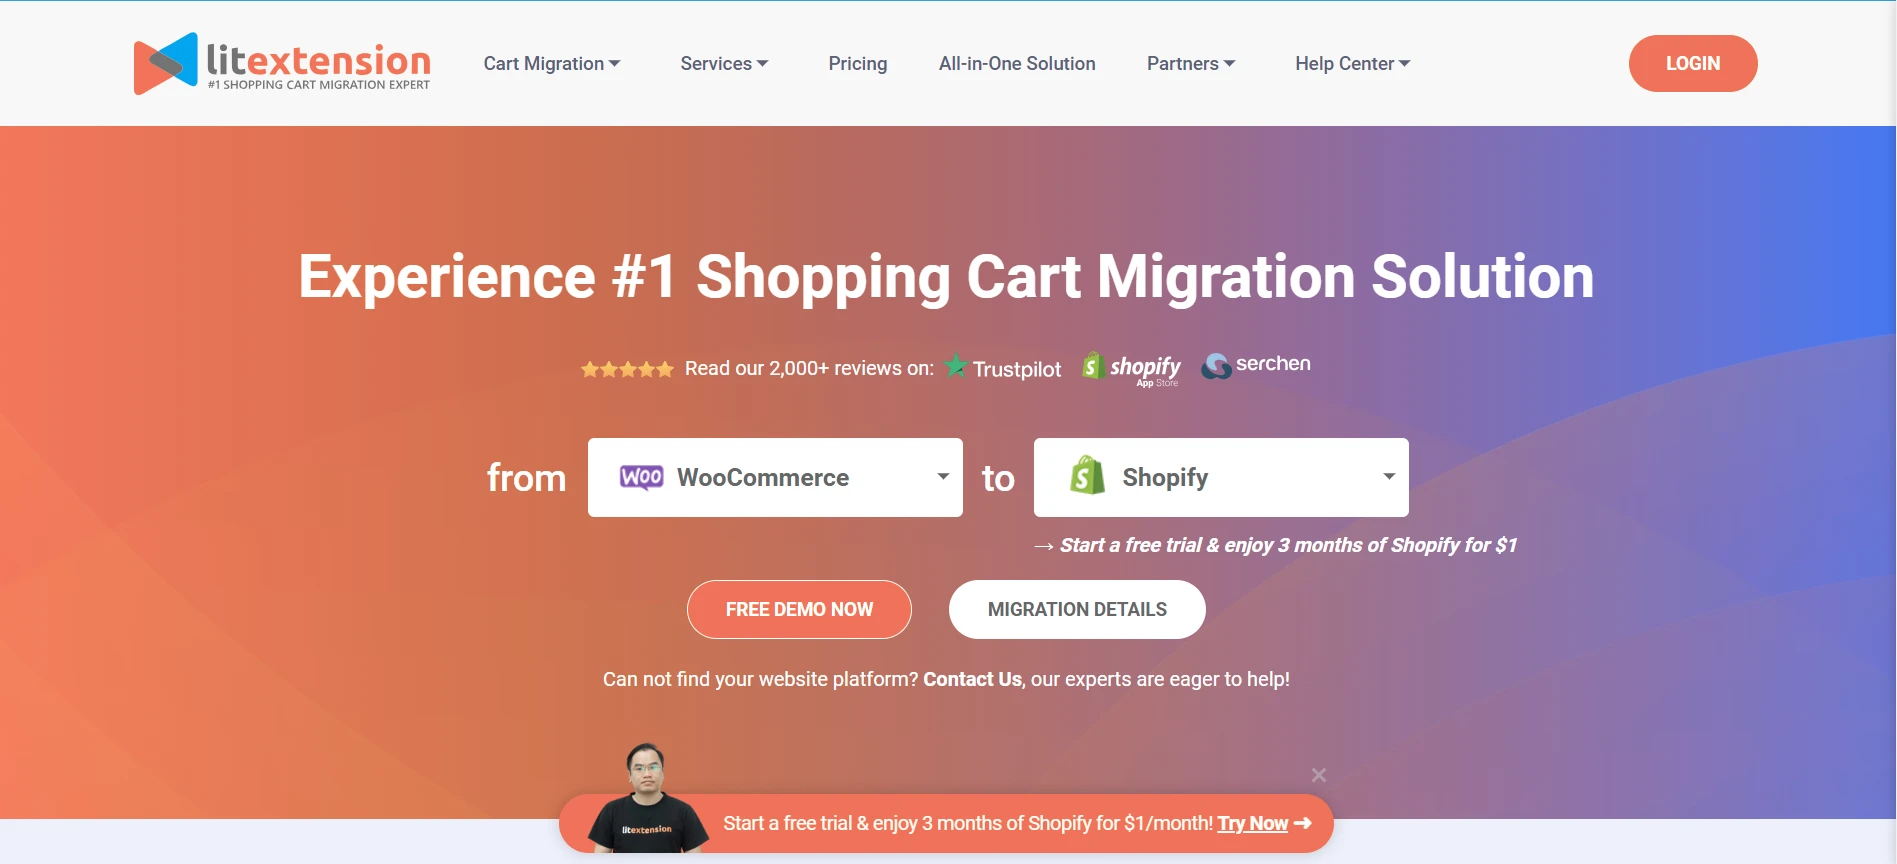
WooCommerce Migration Made Easy With LitExtension
Our team of experts can safely transfer your business data, products, customers, and orders to unlock more growth in this promising eCommerce platform. Let us provide a customized migration for you!
An Overview Of WooCommerce Migration
WooCommerce eCommerce migration allows you to transfer your store’s database to a new open-source solution. Basically, WooCommerce is developed on WordPress; thus, you can take all of its powerful functions to fulfill a WooCommerce store. In other words, you are having a WordPress migration from another platform. To discover more about how WooCommerce works, let’s refer to our WooCommerce review blog for clear explanations.
However, it is not easy to complete the data-switching process between entirely different platforms. If you don’t have a good understanding of their structures, it is sure that several mistakes will occur. That’s when you need assistance with this WooCommerce migration checklist!
WooCommerce Migration Checklist – Detailed Instructions
With many years of experience, LitExtension has come up with a detailed WooCommerce migration checklist to help you have a good preparation for this process. Let’s follow our instructions below to attain WooCommerce migration successfully!
Stage 1 – Migration preparation
1. Evaluate your original site
To migrate to WooCommerce with the finest results, you need to grasp your current site’s architecture in detail. Don’t forget to evaluate both data structure and performance to reach a proper option for your migration process.
Besides that, special integrations or third-party apps are also integral to gaining eCommerce values for your online store. That’s why you should have a basic understanding of their roles to have an effective site–maintaining strategy after the migration.
2. Define migration goals
If you don’t know which migration goals are, you may fail right at the first stage of running WooCommerce migration. Let’s set up specific objects and estimations about your business growth before starting an official migration. This will help you have a clear orientation for each stage of the eCommerce re-platform process.
Also, prepare a detailed timeline, as well as backup solutions for unexpected problems to optimize your store’s transfer time effectively. Don’t forget to assess all of the testing phases to reach the best performance of your WooCommerce migration plan.
3. Back up your database
Before running the migration, storing your current site’s database is one of the most important steps in this WooCommerce migration checklist. It is simply because data backup can help business owners to prevent important data loss.
From our experience, the folder should cover 3 main categories orders, products, and customers. Plus, you can prepare additional archive files of themes, module integrations, and translations.
Depending on each platform, you will have distinctive ways of backing up your store. Especially, if you transfer from the hosted site to an open-source platform like WooCommerce, this step is more important to consider. That’s why we recommend you read relevant official documents from the original platform to attain the optimal option.
In case you migrate your store from WooCommerce, let’s follow our guide on how to back up WooCommerce database.
4. Set up a new WooCommerce store
Since you need to migrate to WooCommerce, a new store is a must-have. To begin with, let’s add a WooCommerce plugin in WordPress. From the WordPress Dashboard, click Add New Plugin in Plugins and search for WooCommerce to install.
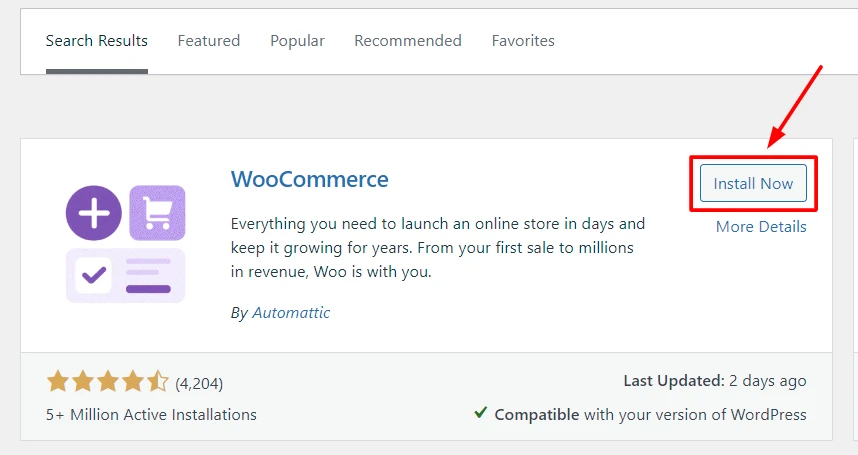
After that, click Activate and navigate the WooCommerce window in the WordPress Dashboard to establish basic fields for your store. Now, your WooCommerce site is ready to run the eCommerce migration project.
Stage 2 – Migration process
5. Define migrated data
Many users believe that transferring all of the data is necessary to build a new store on WooCommerce. However, it’s recommended to check which information is important to migrate, which can help you detect some unexpected mistakes. If any, let’s remove them from your database to create a smoother switch and somewhat save your budget.
6. Select a migration method
You are on the WooCommerce WordPress migration checklist, so it’s important to evaluate the most suitable method for your needs. Currently, there are 3 common ways to complete eCommerce migration:
- Hire a WooCommerce Partner
- Transfer database manually
- Hire an eCommerce expert
Currently, LitExtension – the #1 Shopping Cart Migration Expert, is one of the leading WooCommerce solution partners, which can offer powerful support to streamline your migration. With a reputation of over 10 years in this field, we always try our best to bring a comprehensive suite to optimize complex migrations on WooCommerce effectively.
Plus, you can refer to our All-In-One Migration Package to have the best experience with WooCommerce migration from the start to the end. With the assistance of the Personal Assistant, the data-transferring quality can be enhanced better.
7. Import data to WooCommerce
Based on the selected migration, you will have a respective sequence of importing data to WooCommerce. Keep in mind that you need to follow all steps to ensure a smooth process and prevent some unexpected mistakes.
You can import your product CSV file directly to WooCommerce. However, some kinds of data can not be shown in this way. Thus, you need to use professional plugins to complete this step.
Besides that, the database-importing process also requires you to have a deep understanding of how WooCommerce categories reach the best results. That’s why we think that you should get support from external extensions or a WooCommerce migration service, especially if you are not familiar with this platform.

Save Time Import Store Data to WooCommerce
Trusted specialists streamline migrations that actualize ambitions.
8. Review the results
In the stage of the WooCommerce migration checklist, it’s recommended to have an overview of the results of the previous steps. By doing this, you can check whether your data is displayed in the right formats or categories. If there is any problem, let’s have prompt solutions to enhance the completeness of the database during WooCommerce migration.
9. Migrate customer tags
WooCommerce allows users to manage their customers through tags. It also means that you can migrate to WooCommerce the customer categories into tags easily. In this case, let’s consider a special service from LitExtension called Migrate Source Store Customer Groups into Customer Tags. It is great for you to optimize your time to complete this demand.
Stage 3 – Post-migration activities
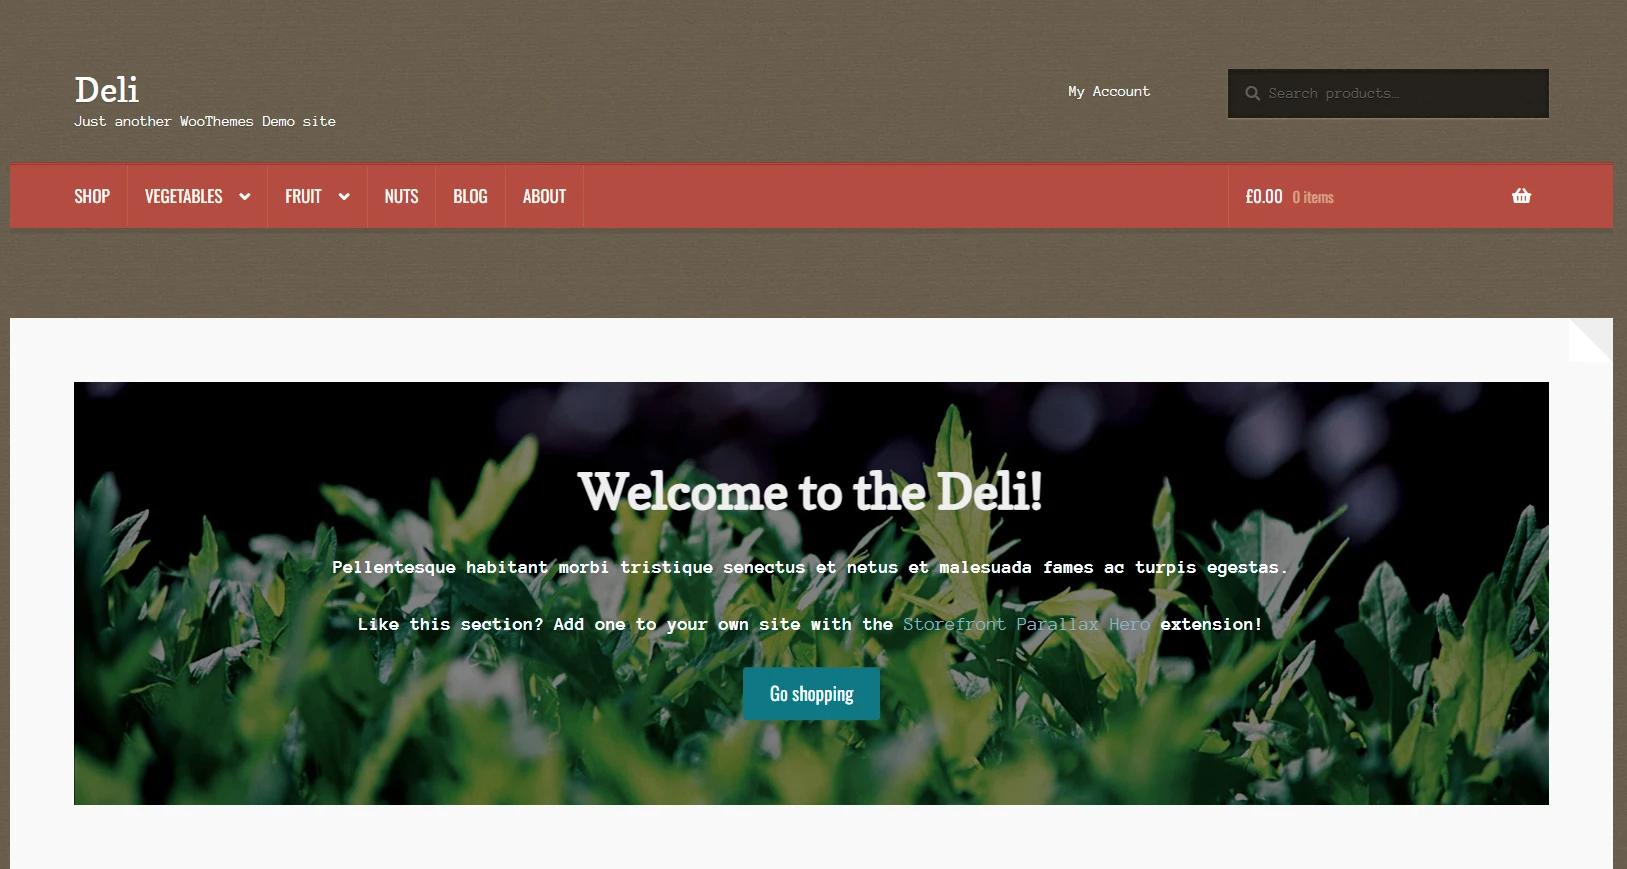
10. Customize your WooCommerce theme
After having all content imported to WooCommerce, it’s time to customize your storefront’s design. In the WooCommerce Theme Store, you can find both paid and free options to use for your site. If you want to save the budget, we recommend you experience 3 free WooCommerce templates, including Deli, Boutique, and Storefront.
11. Check product categories
It’s also important to check whether product categories display on your WooCommerce shop. This can help you ensure that your customers can reach your products easily. If there is any problem in this case, below are some of our suggestions to tackle that:
- Double-check your WooCommerce shop page configuration
- Activate “Shop and search results” in the Catalog Visibility
- Check compatibility issues among WordPress plugins with WooCommerce
- Update the products after having customization for the Shop page
- Update relevant permalinks (Default, PATHINFO, and mod-rewrite permalinks)
12. Set up the shipping policies
Next, you need to establish a new shipping policy for your WooCommerce store. From our experience, there are 2 main fields to consider, including:
- Shipping zones (local, domestic, and the rest of the world)
- Shipping methods to zones (flat rate shipping, local pickup, and free shipping)
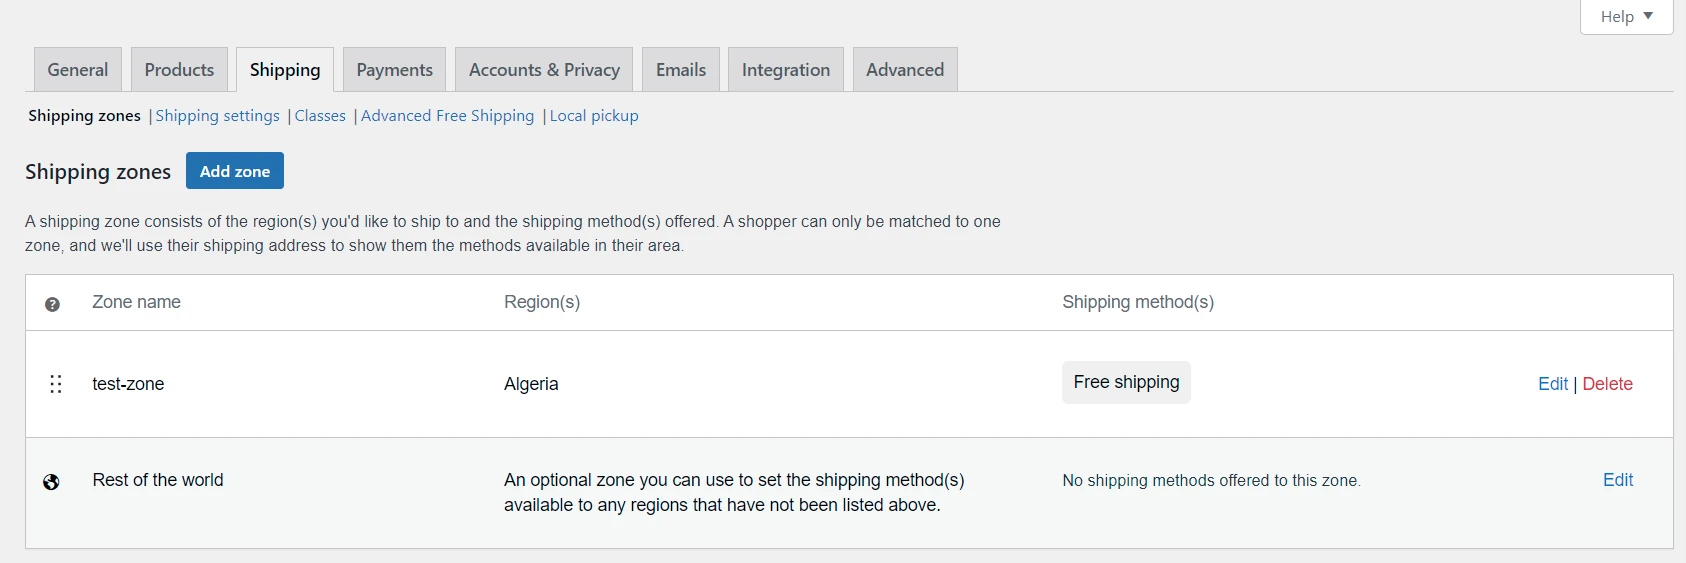
After that, you need to select a proper measurement system (suggested by the WooCommerce Setup Wizard) to finish this step.
13. Have the tax settings
The next step of our WooCommerce migration checklist is setting up the tax terms. In Settings of WooCommerce, navigate to the Tax tab to opt for a suitable option. In this case, all settings depend on the tax jurisdiction – where your store is running. Besides that, you can also establish which address to calculate taxes, including:
- Store base address
- Customer billing address
- Customer shipping address (default)
For more convenience, we recommend you use the Automated Taxes to take care of tax estimation for each sale easily.
14. Select payment methods
WooCommerce delivers merchants with the 3 following payment methods:
- Direct bank transfer
- Check payments
- Cash on delivery
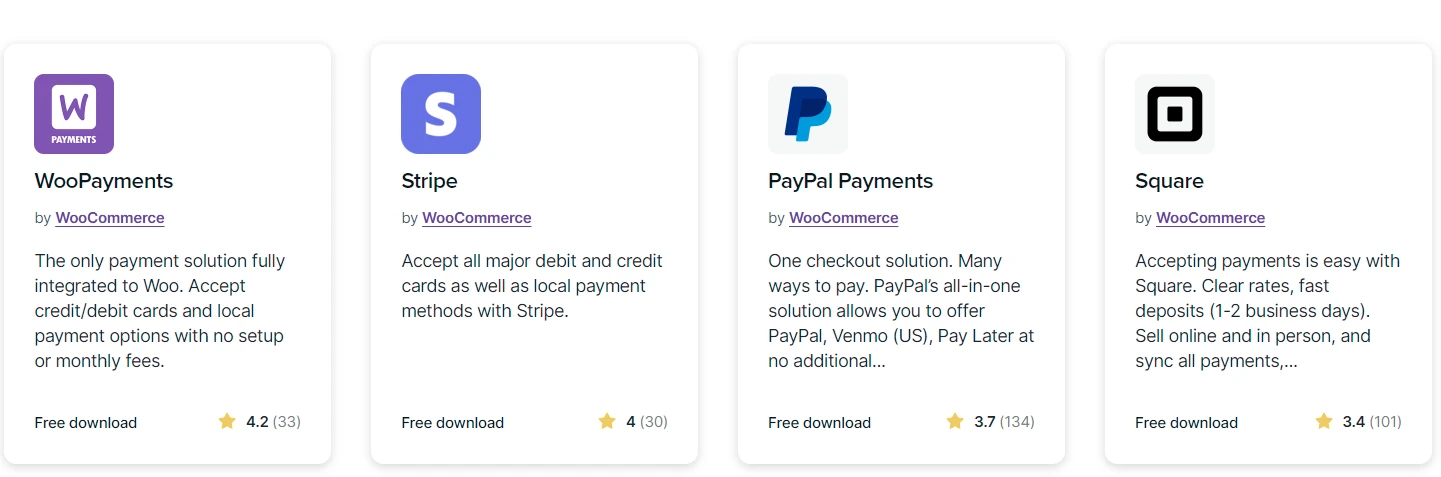
With WooCommerce Payments, business owners can get additional support, namely the entire payment panel. It normally includes deposits, overviews, documents, transactions, settings, and disputes tabs to follow their sales easily.
15. Install extensions
WooCommerce extensions help you optimize the marketing and eCommerce values in the e-marketplace. In this case, we recommend you install some outstanding options, such as:
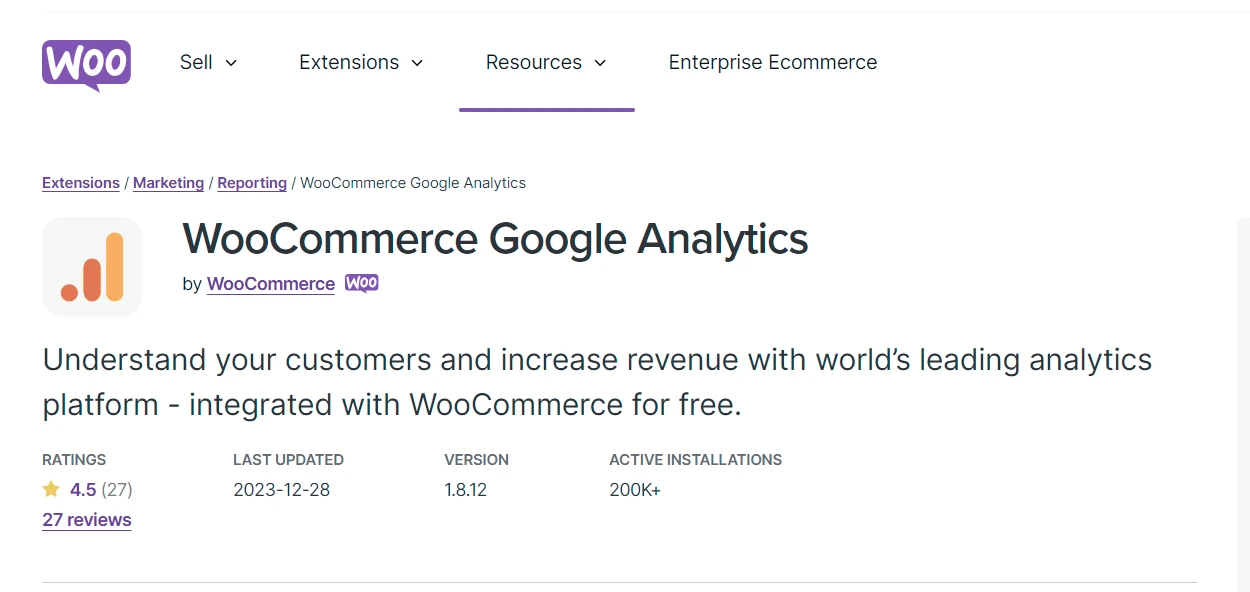
- WooCommerce Google Analytics: Provide detailed reports about your customers’ behaviors and help you release better forecasts about your store’s sales in the future.
- MailChimp: Collect all subscribers’ data to serve the marketing strategies effectively.
- Facebook: Synchronize your site’s data with the social network site, aiming to gain sales value better from customers.
16. Place test orders
It is recommended to run at least one test order during the first time you develop your WooCommerce store. This can be beneficial to your online business to detect any mistake relating to your customer’s shopping journey.
To complete this step, we recommend you use the WooCommerce Order Test plugin. This testing payment gateway allows you to evaluate whether your store’s checkout working is good or bad.
17. Assign access to staff
If you have a plan to run your WooCommerce store as a team, let’s grant each member unique login access to WordPress Dashboard. Besides, you can also limit the accessing rights to some particular content to ensure security at the maximum level.
18. Change DNS & domain settings
In the final step of our WooCommerce migration checklist, you need to switch your domain from the current site to WooCommerce. This requires you to have an update in your DNS system to create a new IP address. With this IP, you can activate the right to access the online content of your store for WooCommerce.
Above are all of the main stages in the basic WooCommerce migration checklist you should consider before having any eCommerce migration to this platform.
WooCommerce Migration Checklist – FAQs
[sp_easyaccordion id=”70078″]
Conclusion
Our blog has just launched a comprehensive WooCommerce migration checklist to help you have a smooth migration process with this platform. If you have any problem during your data transfer, don’t hesitate to contact LitExtension Support Team.
LitExtension, the #1 Shopping Cart Migration Expert, hopes you successfully run WooCommerce migration. Check out our LitExtension Blog or join our Facebook Community Group for more useful tips.