Recent developments in multi-channel selling have heightened the need for expanding the business and increasing sales on as many platforms as possible. Currently, Shopify and Amazon are two outstanding names when it comes to best-in-class eCommerce platforms. Hence, in this article, LitExtension will be providing you with step-by-step instructions to avail
- Benefits of Shopify Amazon integration
- How to sell on Amazon via Shopify
- Sell on Amazon using third-party apps
- Shopify Amazon integration with LitCommerce
Multi-channel Selling Made Easy
Want to minimize manual efforts when integrating Shopify with Amazon? Try out LitCommerce – The Most Simple Multichannel Selling Tool! Within 4 Steps ONLY, you can easily sell Amazon products on Shopify.
Benefits of Shopify Amazon Integration
Shopify – a giant among world-leading platforms, has been empowering nearly 4 million stores including a bunch of well-known brands. It is equipped with
Simultaneously, Amazon is a top-ranking marketplace that attracts over 2,5 million sellers and more than 300 million active customer accounts worldwide. A reservoir of potential customers that a store owner can imagine. The global popularity of Amazon can spread your products ubiquitously in the blink of an eye.
Have you ever thought about selling on both your Shopify store and Amazon at the same time? If yes, you are taking steps to work out a multi-channel selling solution. Whenever you want to sell on multiple sales channels to thrive your business, LitCommerce Shopify Amazon Integration can be your best choice. LitCommerce – another LitExtension brand – is a SaaS system that allows e-sellers to list and sell products on the largest online marketplaces and allow data on these channels to be centrally managed in one place.
Unquestionably, the combination of these two top-notch platforms will bring you huge advantages. Moreover, if you use the benefits of the Amazon tax exempt, follow the Amazon rules to avoid suspension, etc, your brand will succeed even better. Take a look at the list of merits of Shopify Amazon integration:
- Popularity Increase: Displaying products on both your website and Amazon takes a massive contribution to the prevalence of your business since your products have more chances to appear on search engines. The more easily customers find your products, the more likely they are to make a purchase.
- Alternative Solution: In the worst situation, either of your stores encounters issues, you still can keep up your good work on the other.
- Conversion Optimization: Amazon will take a center stage in dramatically optimizing the conversion since an array of customers visit it on a daily basis. It is one of the marketplaces that everyone will think of when they are about to buy an item. As a matter of fact, seeking a reliable website might be impossible, but reaching the necessary products on Amazon is far easier.
With the listed benefits, be ready for action!
How to Sell on Amazon via Shopify?
Let me walk you through the 5 steps to kickoff your business on the most well-known marketplace with your existing Shopify store.
#Step 1: Check the Eligibility & Category approval
Before starting with the Amazon sales channel, please check the requirements below to know whether you’re eligible or not.
- You must sign up for a Professional Seller account on Amazon Seller Central. Be aware that Amazon will charge a monthly subscription rate and per-item fees for selling.
- Make sure you sell your items in USD on Amazon.com or in CAD on Amazon.ca. You can only sell on the Amazon sales channel with the region that matches your store currency on Shopify.
- Your return policy is at least as good as Amazon’s or even better.
- You are on an active Shopify plan.
After having a professional seller account, you need to get approval from Amazon that your products fit the categories. Additional fees, performance reviews, and other requirements can be part of the approval process.
List of categories and products requiring approval:
- Holiday Selling Requirements in Toys & Games
- Amazon Watch Warranty FAQs
- Made in Italy
- Video, DVD, & Blu-ray
- Collectible Coins
- Streaming Media Players
- Personal Safety and Household products
Need Help To Migrate Your Store?
LitExtension provides a well-optimized Cart to Cart migration service that will help you transfer all your data accurately, and painlessly with utmost security.
#Step 2: Add Amazon as a Sales Channel
Shopify’s merchants can add an Amazon sales channel from the App store or activate it directly from the Shopify admin. Below you will find the instructions on how to add an Amazon sale channel on Shopify Admin.
- Log in to Shopify admin, click the ‘+’ button next to the SALE CHANNELS heading.
- Click Amazon to get more information about the sales channel.
- Select Add channel.

- On the Amazon account page, click Connect to Amazon
- Follow the instructions to share the information from your Shopify to Amazon Seller Central accounts. When the process is complete, you will be redirected back to your Shopify admin. In the User Permissions section of your Amazon Seller Central account, confirm developer access for Shopify.
Merchants can also add Amazon sales channels on both iPhone and Android devices.
#Step 3: Create an Amazon listing/offer
Your Shopify products aren’t automatically listed on Amazon when you activate the Amazon sales channel, so you have three ways to start selling products on the Amazon sales channel.
-
Create and manage listings to sell on Amazon if the product you sell is new on Amazon.
- Log in to Shopify admin, and go to Amazon.
- Select Create listing.
- Tick the product from your Shopify list that you want to sell on Amazon, then tap Select product.
- On the Search page, choose to Create a listing.
- Find the category that matches your product on the category list.
- Fill in the Amazon listing details in order not to affect the content on Shopify.
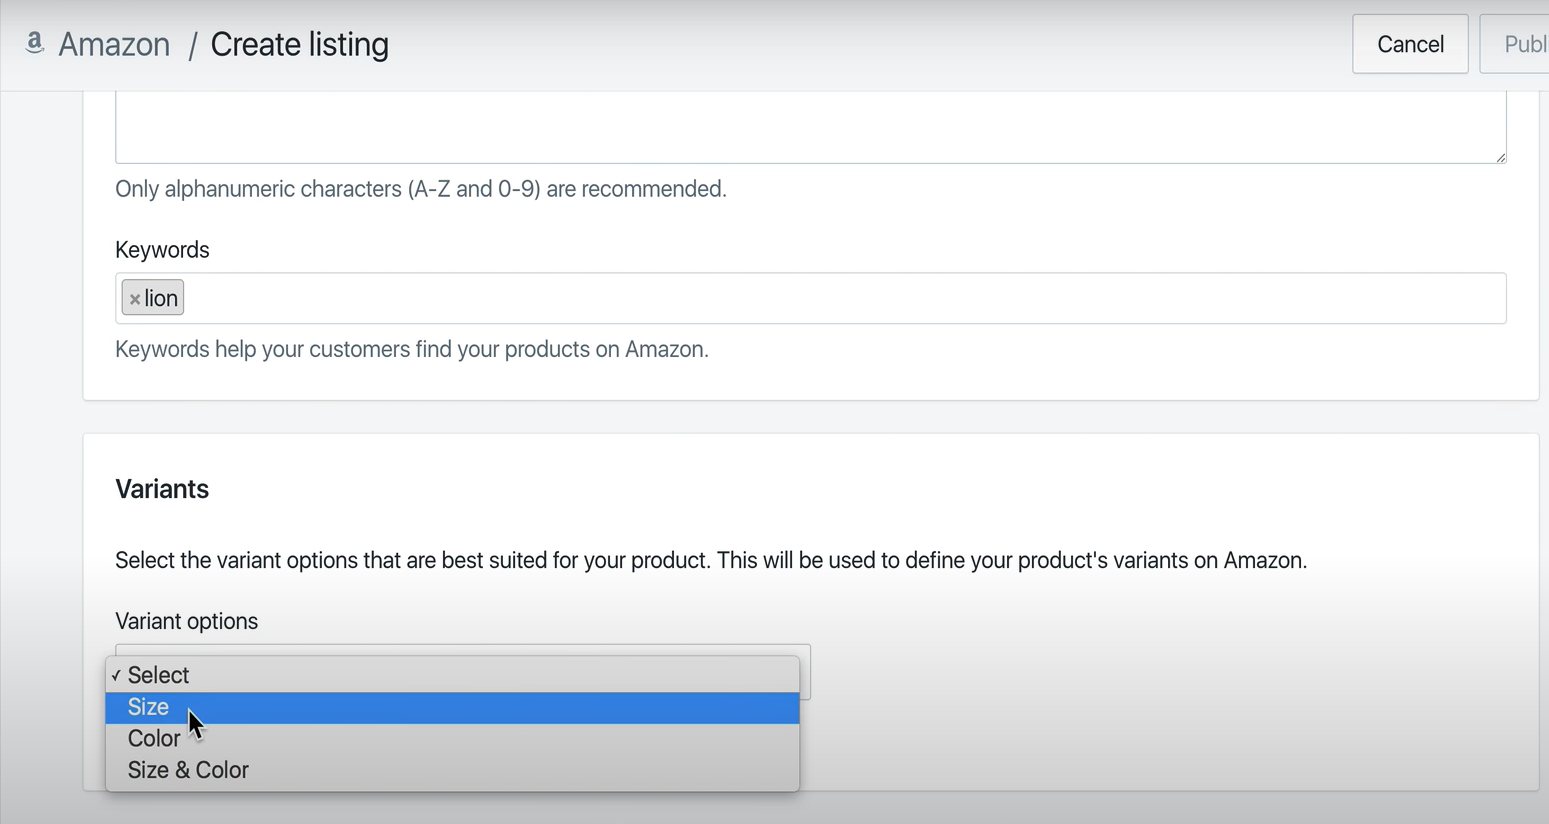
- Then, select the product options in the Variants section that apply to your product.

- Choose Inventory Management settings, fill in the Production time if applicable then select the image for your variant.
- Click Publish when the process is complete.
-
Create an offer for your product if your product is the same as the product which is being sold on Amazon.
- Log in to Shopify admin, and go to Amazon.
- Choose Create listing
- Select the product from your Shopify list that you want to display on Amazon and choose Select product.
- On the Search page, tap Find Product to seek the product on Amazon that matches the product you provide, then tap Select.
- On the Edit listing page, you can either select the specific variant to your offer or select the Don’t offer variant option from the SHOPIFY VARIANTS dropdown list.
- Fill in the list price for each variant, then set up inventory.
- Click Publish when the process is complete.
-
Alternatively, you can link Shopify to your existing Amazon listings if the product you provide is being sold on Amazon. Following these steps:
- Log in to Shopify admin, and go to Amazon.
- There will be a banner on each linkable product detected by the Amazon sales channel. Since the Amazon sales channel doesn’t support Fulfillment by Amazon (FBA) offers, products that are fulfilled using FBA can’t be connected to your Shopify products. Select Link products from the Listings page.

- Tap the Browse products button which is next to the product you desire to link to your Shopify product.

- A Select product dialog will appear. Then tick the product you want to link then tap Select product.

- Choose the way you want to manage inventory for the products you are linking.
- Fill in the Production time if applicable. If you select Not required for these products, the default production time is 2 days. In case you need more time to prepare or produce the item before shipping, fill in the number of days when linking the product. This won’t affect the production time on Amazon Seller Central.
- Choose the variant you want to link to your Amazon listing.
- Tap Link products to link your existing Amazon listing to your Shopify product.
Note: you can unlink all the linked variants for a product on the Edit listing page.
#Step 4: Manage inventory settings
Every customer viewing your listings or offers on Amazon can see the availability of inventory quantities for each variant.
Two ways for you to go when it comes to inventory settings management. You can either harness the inventory tracking settings to sync your product inventory on Amazon or you can manage the inventory quantity manually.
1. Sync inventory on Amazon
The system will automatically sync your Shopify product inventory to Amazon based on the product’s inventory policy if you choose the Use Shopify inventory settings option.

- Shopify tracks this product’s inventory: This option will enable Shopify to automatically update the Amazon listing to match the product’s inventory on Shopify if you don’t allow customers to buy a certain product when it’s out of stock. In case you allow customers to purchase a product when it’s out of stock, the inventory on Amazon is automatically 100. Note that Shopify won’t show this number.
- Don’t track inventory: The inventory is 100 by default. This number appears on Amazon only.
Amazon supports neither unlimited nor negative inventory quantity. Therefore, the 100 plays a role as a placeholder to ensure the availability and appearance of listings on Amazon. The number of available products might decrease when customers purchase products. However, this number is automatically set back to 100 every 10 minutes.
2. Manually manage inventory
It’s possible to manage the inventory manually on Amazon. The set number of inventory quantities sold on Amazon is kept separately from Shopify’s. Hence, if a product is sold on Amazon, its quantity decreases on Amazon and on the Amazon listing details page, but not on Shopify. This option allows you to check and change the number of sellable products at any time. Follow 2 steps to manually manage inventory:
- Select the Manually manage inventory option when creating or editing a listing.
- Fill in the Quantity to sell on Amazon.

#Step 5: Fulfill orders
You can keep track of all the Amazon orders right in the Orders section in the Shopify admin. Amazon will mark these orders.
By fulfilling Amazon orders on Shopify admin, the status of the orders will be automatically updated with the same fulfillment date on both Shopify and Amazon Seller Central. While filling Amazon orders in Shopify, make sure you follow Amazon’s Selling Policies and label orders as performed in Shopify within the timelines of Amazon.
While customers will only receive the order notifications from Amazon, merchants will receive notifications from both Amazon and Shopify.
Please note that you cannot integrate Amazon sales channel orders with FBA. Therefore, you need to manually fulfill orders in your Shopify admin.
Sell on Amazon Using Third-party Application
Whenever you find this instruction above complicated for you, using a third-party app can always be an ideal solution. A multi-channel selling tool like LitCommerce will be of no concern to any merchants who want to expand their business quickly and easily. With Shopify Amazon integration, you can sell on Amazon with ease and take advantage of its additional features, as below:
- Product Listing in Bulk: You can simply build listings and publish them on Amazon using products from your central catalog.
- Real-time synchronization: LitCommerce will automatically update your Amazon store whenever you make changes to your product attributes from your Shopify store. Those can be name, price, inventory, images, and far more, which can save you time and reduce repetitive tasks.
- Advanced Order Management: The multi-channel selling tool can help you manage and fulfill orders in a breeze. The LitCommerce solution will immediately sync your orders from Amazon to one central dashboard. Also, LitCommerce allows you to keep track of data and deliver products in time.
Shopify Amazon Integration with LitCommerce
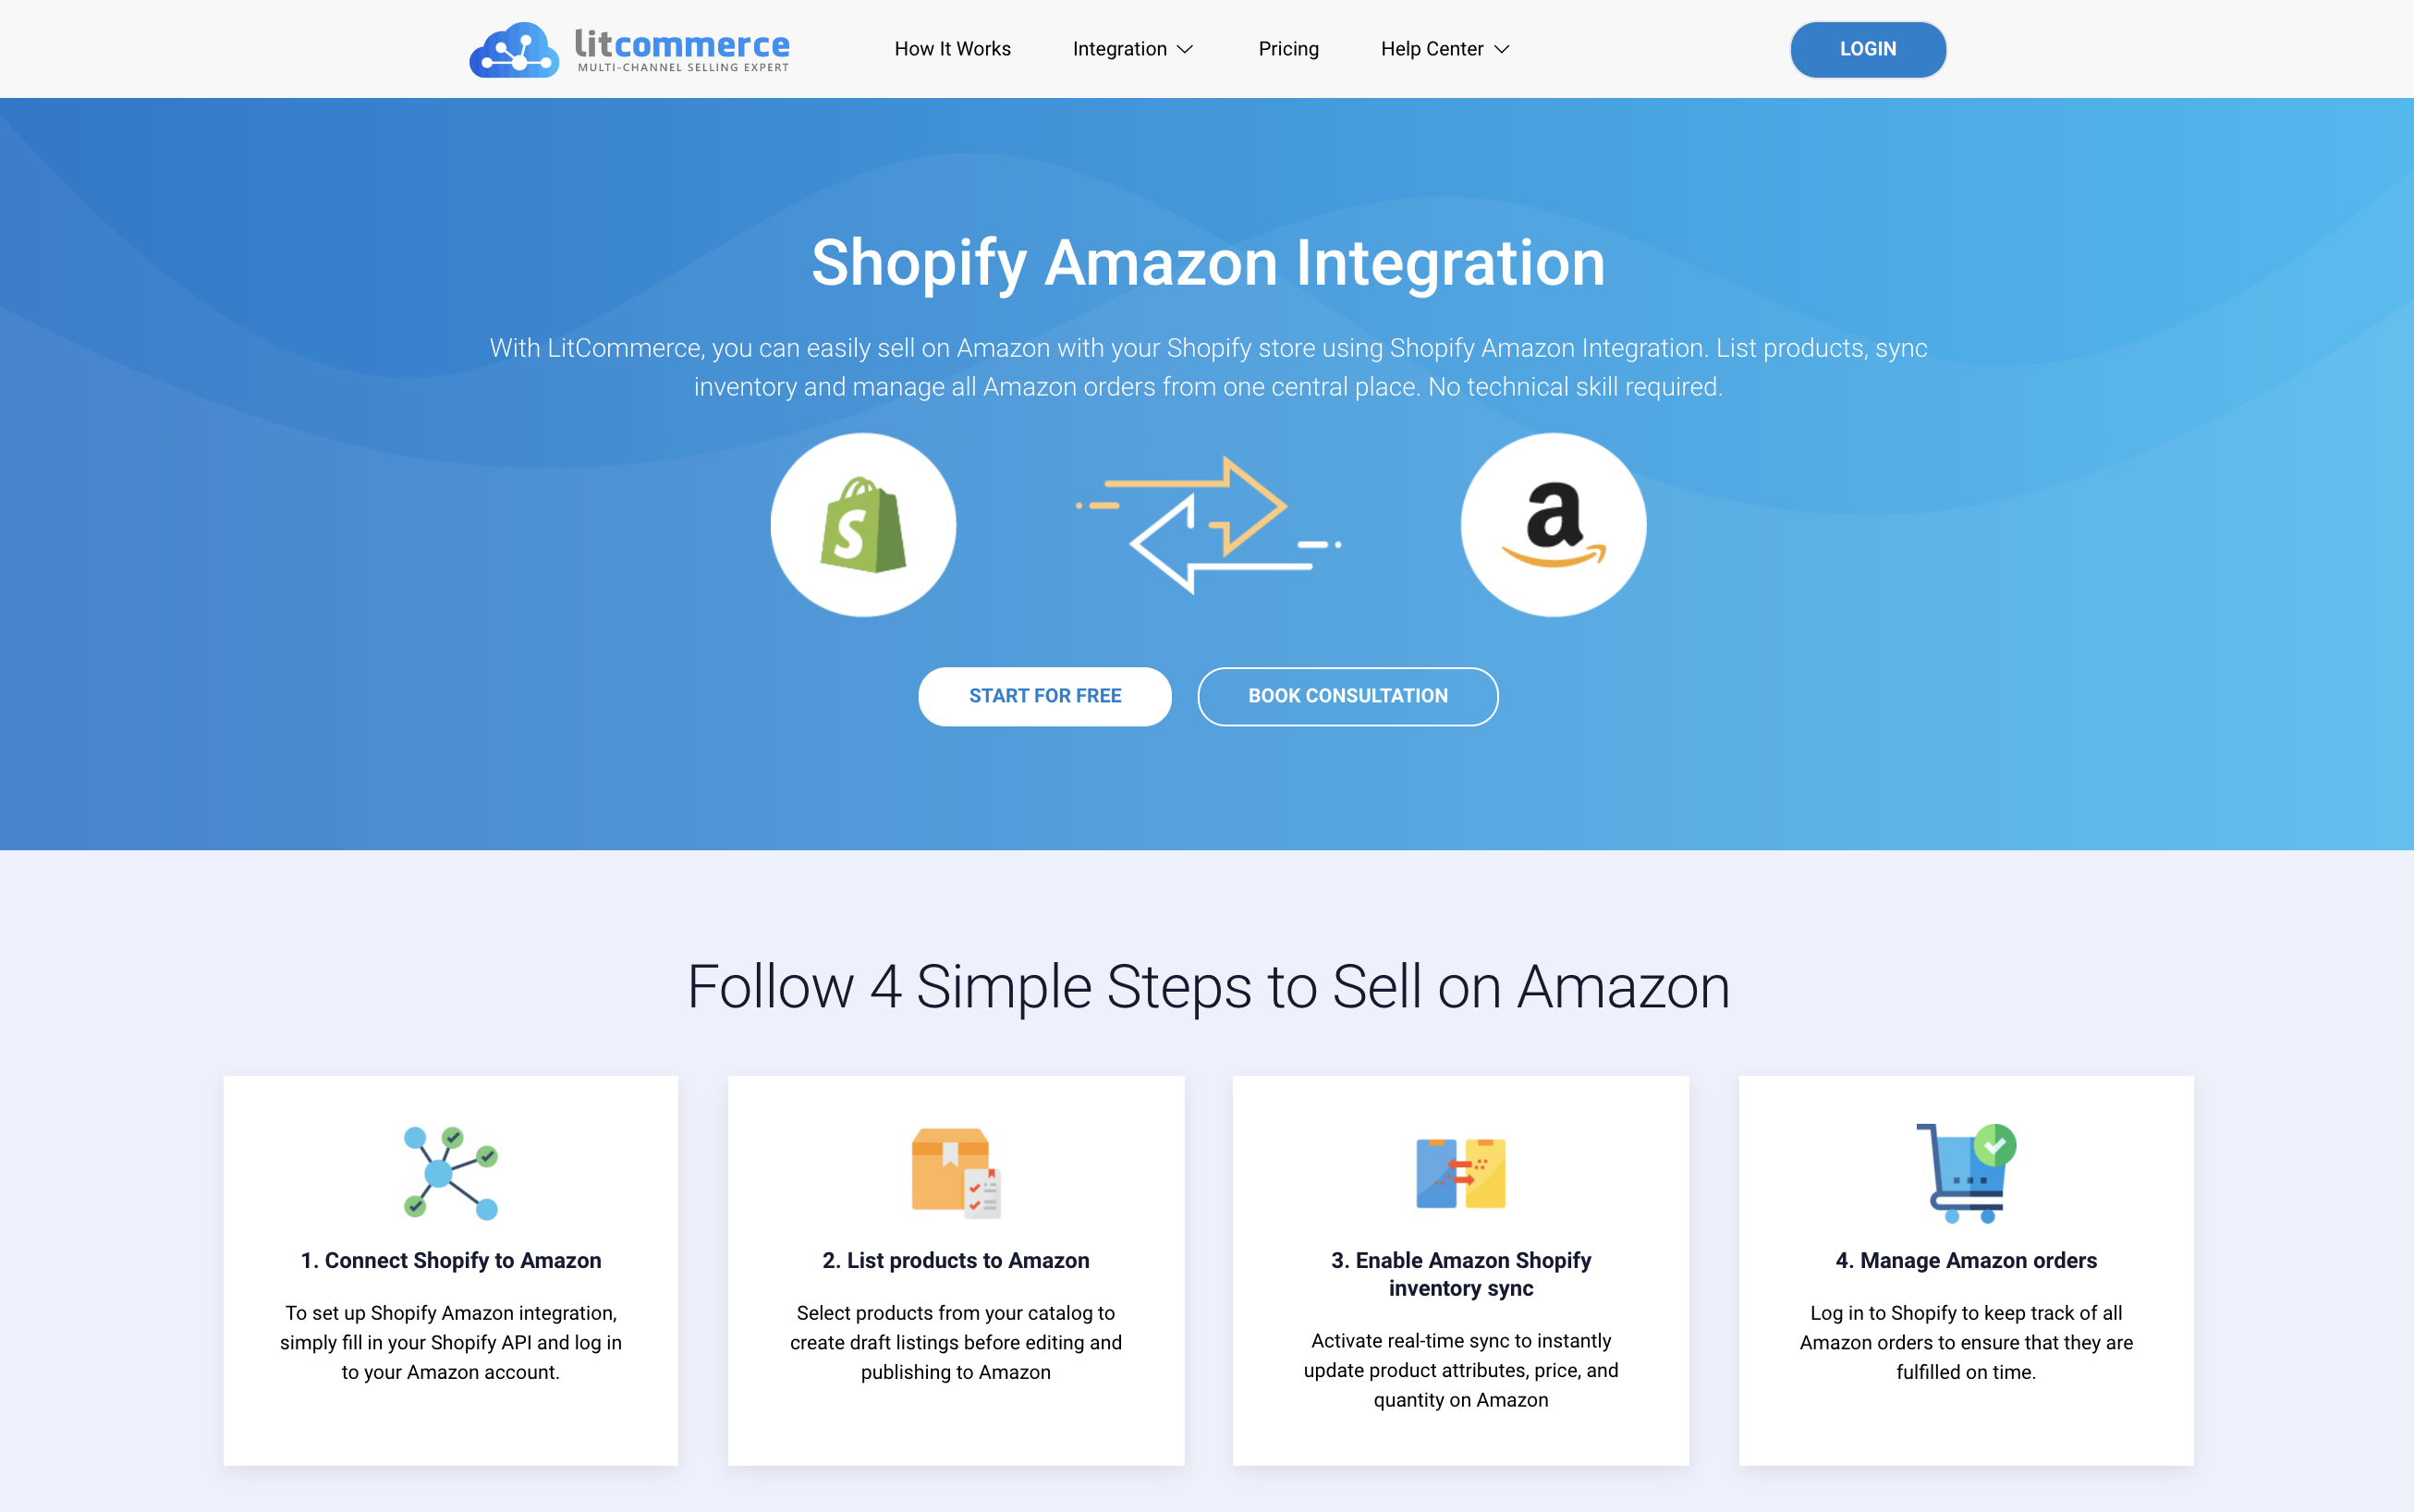
A special thing about LitCommerce is that you will have a huge opportunity to connect your Shopify store to not only one but many online marketplaces such as eBay, Etsy, etc. Within 4 simple steps, you can easily connect Shopify to Amazon and leverage your sales.
For more information, feel free to visit the detailed instruction to successfully process Shopify Amazon Integration with the LitCommerce team.
In short, we will show the 4-step guide below:
#Step 1: Connect Shopify to Amazon
Registering an account without a hassle with LitCommerce, simply sign up with your Facebook or Gmail account, and you’re good to go!

Next, connect your Shopify store which will act as a source of data to import products. Simply choose Shopify and hit the “Connect” button.
When accessing your Shopify store, you need to provide your store URL and the API password. The LitCommerce app will provide you with a video tutorial to help you fill out the API data.
#Step 2: List Products on Amazon
To make a new draft listing, go to the left sidebar menu and select All Products. Now, choose the products you wish to list on your channels, then, select Amazon from the List products on channel section.

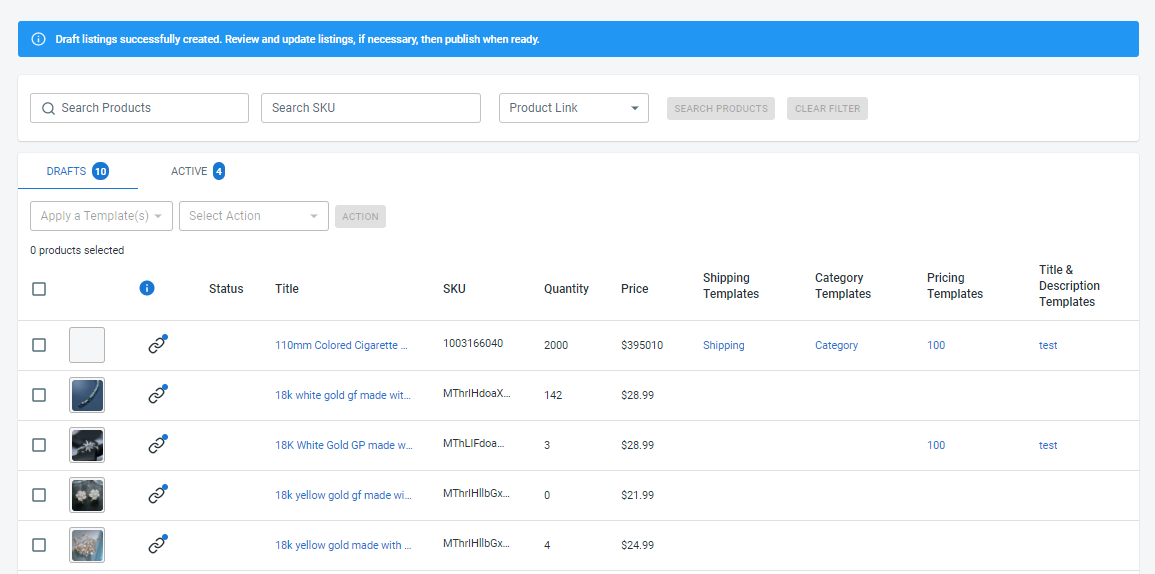
The system will then build and redirect you to draft listings on your channel page. You’ll also receive a notification stating Draft listings were successfully created. And you can now make any changes you want to your listings before they go live.
#Step 3: Sync Shopify & Amazon Inventory
Let’s choose Amazon from the main dashboard, then select Channel settings. As shown in the image below, the Inventory part is accessible from there.
Toggle on Inventory Sync by clicking the switch button.
Then, at the bottom of the page, click Save Settings to save any changes you’ve just made. And now you’re all set to go!
#Step 4: Manage Amazon Orders
While your orders will be fulfilled in the Shopify store, you can also manage them in the LitCommerce system. Go to Orders in the left sidebar menu to manage your orders.
The buyer’s name, order status, channel order number, and other crucial details are all included. This will allow you to keep track of and manage orders from all of your sales channels in one place.
That’s how easy it is to utilize Shopify Amazon integration using the LitCommerce app.
Shopify Amazon Integration – FAQs
[sp_easyaccordion id=”48514″]
Final words
In conclusion, managing, selling, and popularizing your products on diverse channels is an upward trend that positively affects your business. Unquestionably, the exploitation of the most robust and prevalent platforms will make a significant contribution to your business growth.
With a few steps to follow, every merchant has a golden chance to reach one of the most favorable marketplaces through an existing Shopify store. Hope this article provides you with all of the necessary information to integrate Shopify into Amazon.
In case you have any questions, don’t hesitate to contact the LitExtension support team. Last but not least, don’ forget to check out our LitExtension blog and join our community to get more eCommerce knowledge.
