Did you know an unnecessarily long and complicated checkout process is among the top five reasons why your customers abandon their carts? So why not learn how to add Apple Pay to Shopify to accelerate the checkout process of over 1.32 billion iPhone users?
That’s why in this article, we will give you a walk through all you need to know about how to add Apple Pay to Shopify checkout:
Let’s dive right in!
Apple Pay on Shopify 101
If you’re a newbie, let’s spend some minutes getting to know more about Shopify Apple Pay, what it is, how Apple Pay works, and what requirements are for Apple Pay Shopify. From our experience while building our Shopify store months ago, these are all necessary information in order to best use the method and enhance your website’s performance.
What is Apple Pay?
Apple Pay is a popular mobile payment and digital wallet service developed by Apple that allows Apple users to make secure, contactless payments in stores, in apps, and online.
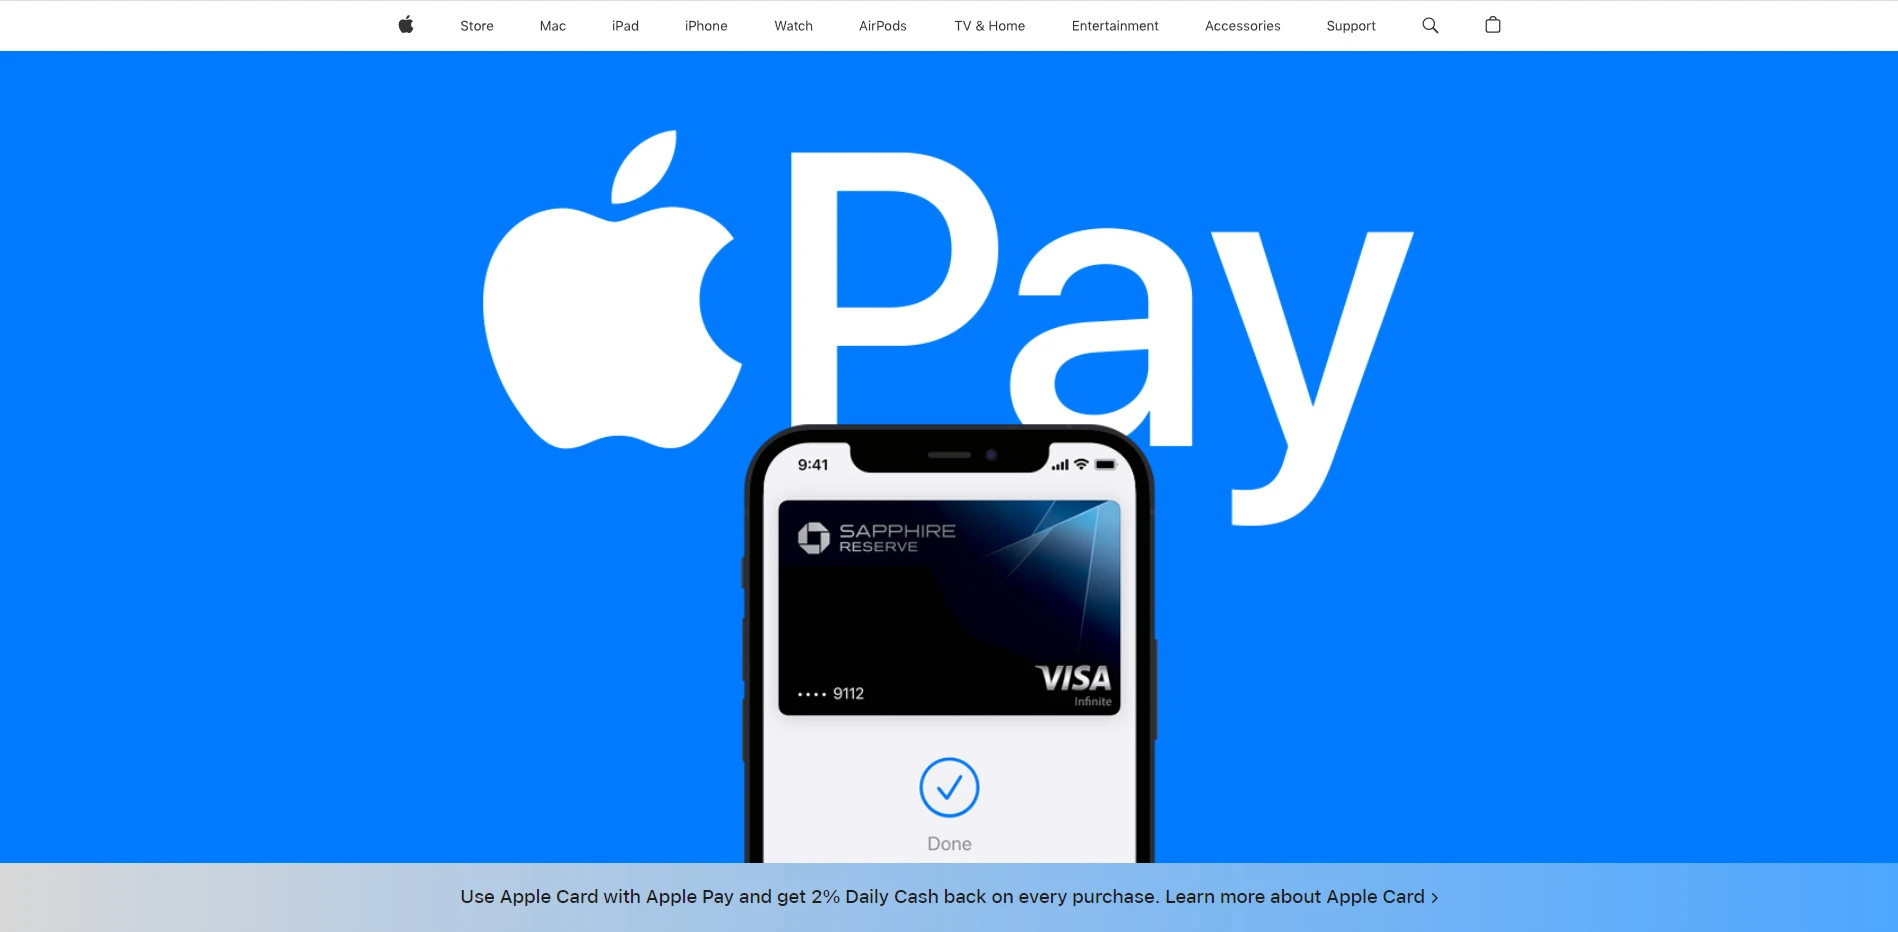
With Apple Pay, iPhone users can add their credit or debit cards to their digital wallet and pay for their purchases by tapping their iPhone or Apple Watch at the point of sale terminal. Apple Pay utilizes a device-specific number and unique transaction code for each purchase, ensuring users’ credit or debit card information is fully secured.
Apple Pay also offers additional security features, such as Touch ID or Face ID, which allow users to authenticate transactions with their biometric data. In addition to in-store payments, you can use Apple Pay to purchase in-participating apps and on the web with Safari on supported devices.
Why Use Apple Pay in Shopify?
Enabling Apple Pay on your Shopify store can provide numerous benefits for you as a merchant, chief among them are:
- Improved checkout experience: With Apple Pay, customers can complete their purchases with just a few taps without manually entering their payment and shipping information.
- Increased conversions: Apple Pay has been shown to increase conversion rates by reducing friction at checkout and making the process faster and easier for customers.
- Enhanced security: Apple Pay utilizes multiple layers of security, including device-specific numbers and biometric authentication, to ensure that transactions are safe and secure.
And another big reason is that enabling Apple Pay for your Shopify store is easy, which we’ll show you in detailed steps below!
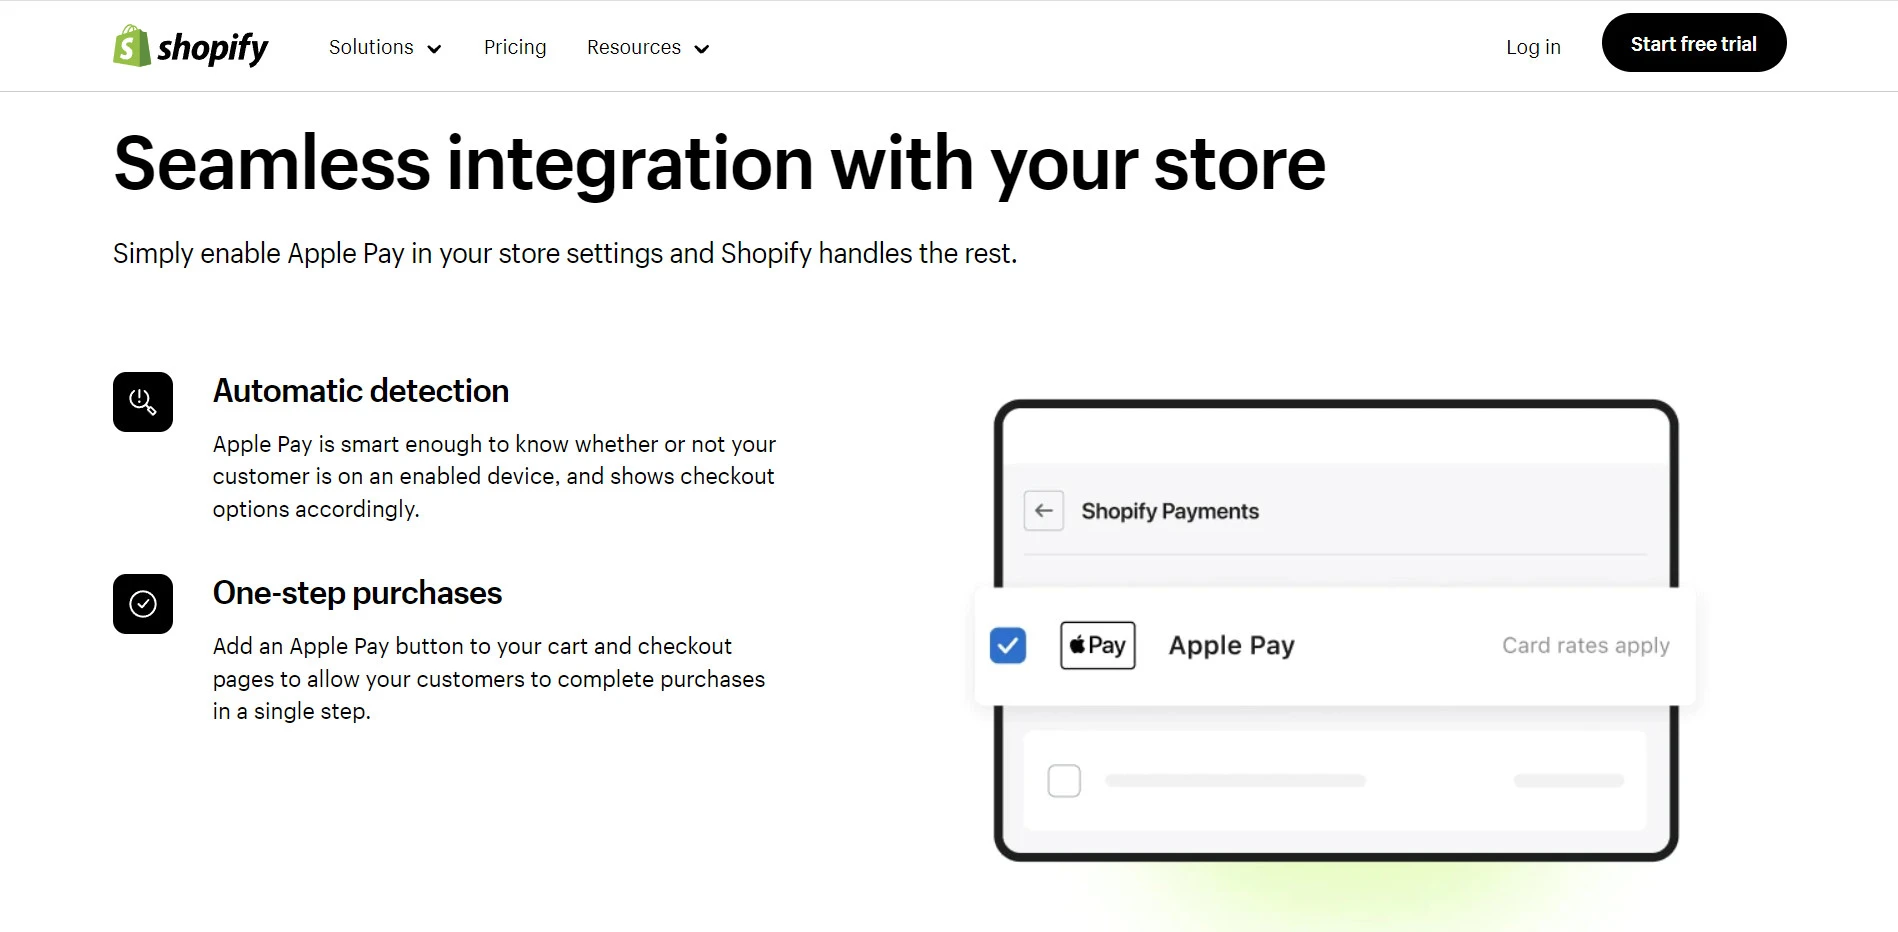
Besides payment methods, Shopify attracted millions of online merchants thanks to its fully-designed platform tools to support you:
- Shopify Tutorial: 9 Complete Steps to Get Instant Sales
- Shopify Review: Is Shopify The Crown Jewel of The eCommerce World?
- 25+ Best Shopify Themes – Have You Got One?
Requirements for Using Apple Pay in Shopify
And before we explore how to add Apple Pay to Shopify, here are a few requirements you have to meet:
1. You must use one of these listed credit card payment providers:
- Shopify Payments
- Stripe
- Authorize.net
- First Data Payeezy
- Braintree
- CyberSource
2. You need to have an SSL certificate activated on your Shopify website’s domain.
3. You need to follow Acceptable Use Guidelines for Apple Pay on the Web.
Once you have ticked all the checkboxes, let’s jump straight to today’s main course: how to add Apple Pay to Shopify store!
How to Add Apple Pay to Shopify Store?
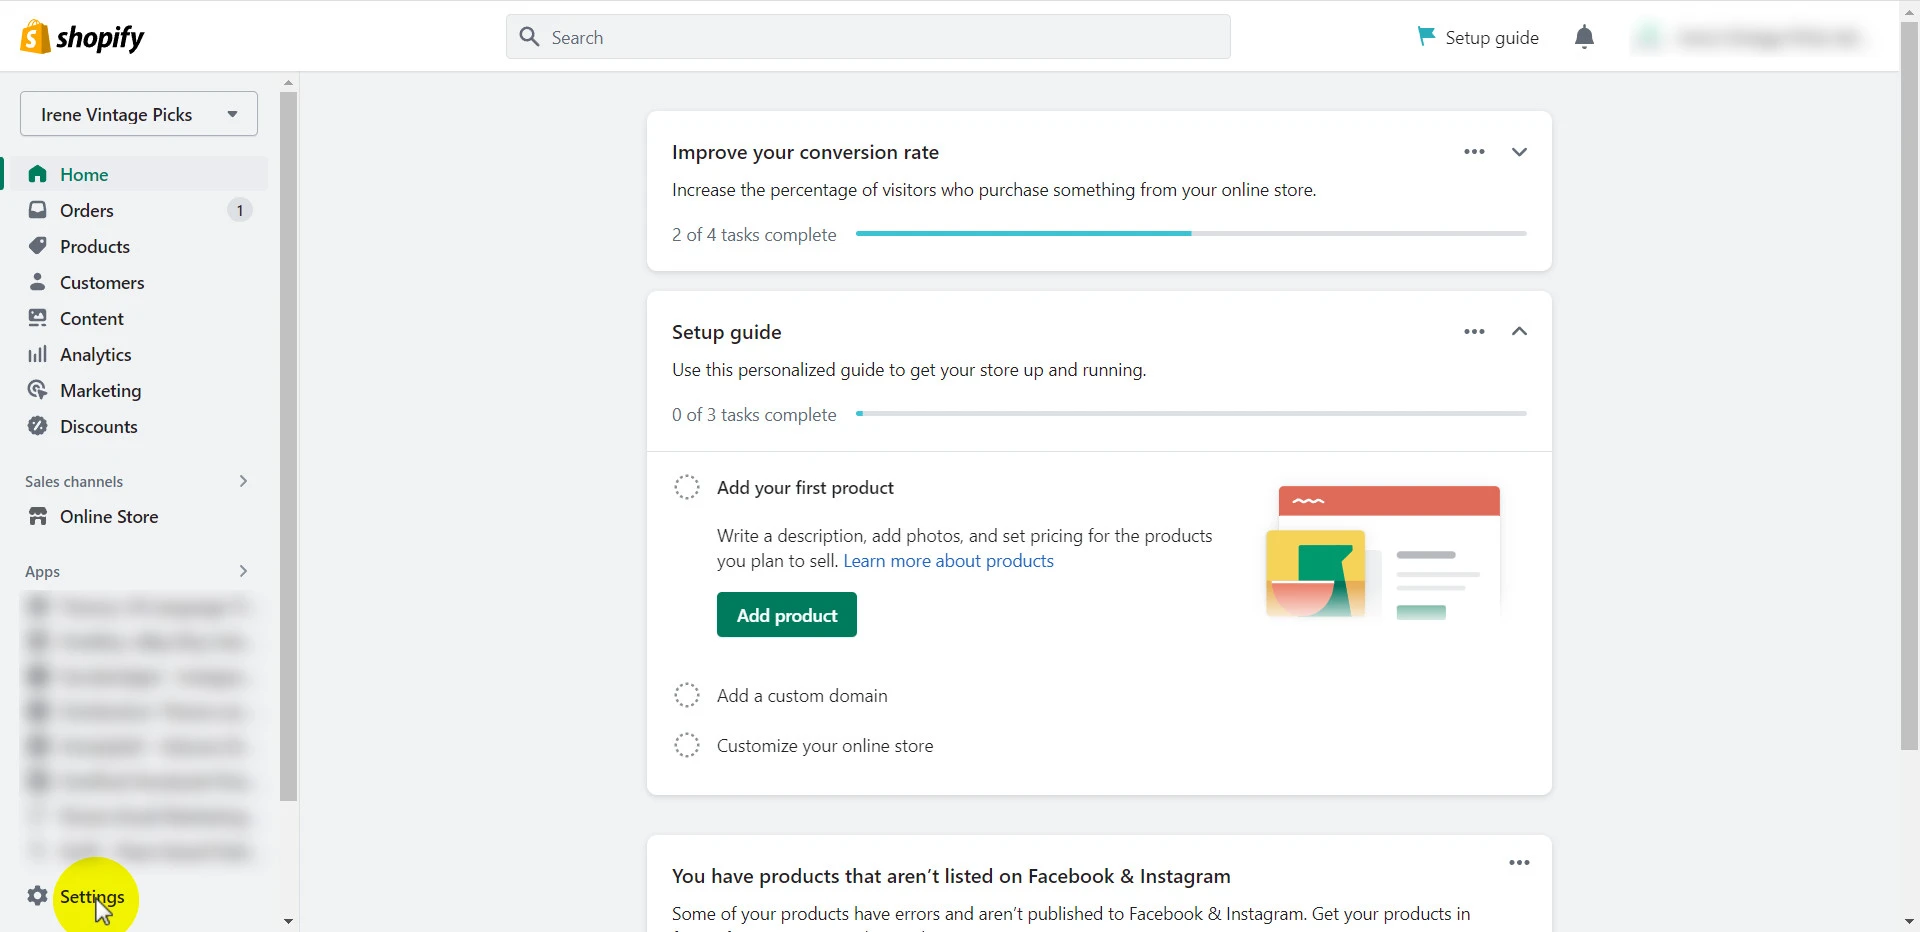
After logging in to your Shopify store, on your Shopify admin, Click Settings on your screen’s bottom left corner.
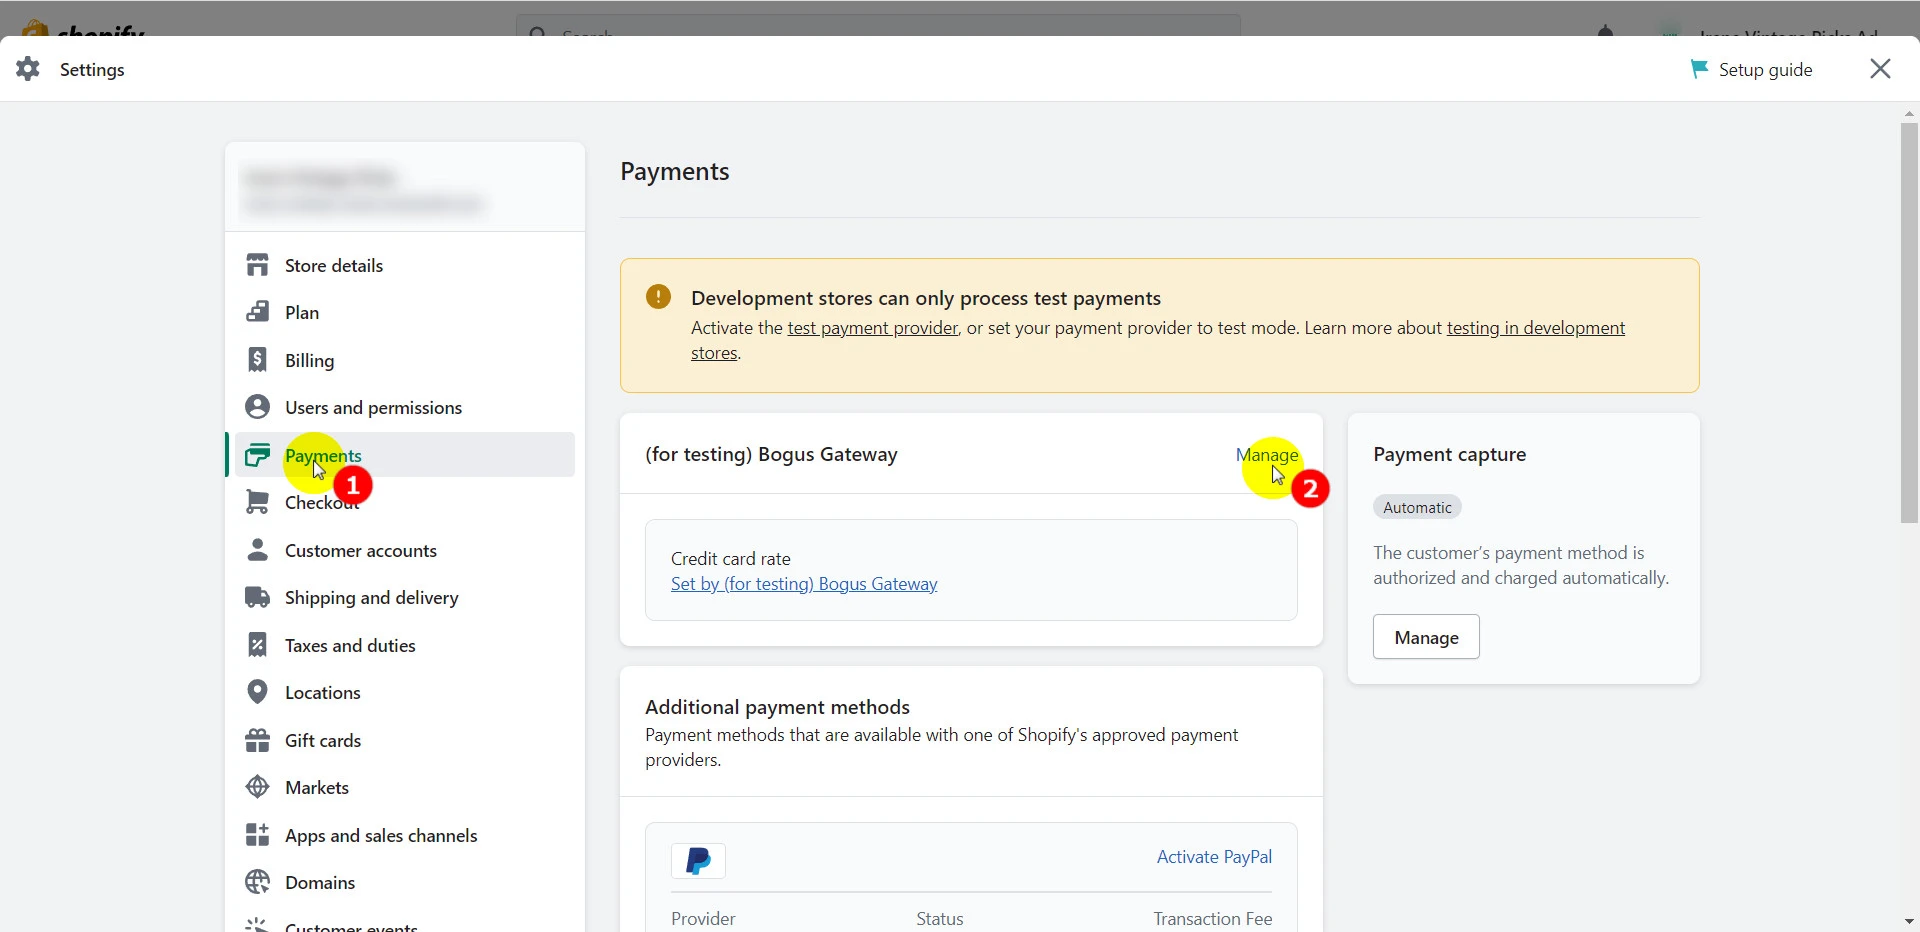
Select Payments > Then navigate to the credit card payment provider section and click Manage.
If you haven’t chosen a payment provider yet and want to ensure they support Apple Pay. click on the Payment methods filter > Tick Apple Pay to sort out the providers that support Apple Pay as a payment method.
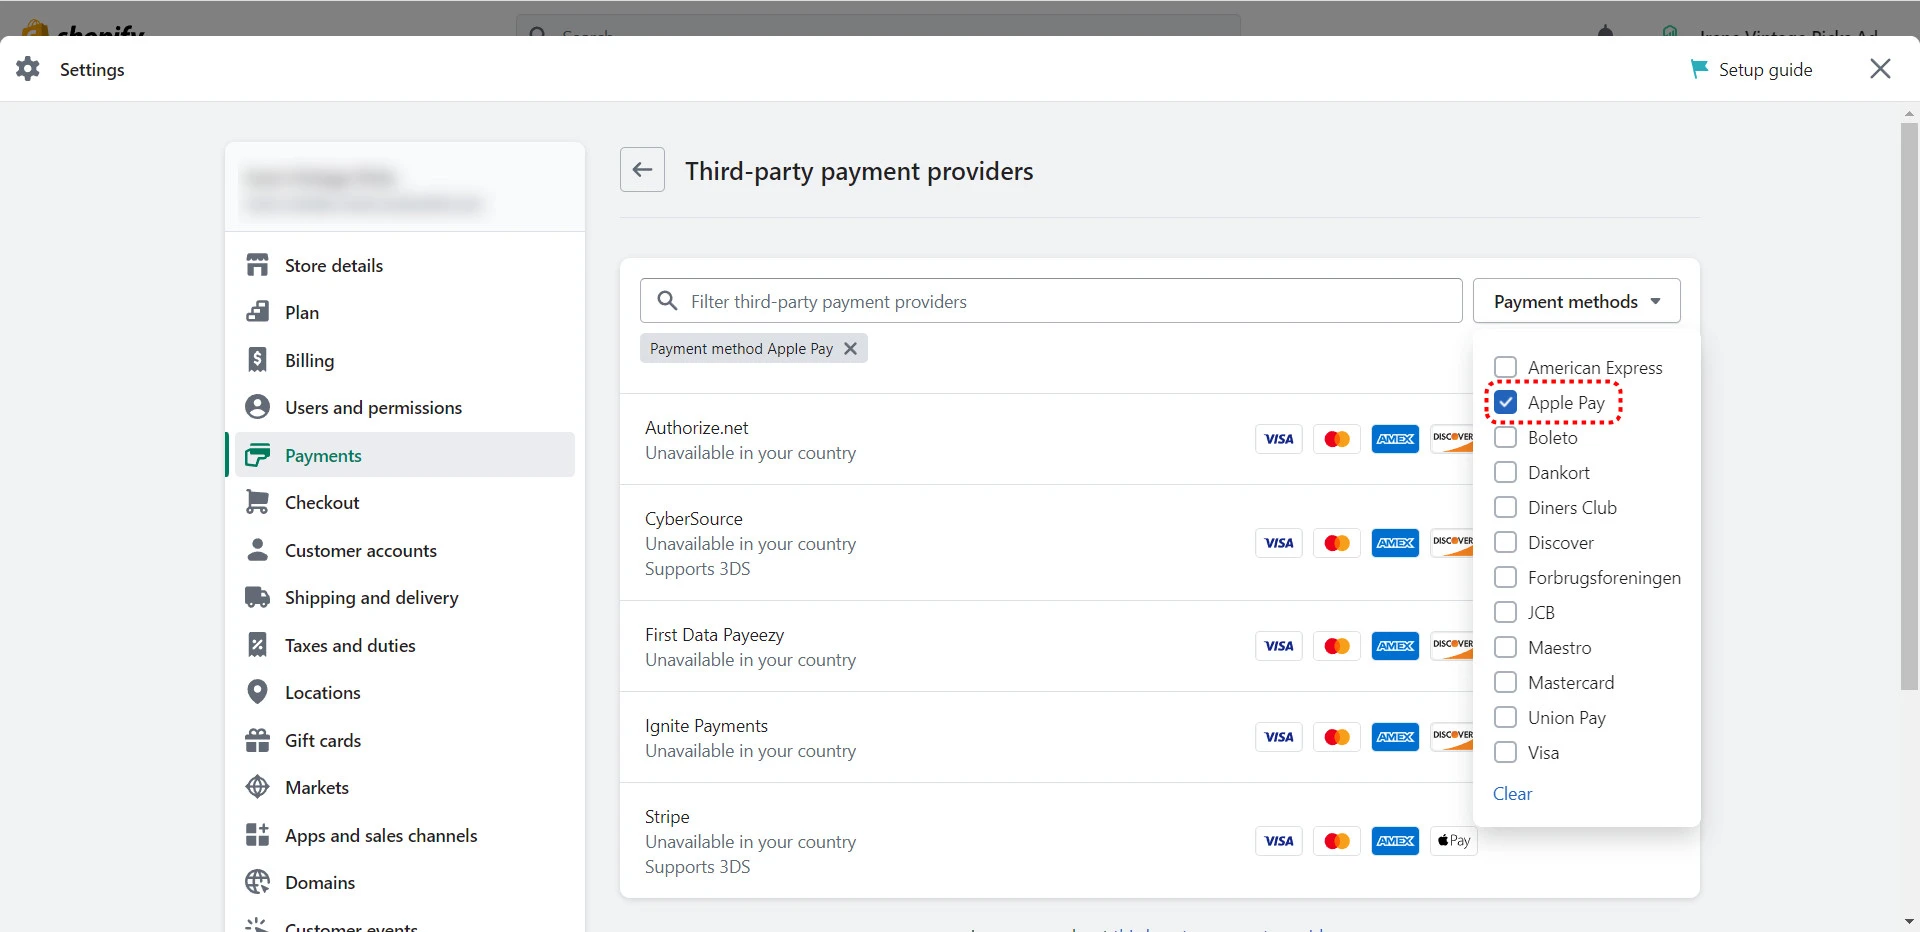
For example, you can choose to add Stripe to your Shopify store as it’s a popular payment provider.
After successfully adding a payment provider:
- Head back to your newly-added credit card payment provider, and click Manage.
- Then ensure the Apple Pay option is on > Click Save.
And now your customers can check out using Apple Pay as their payment method.
More awesome payment methods for Shopify are waiting for you on the way:
- Shopify Payments Review & Set up in 4 Steps
- Shop Pay Reviews: What is Shop Pay and How Does It Work?
3 Other Ways to Accept Apple Pay
After learning how to set up Apple Pay for eCommerce store of yours, let’s discover three other ways you can accept Apple Pay with Shopify:
#1. Apple Pay in person
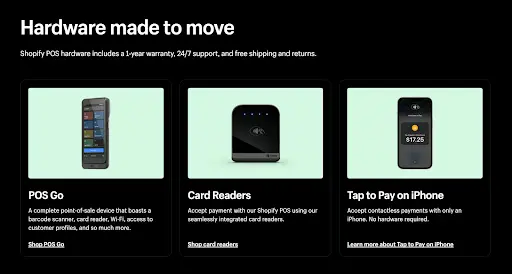
Besides enabling Apple Pay on your Shopify website, you can also accept this payment method in person if you use Shopify POS with a supported card reader.
With notable hardware Chipper 2X BT or WisePad 3 card reader, you can process your customers’ payments immediately without them having to produce their credit cards or type in their payment details.
#2. Apple Pay Cash
Apple Pay Cash is another option if your Shopify store resides in the US and Discover is activated within your payment settings. This option lets your customers pay using their Apple Pay Cash Card via iPhone or Apple Watch.
However, be noted that Shopify POS only supports Apple Pay Cash if you use Tap & Chip reader or the Chipper 2X BT card reader.
#3. Apple Pay in mobile apps
Last but not least, if your store is using the iOS Buy SDK, you can integrate Apple Pay with your app. With a few lines of code, you can add buy buttons to your iOS app effortlessly. In this way, your customers will be able to check out using Apple Pay.
How to Enable Apple Pay to Shopify: FAQs
[sp_easyaccordion id=”56971″]
Conclusion
In brief, enabling Apple Pay can be a brilliant way to reduce your Shopify store’s cart abandonment rate, improving your conversions thereby. And LitExtension – the world #1 shopping cart migration experts hope after reading this article, you can know how to add Apple Pay to Shopify.
Remember to explore LitExtesion’s well-curated blog site and join our Facebook Community to get updated with the latest eCommerce news, tips, and tricks from 13K+ eCommerce entrepreneurs!