Have you ever wondered how to add checkout button in Shopify? If you don’t know how to do that, you’ve come to the right place! Shopify has launched dynamic checkout buttons in an effort to boost conversions, streamline the checkout experience, and lower cart abandonment.
Stay tuned because in this article, LitExtension – #1 Shopping Cart Migration Expert will walk you through:
- What is Shopify dynamic checkout button?
- Everything you need to consider before inserting a dynamic checkout button
- How to add checkout button in Shopify product page?
- How to add checkout button in Shopify homepage?
- What to do after adding Shopify checkout button?
Without further ado, let’s get started!
What is Shopify Dynamic Checkout Button?
The dynamic checkout button is often displayed right under or beside, in some cases, the “Add to cart” button. It allows customers to skip the cart and quickly purchase the product using checkout method that is shown on the button.
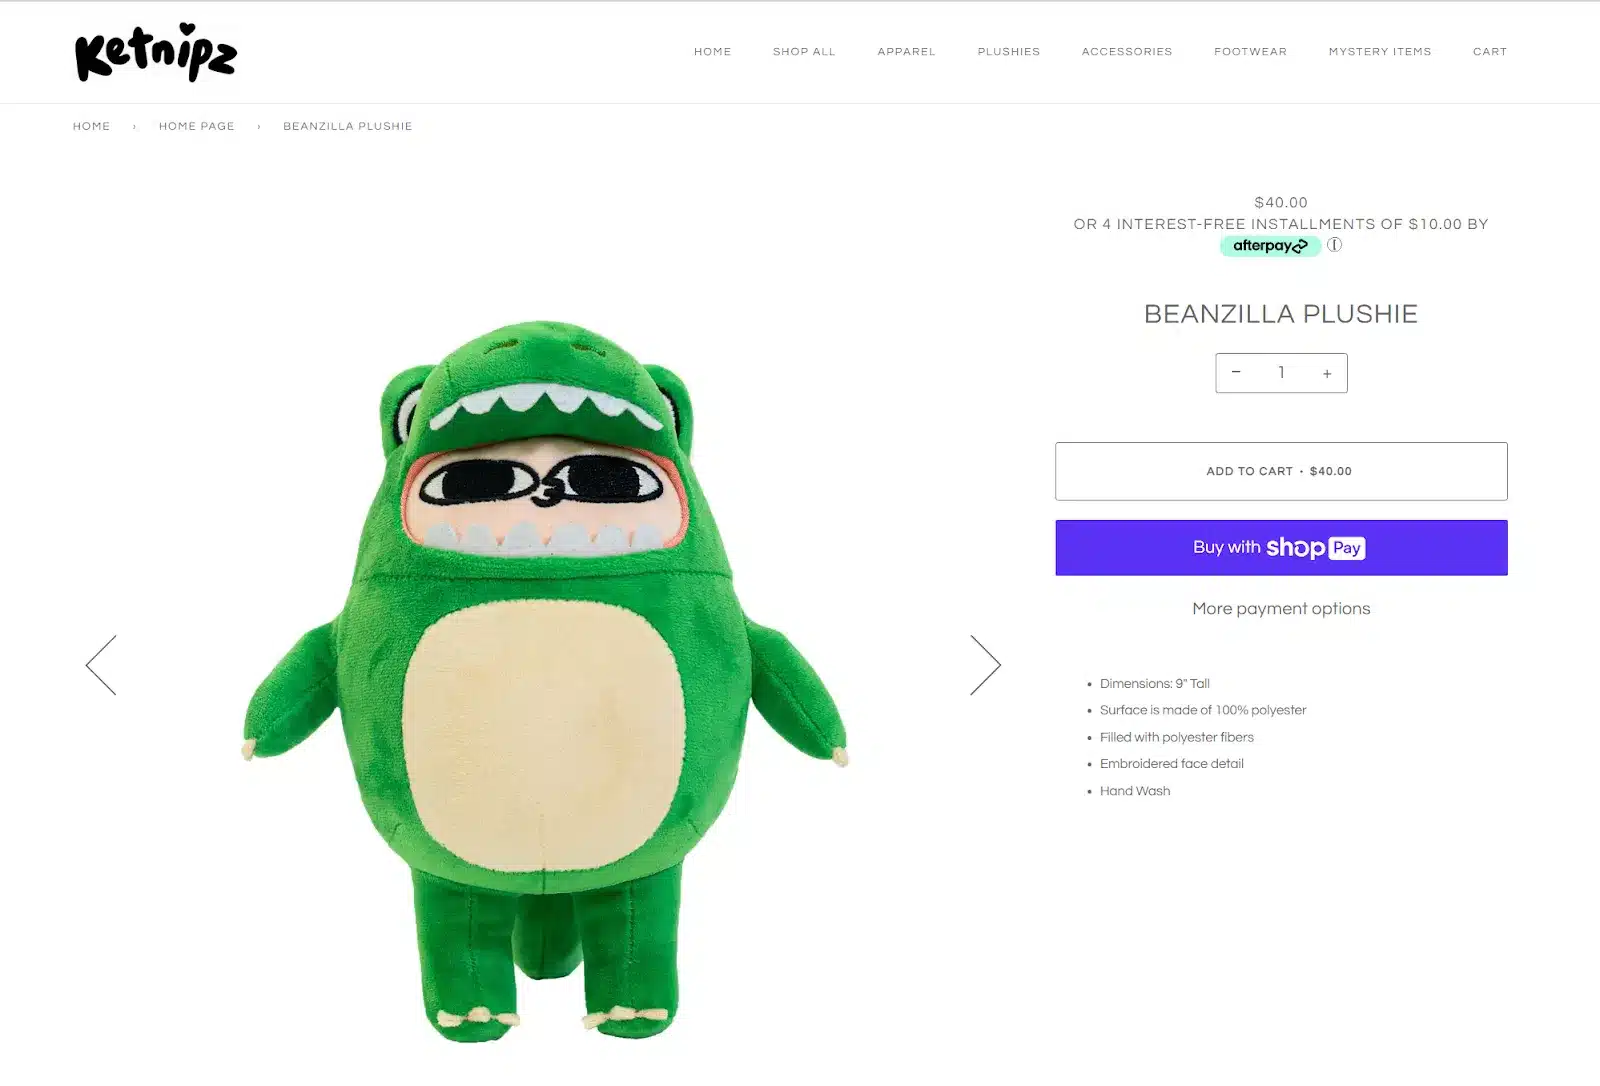
When testing this special Shopify feature, I was so impressed by the “dynamic” functionality it offers. This button will flexibly change to match customers’ preferences in the accelerated checkout method. For example, if your consumer usually employs PayPal, the Shopify dynamic checkout button will directly lead them to checkout with this payment gateway. On the other hand, it will display as a “Buy with Shop Pay” button if your customer prefers to pay using this method.
Basically, there are two types of dynamic checkout buttons:
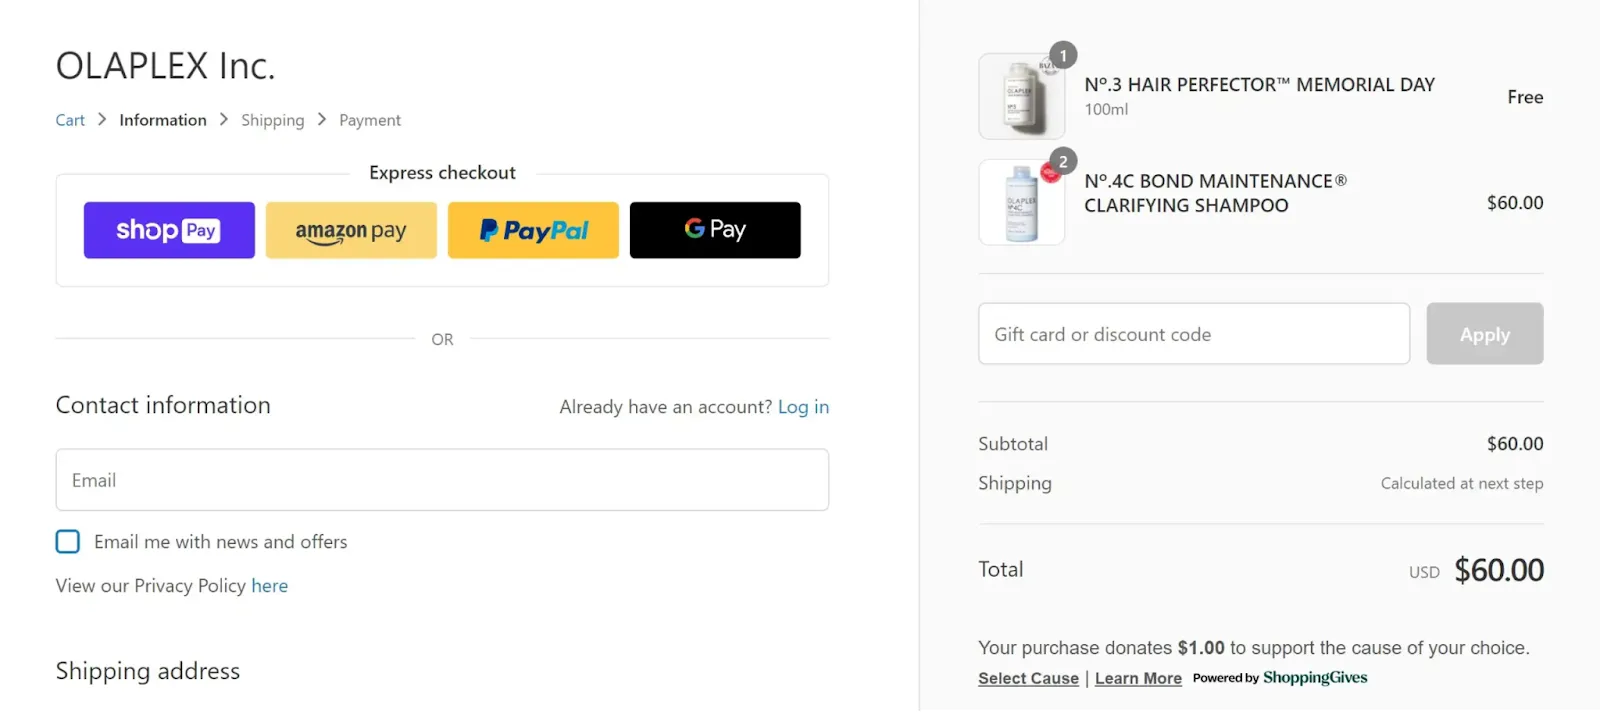
1. Branded buttons: As their names suggest, this type of button will display the logo of a third-party accelerated checkout method, including:
- Shop Pay
- Amazon Pay
- Google Pay
- Apple Pay
- PayPal
- Venmo
2. Unbranded buttons: Instead of showing a specific payment gateway, this type of button only displays the “Buy it now” text.
Now that we have a brief understanding of what is Shopify dynamic checkout button, let’s move to the essential part. In the upcoming section, we will walk you through a practical guide on how to add checkout button in Shopify.
Stay tuned!
Learn how to add other payment methods to your Shopify store with our resources:
- How Does Shop Pay Work and How It Benefits Your Shopify Store
- A Step-by-step Guide On How To Add Afterpay To Shopify
- How To Add Apple Pay to Shopify: A Complete Guide
What to Consider Before Adding Shopify Checkout Button
Before getting started on how to add checkout button in Shopify, you need to make sure that your eCommerce store is compatible with this function.
Here are a few things you need to consider when integrating with dynamic checkout on Shopify.
Apps
There’s no doubt that this best eCommerce platform comes with a wide selection of Shopify apps. Nonetheless, please note that the following types of plugins might cause compatibility problems with your online store:
- Currency converter
- Apps that interact with the cart
- Apps that take customers to an external checkout
Discover other Shopify apps that might be beneficial for your business:
- 25+ Free Shopify Apps To Boost Your Sales
- 15 Best Live Chat Apps For Shopify to Enhance Customer Experience
- Best Dropshipping Apps for Shopify You Can’t Miss
- 15 Wholesale Apps For Shopify To Scale Up Your Business
Cart attributes
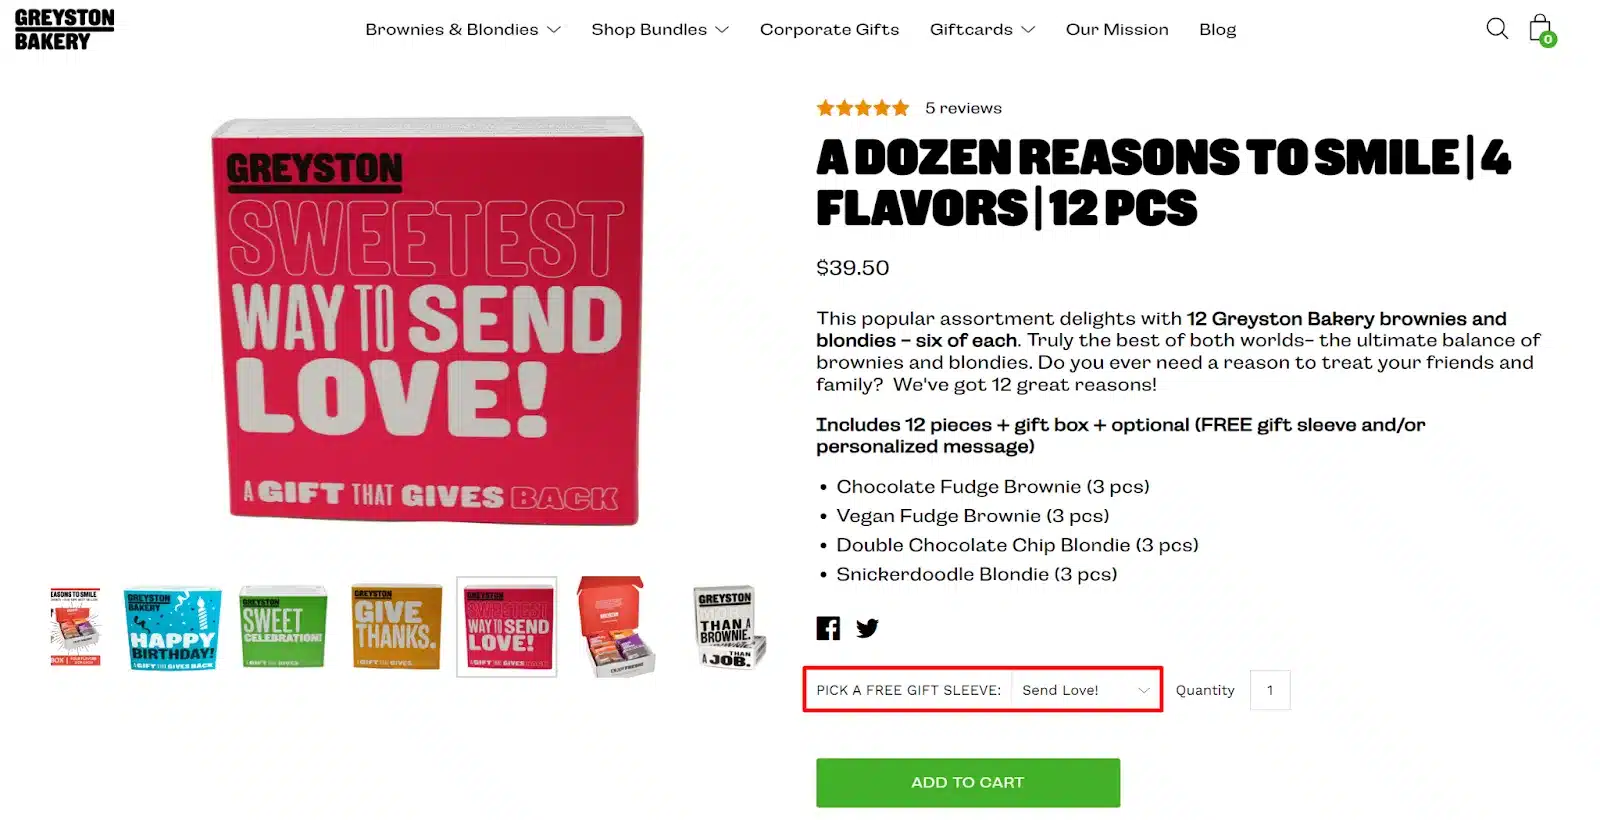
If you add custom fields on your cart page to collect additional consumer data, the Shopify dynamic checkout button might not work properly. These attributes might include:
- terms and conditions checkboxes
- gift-wrapping options
- delivery date pickers
Payment settings
The branded button only shows if you integrate with third-party accelerated checkout methods. Otherwise, it will display as the unbranded one with a “Buy it now” text.
And that’s all you need to consider before moving to the inserting process. Don’t forget to carefully prepare your store if you decide to learn how to add checkout button in Shopify.
How to Add Checkout Button in Shopify?
In this part of our guide, let’s learn how to add checkout button in Shopify product page and homepage. You can choose to insert this dynamic button on the product page only. Otherwise, feel free to integrate it into your Shopify homepage, too, to increase the conversion rate.
How to add checkout button in Shopify product page?
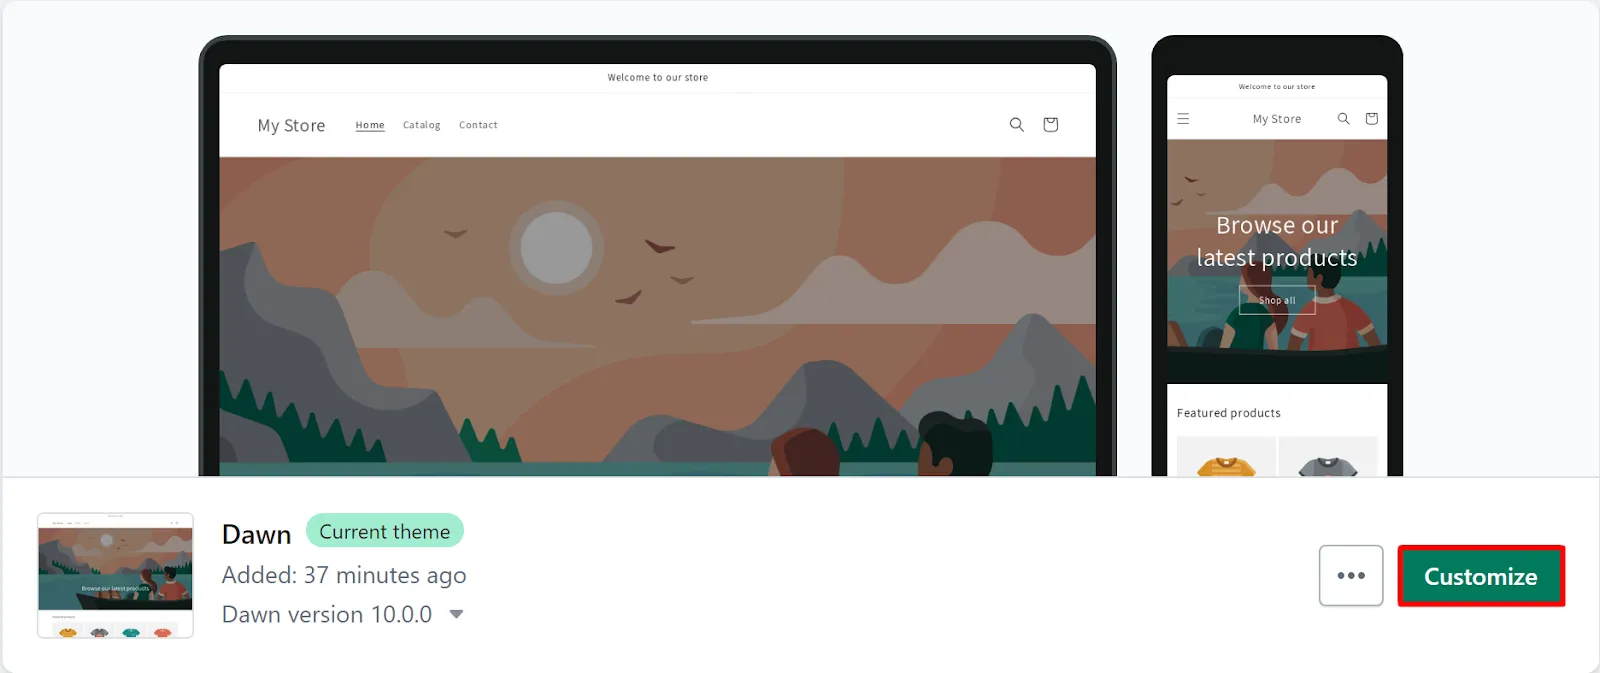
1. From your Shopify Dashboard, navigate to Online Store > Themes.
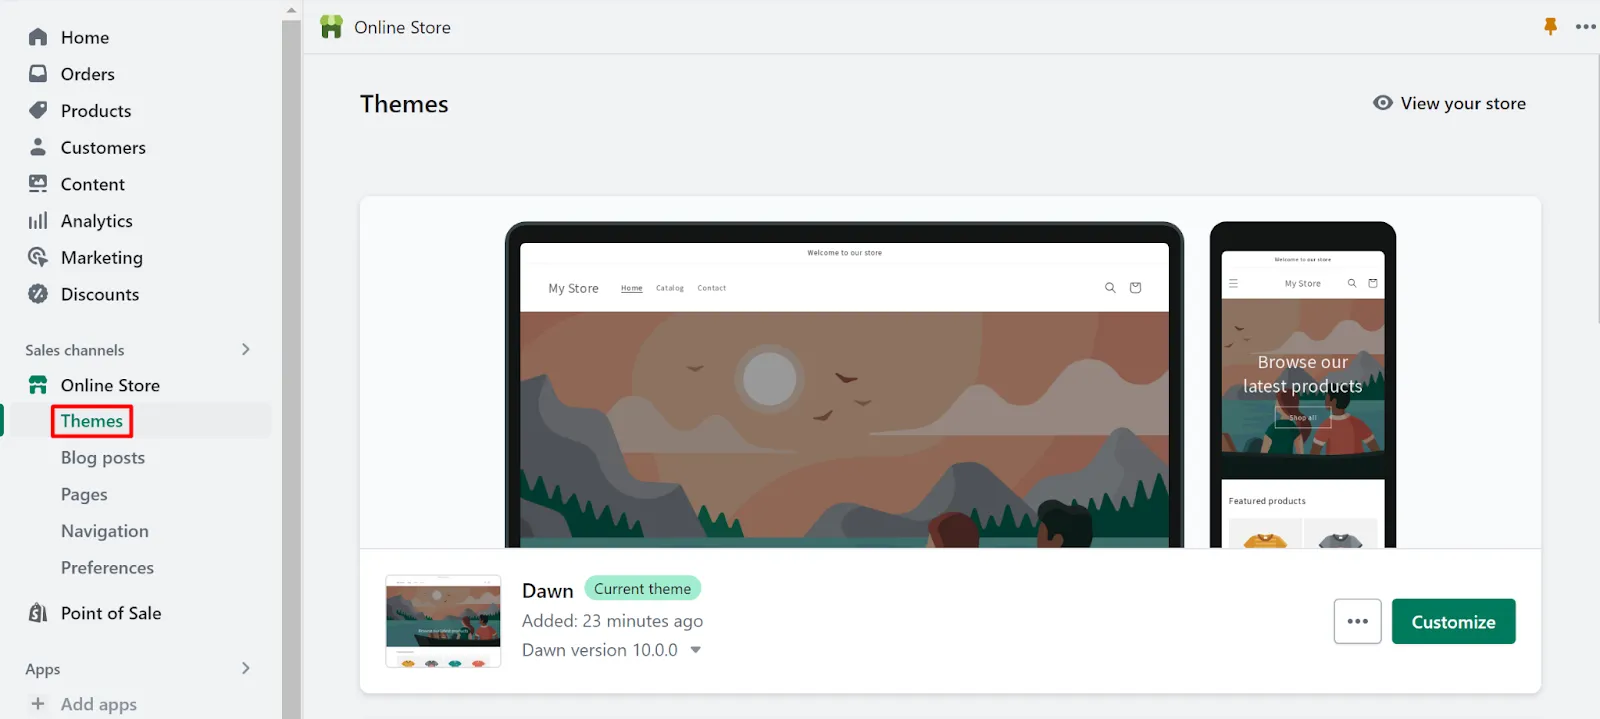
2. Then, find the theme you want to edit and select Customize. After that, you’ll be navigated to the theme customization page.
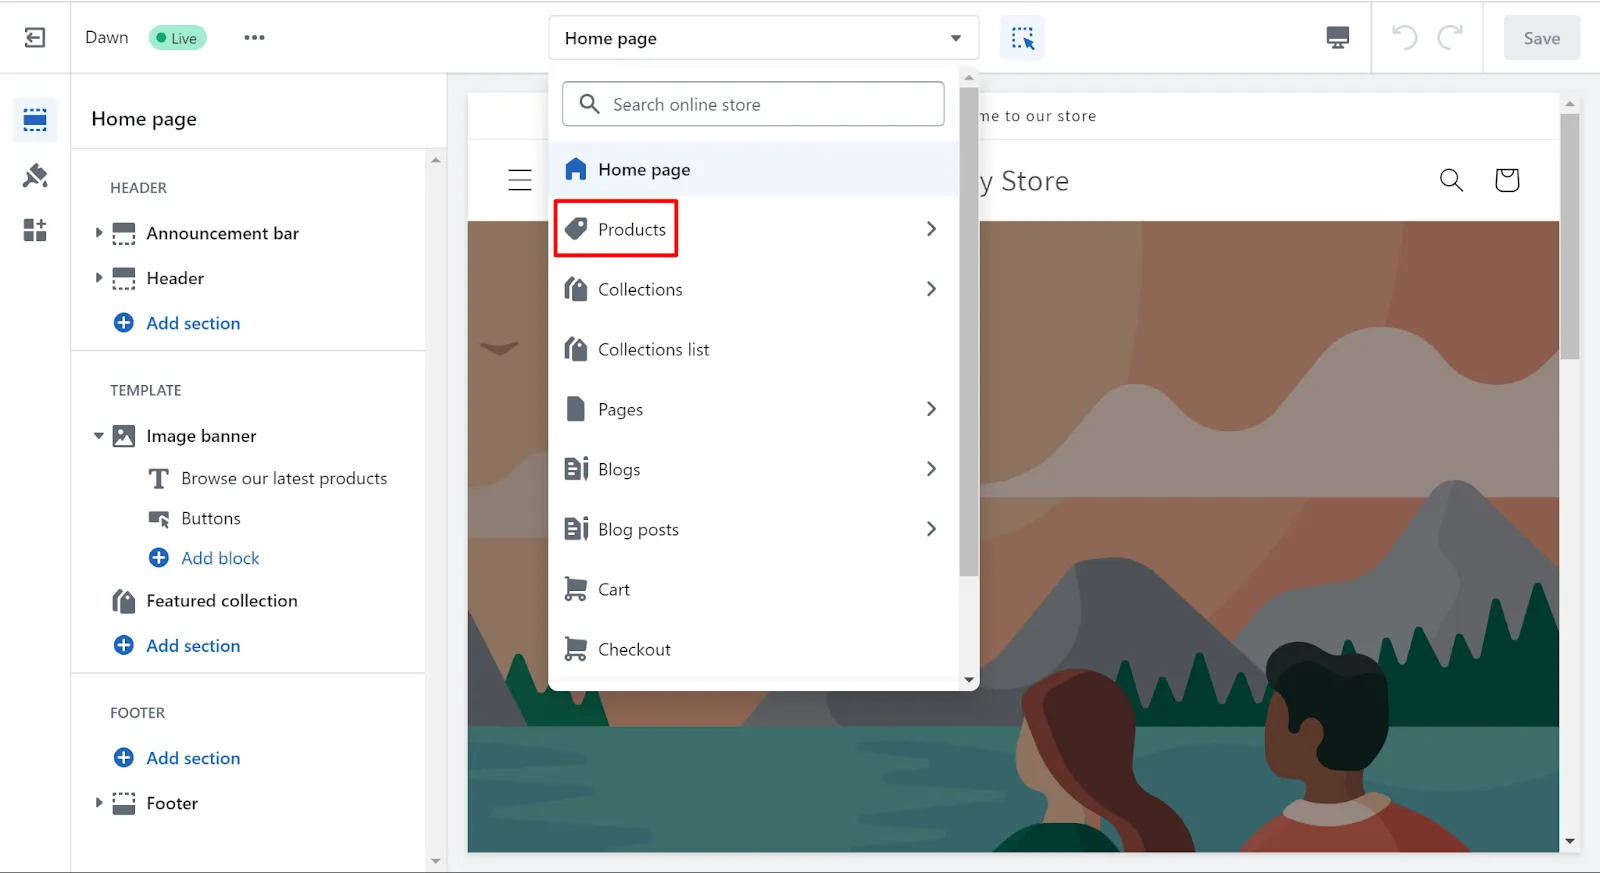
3. Next, choose Products > Default product from the drop-down menu.
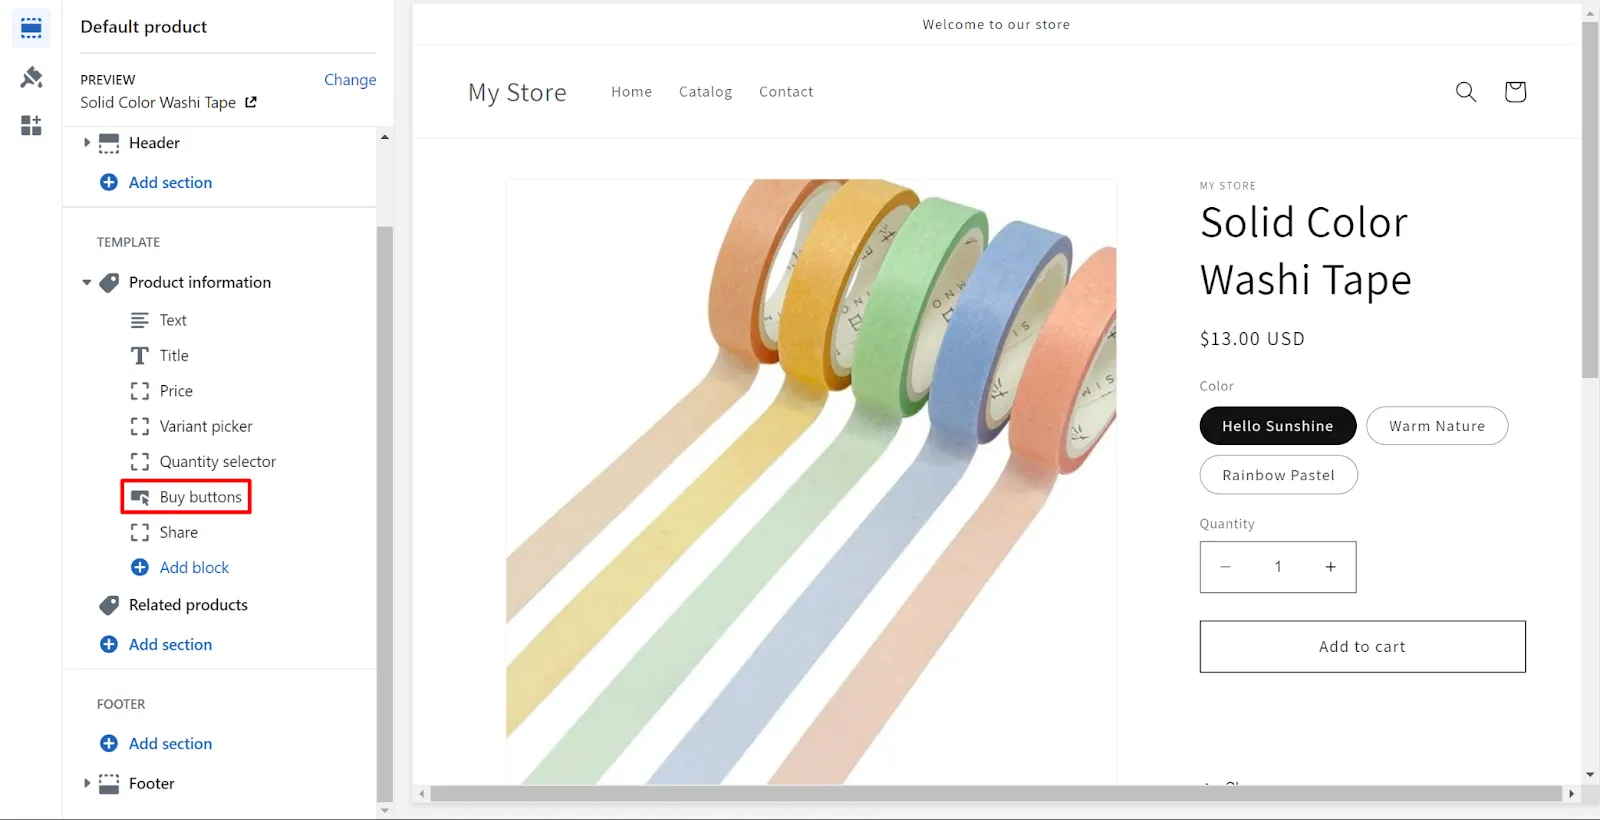
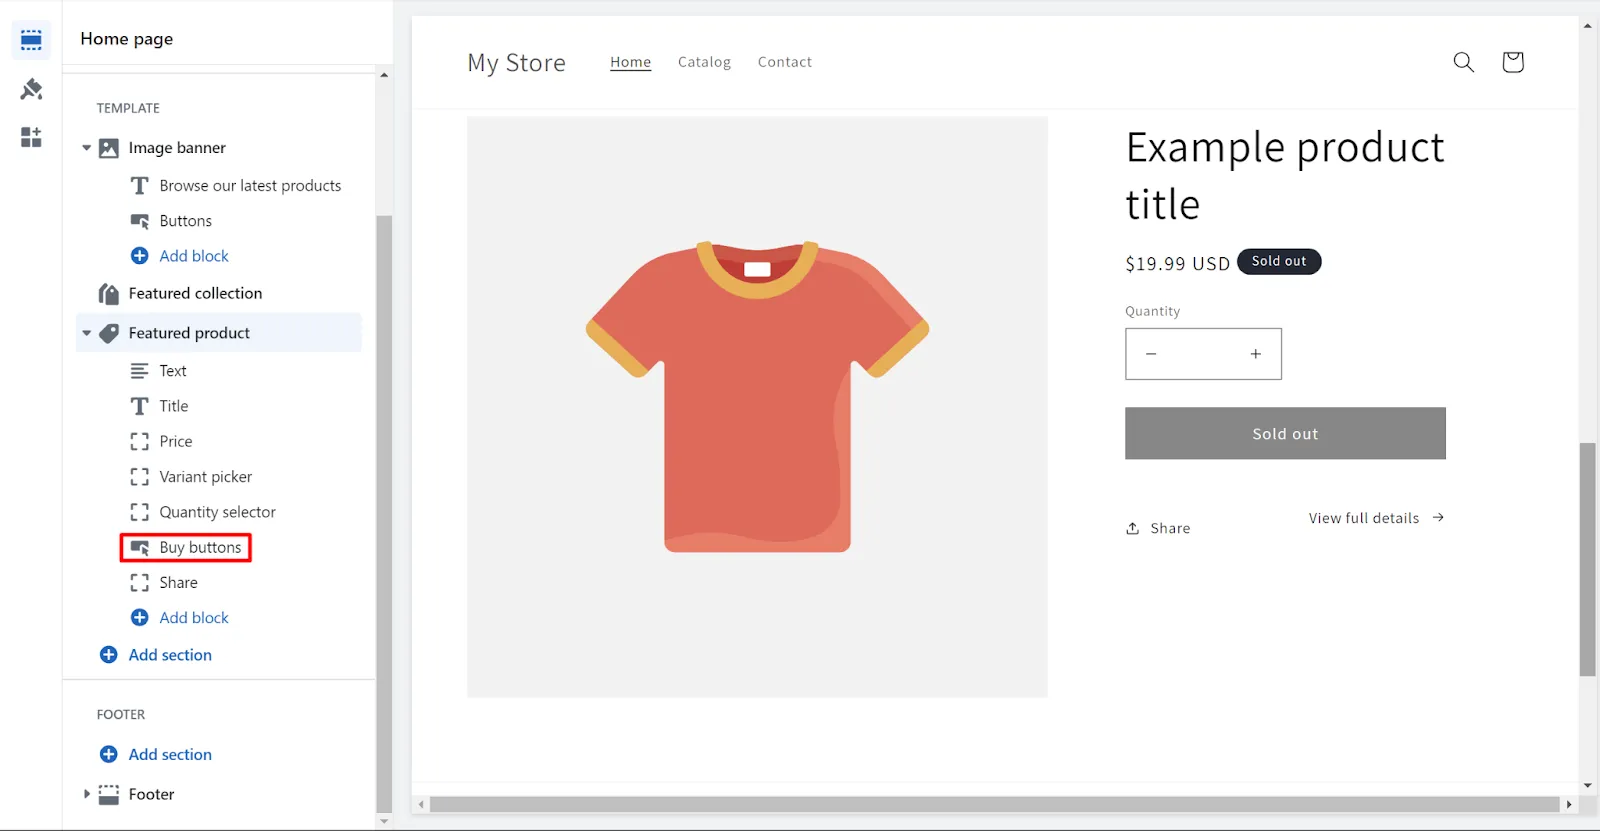
4. In the Product information tab, select Buy buttons.
5. Here, tick on Show dynamic checkout buttons.
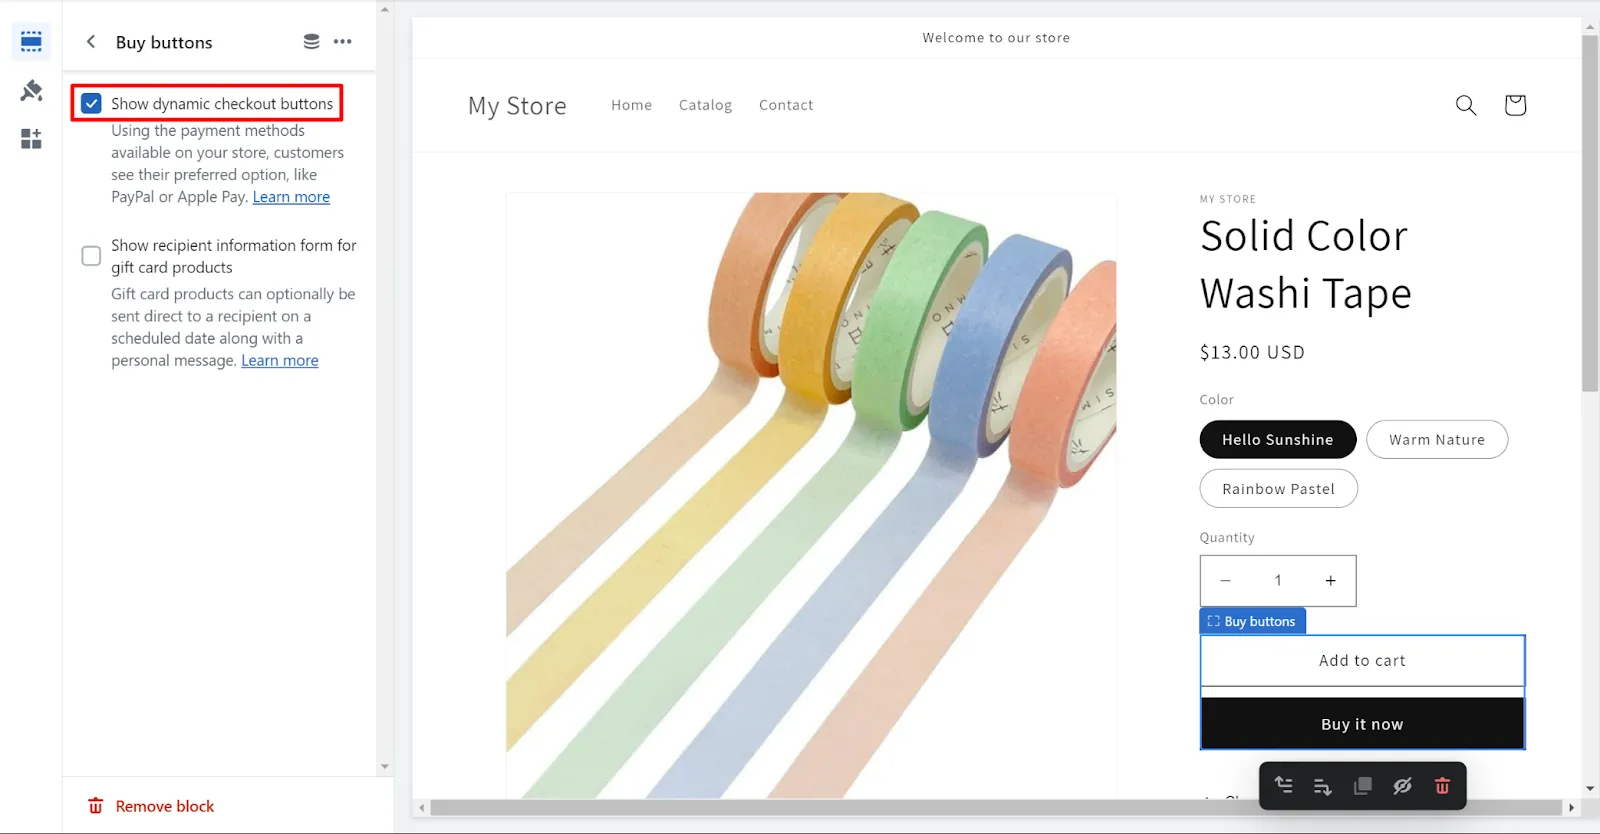
6. When everything is ready, click Save.
How to add checkout button in Shopify homepage
1. Repeat the first two steps of the how to add checkout button guide in Shopify product pages guide and navigate to the Themes customization.
2. In the Template section, go to Add section > Featured product.
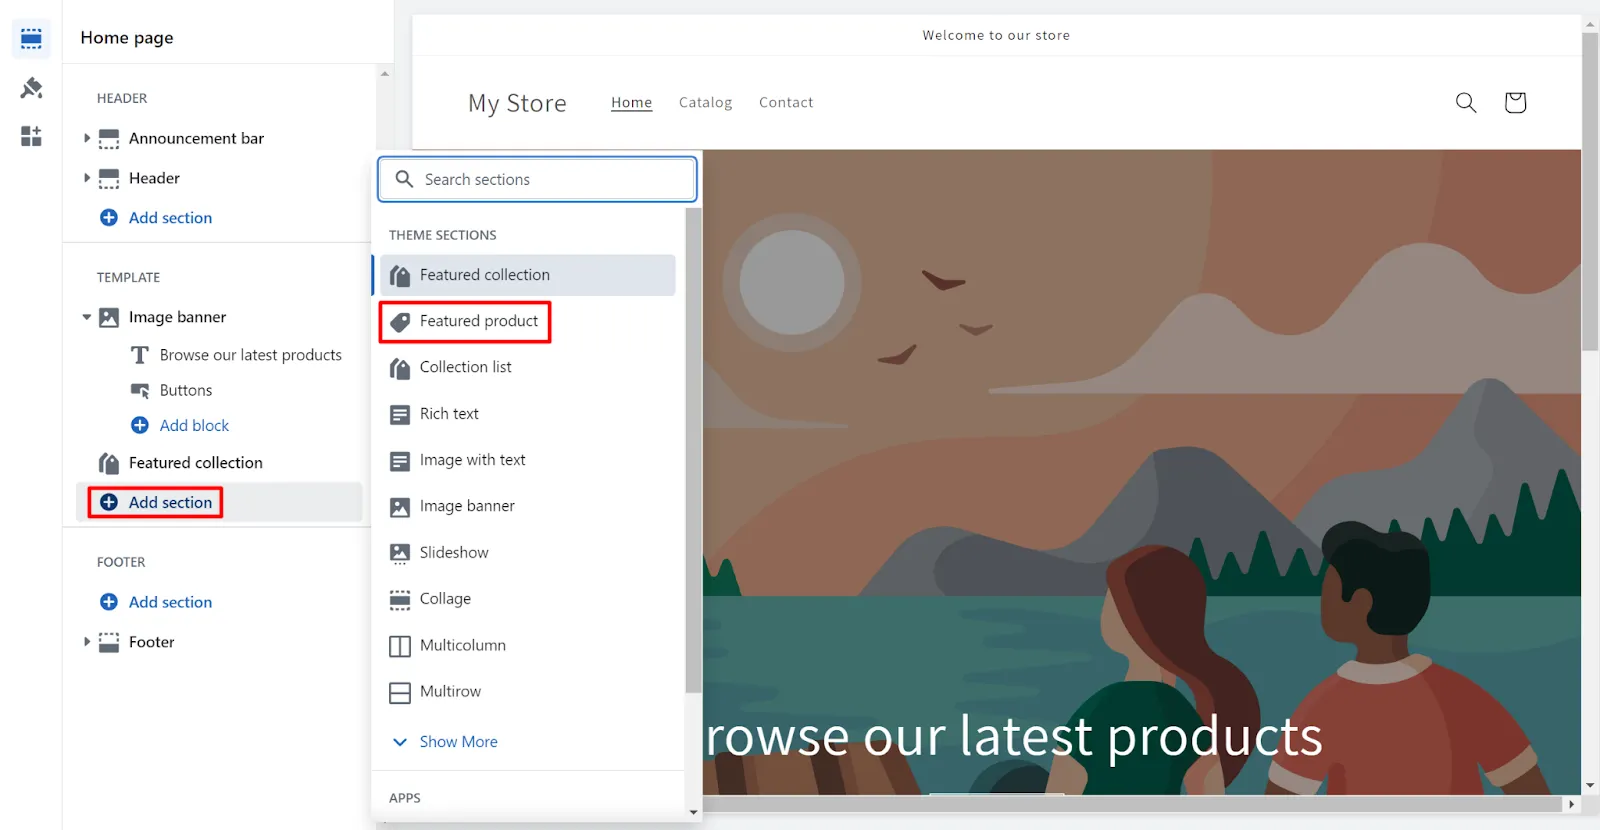
<3. Then, choose Buy buttons, and select Show dynamic checkout buttons.
4. Click Save when you are done editing.
And that’s how easy it is to learn how to add checkout button in Shopify. But that’s not all! Keep scrolling to get to know more about what else you could do with this special payment option.
How to Add Checkout Button in Shopify – Post Activities You Shoud Not Ignore
How to test your dynamic checkout buttons
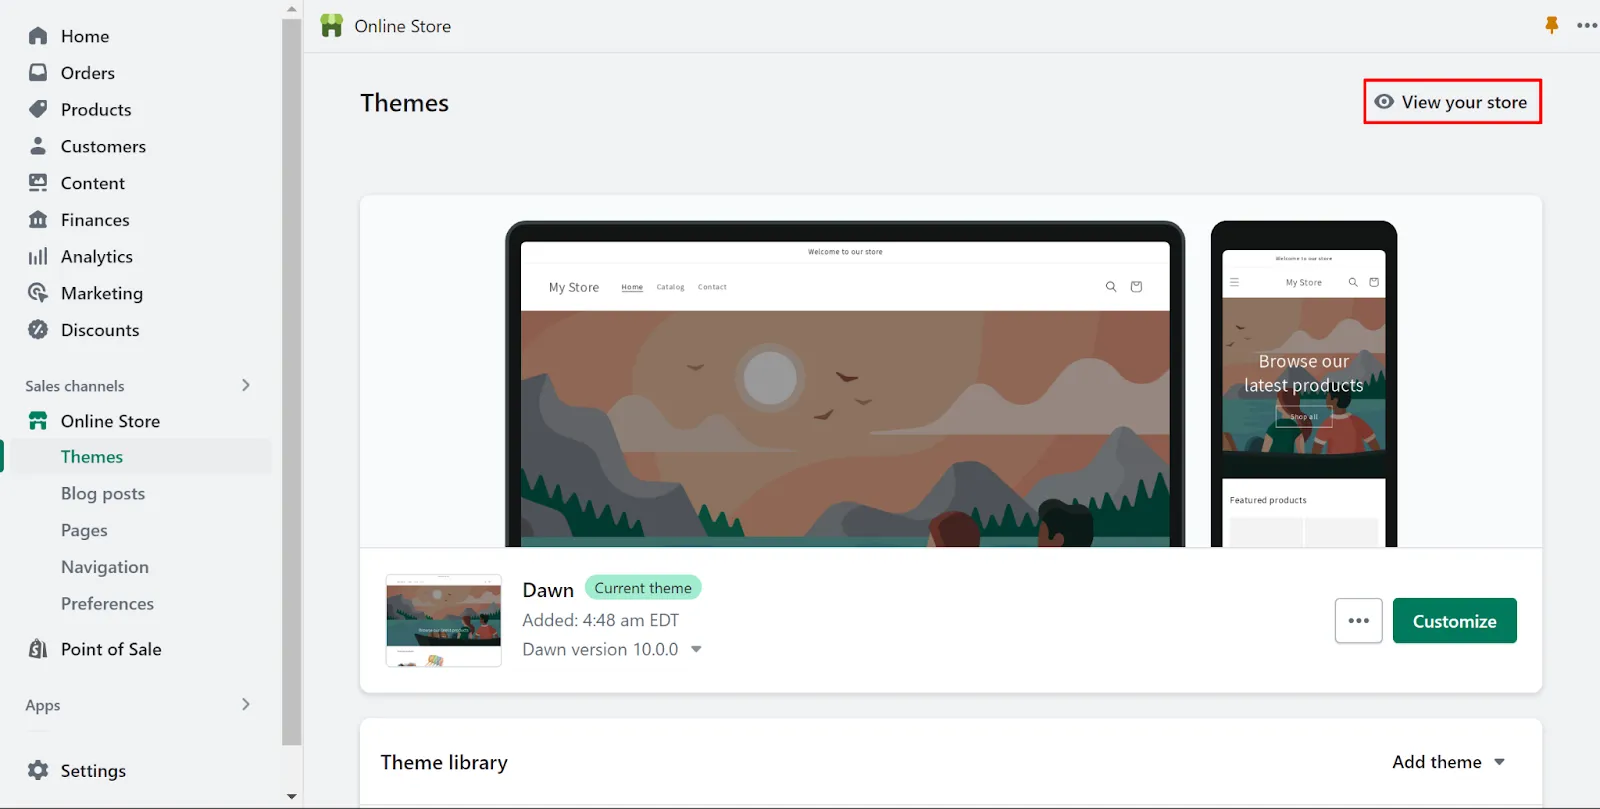
1. From your Shopify Admin Dashboard, navigate to Online Store > Themes.
2. Click View your store, then go to the product page or featured product section where you want to test your button.
3. In your browser’s address bar, add one of the following strings to the end of the current URL, and then press Enter to reload the page:
[sp_easyaccordion id=”62075″]
4. Repeat the steps to test all your buttons.
How to change your Shopify checkout button color
1. Go to Online Store > Themes in your Admin Dashboard.
2. Click Customize on the theme you want to edit.
3. Then, select the paintbrush icon to go to the Theme settings section.
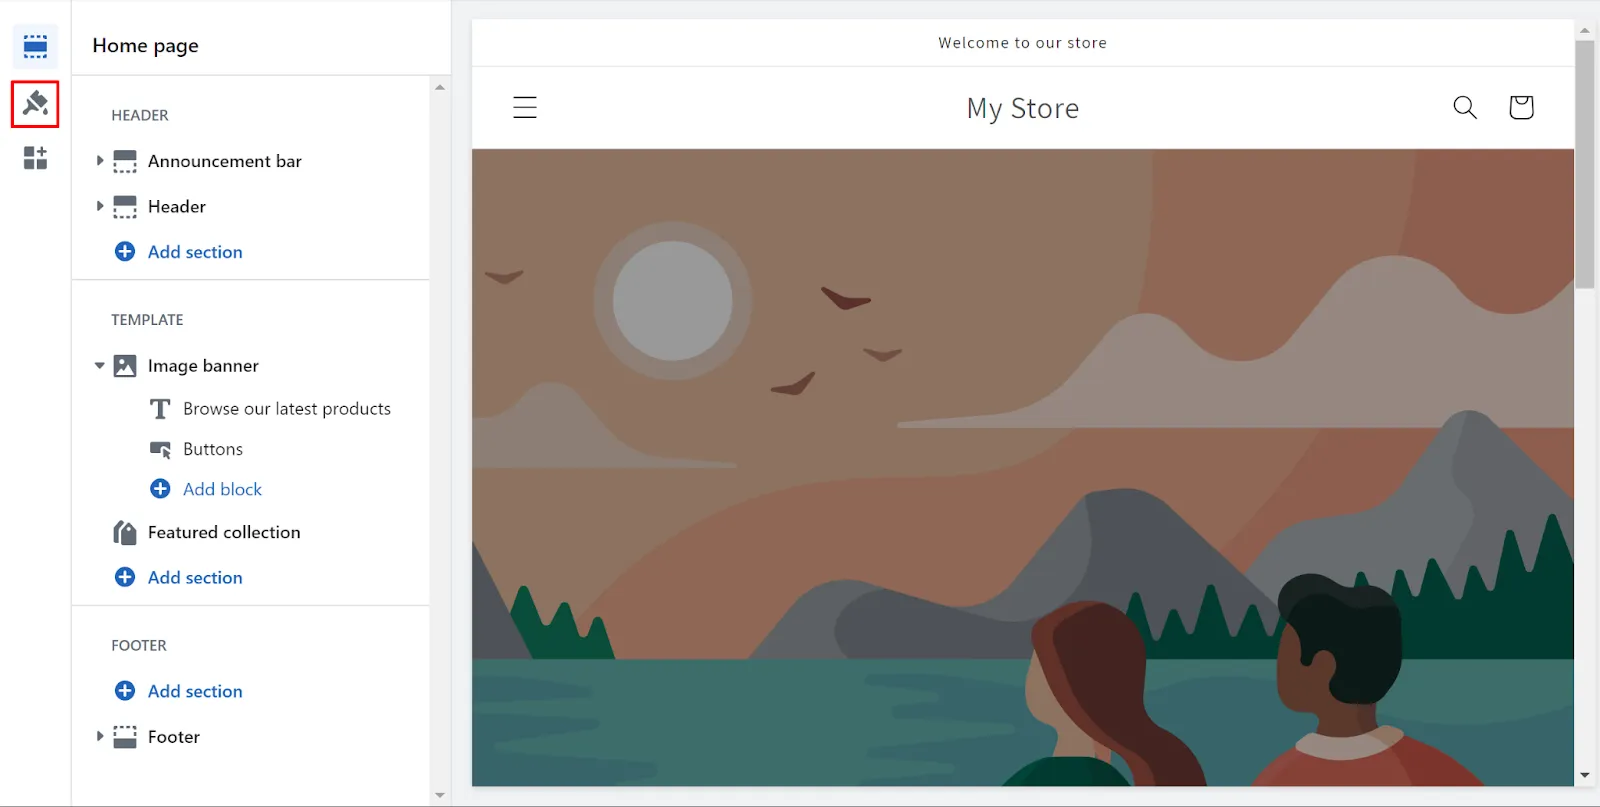
4. Next, select Color, and adjust the background and text color of your checkout button.
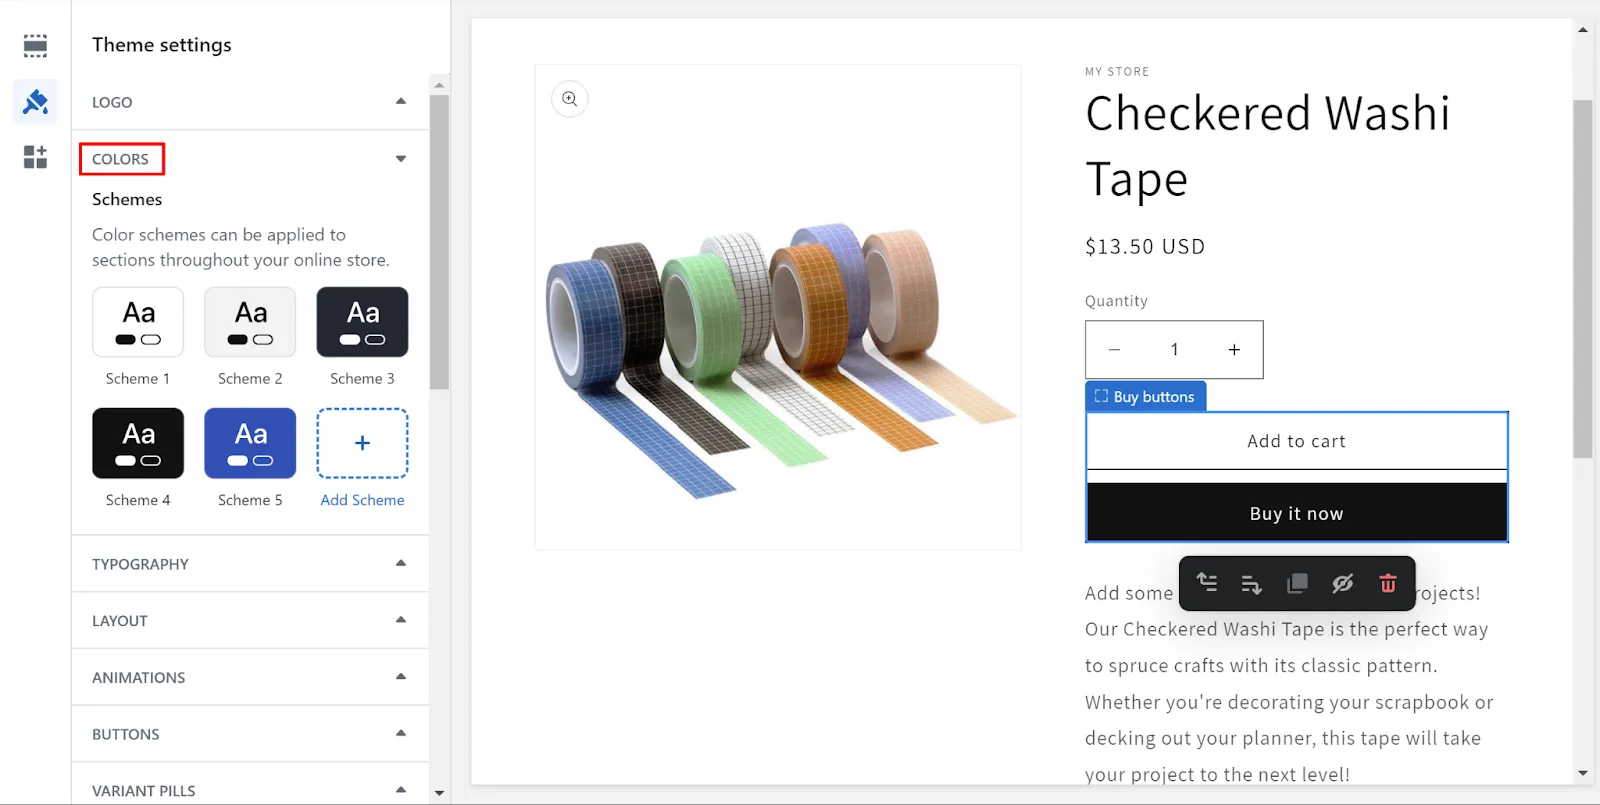
5. Finally, click Save when you are ready.
How to change your Shopify checkout button font
1. From the theme customization page, navigate to Theme settings.
2. After that, choose Typography and edit the settings to match your branding and personalization.
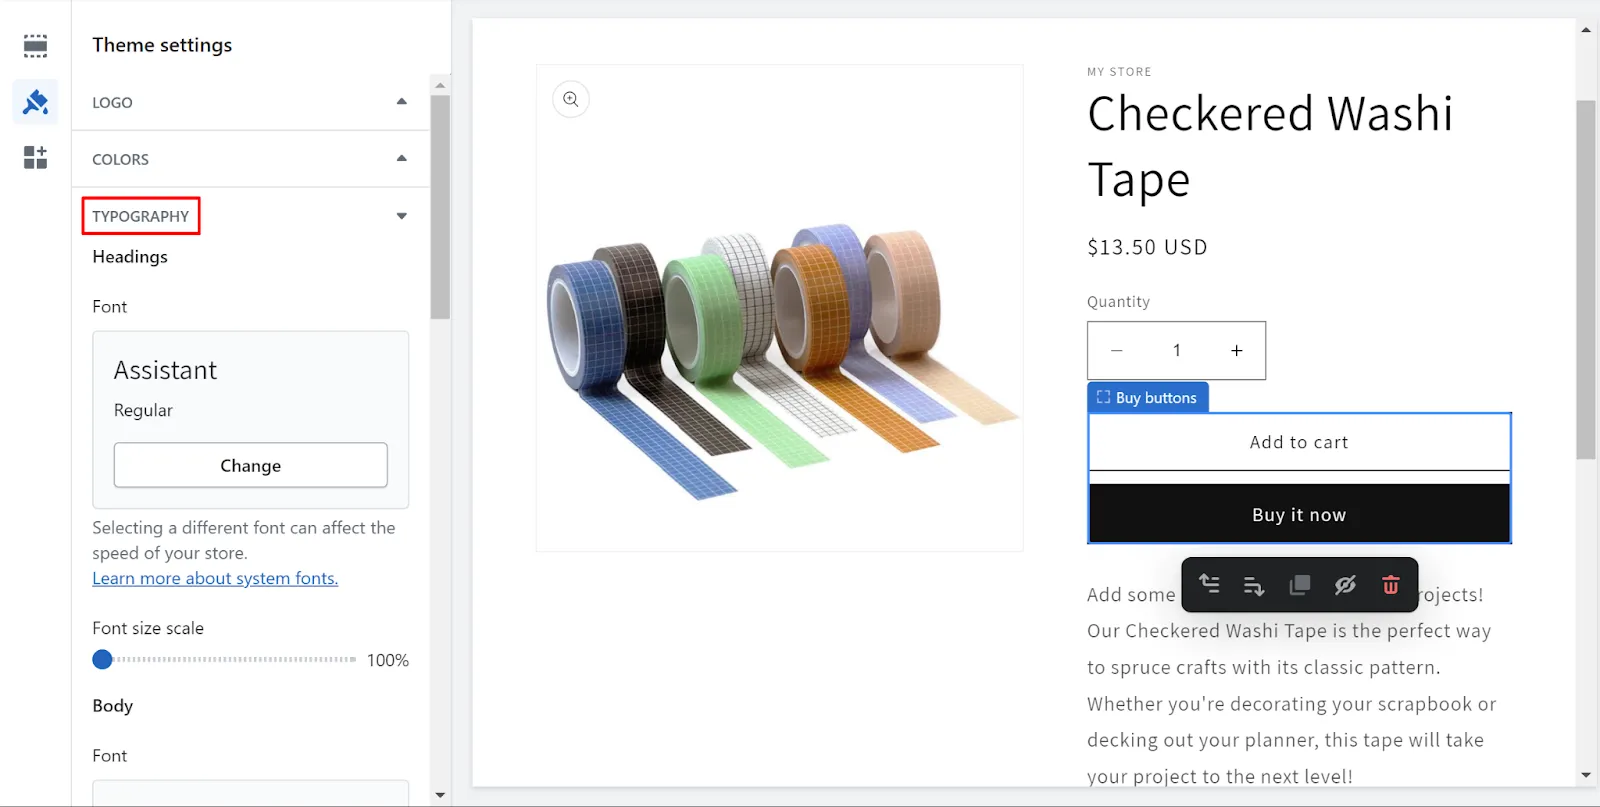
3. Lastly, when you are done adjusting it, click Save.
Don’t forget to check out other Shopify guides to help your business grow:
- How to Edit Theme Settings on Shopify
- Step-by-Step Guide: How to Add Pop Up on Shopify
- A Beginner Guide on How to Add Variants on Shopify
How to Add Checkout Button in Shopify – FAQs
[sp_easyaccordion id=”62069″]
Key Takeaway
And that brings us to the end of our guide on how to add checkout button in Shopify.
In conclusion, adding a checkout button in Shopify is a simple and straightforward process that can significantly enhance the user experience and boost conversions to your online store. By following the steps outlined in this guide, you can seamlessly integrate a checkout button into your Shopify store, allowing customers to proceed to the final purchase stage with ease.
Lastly, don’t forget to take a look at other articles in our LitExtension blog and join our Facebook Community to stay up-to-date with the latest eCommerce news.