Marking your brand with a special logo can help visitors increase their awareness of what you sell on your Wix site. This also helps you personalize your pages and make them stand out from the online community. That’s why you should learn how to add logo to Wix header yourself.
In this blog, we will guide you on how to add a logo to Wix header in 3 ways and suggest some tips when adding your logo. In particular:
- Add Logo To Wix Header In The Editor
- Add A Logo On Header For Wix With Image Element
- Insert Logo To Wix Header From Business Info
- Tips & Tricks For Adding Logo In Wix Header
Let’s check our step-by-step tutorial on optimizing your time to add your logo to your Wix site’s header. Don’t worry, it is not difficult to follow!
How To Add Logo To Wix Header In The Editor
When you want to adopt how to add a logo on header for Wix, you need to have your final logo file available. If not, you will be confused about which logo templates you should upload to your site. After that, you can start your journey on how to add a logo to Wix header in the Editor.
Step 1 – Open your site in the Editor
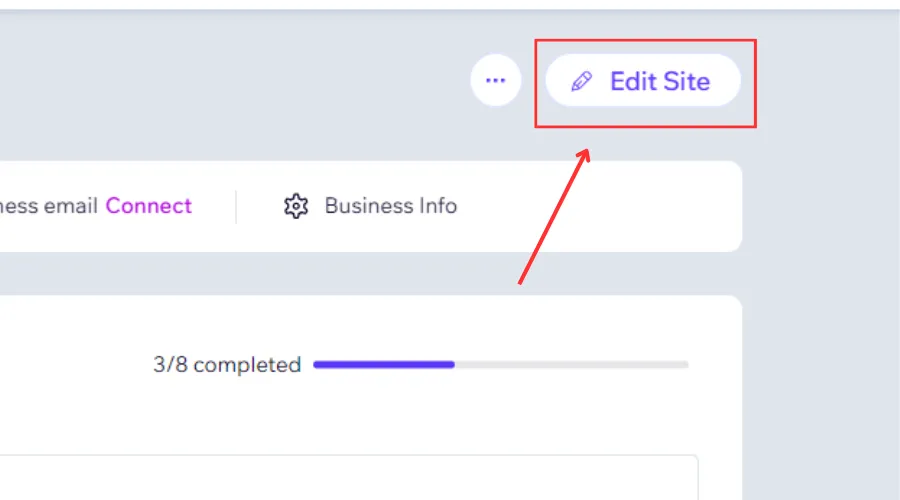
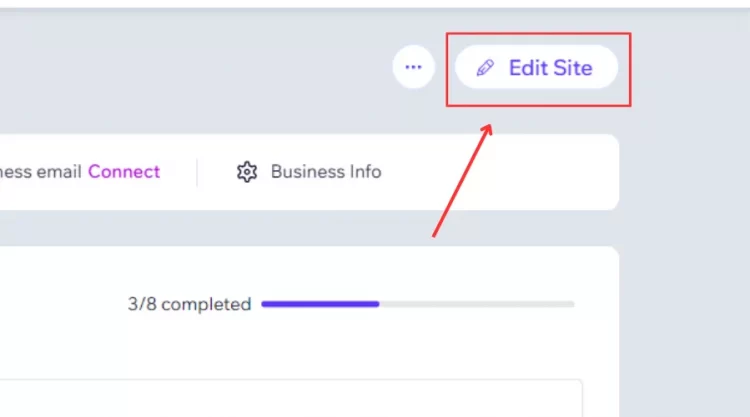
Firstly, log in to your Wix account to navigate your Wix Dashboard. Then, click the Edit site to open your site in the Wix Editor to finish this step.
Step 2 – Upload your logo to your site’s Media Files
In your Wix Editor, click the Media on the Editor’s left side to open the Wix Media tab.
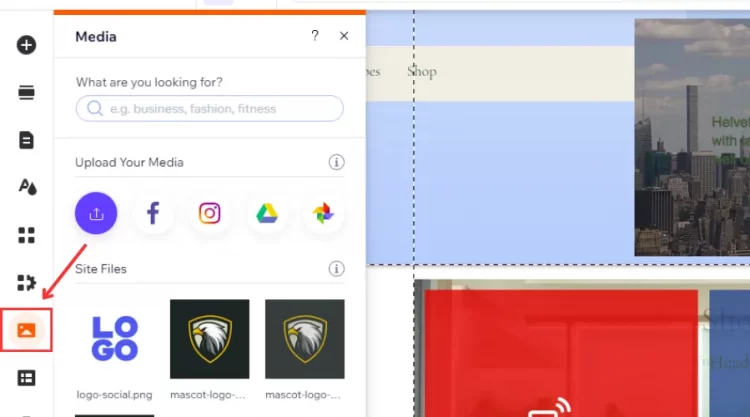
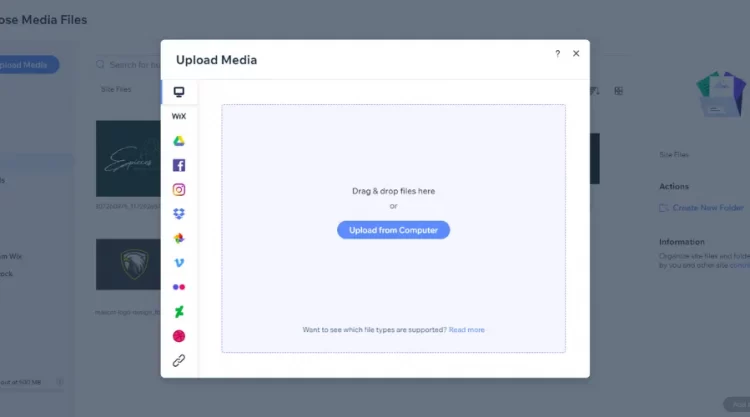
Next, click the Upload Media icon to navigate the Upload Media window.
In the Upload Media window, you have 2 methods to upload your logo file, including:
- Method #1: If you downloaded your logo file, click the Upload from Computer to select that file. Or else, drag and drop it directly to the Upload Media window.
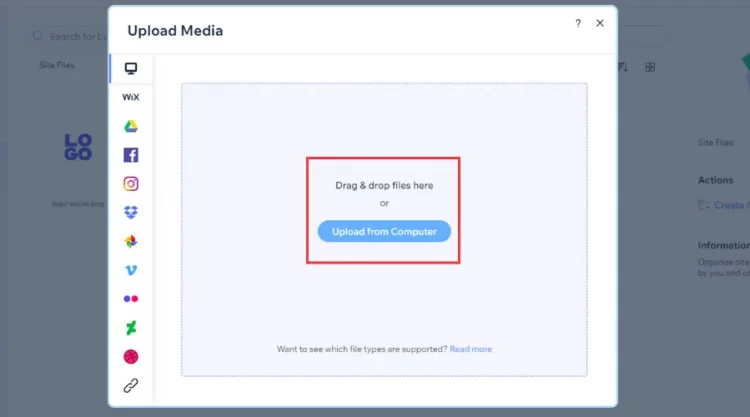
- Method #2: If you haven’t saved your logo file, click one of the other options on the Upload Media window’s left side to add your logo file. They can be Google Drive, Dropbox, Facebook, Instagram, Google Photos, etc.
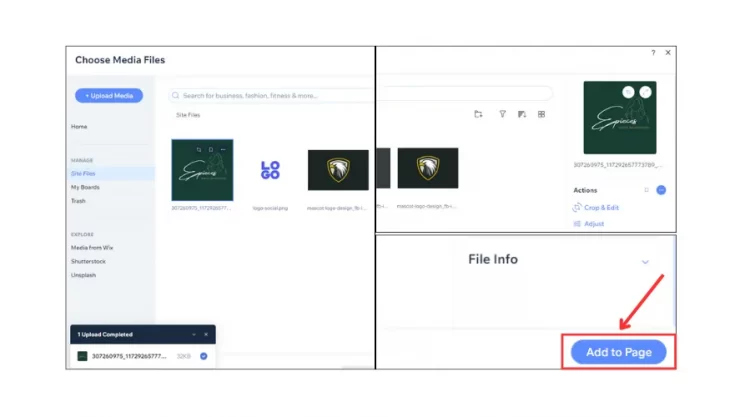
After that, click the Add to Page in the Upload Media window to end the second step.
Step 3 – Customize and publish your logo
After your logo is on your site, let’s customize your size to add your Wix header.
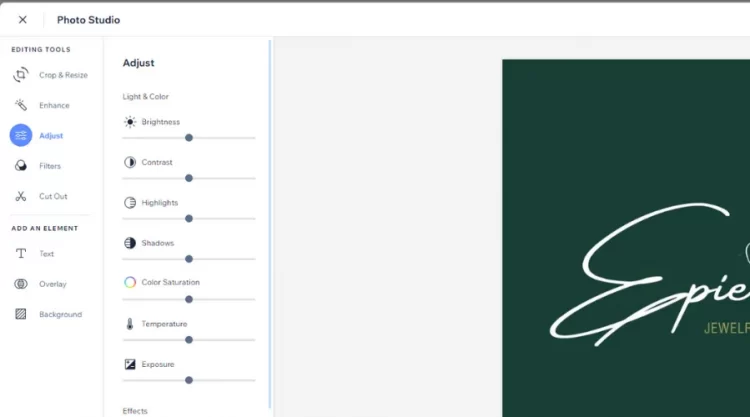
Firstly, click your logo to show relevant options, then select the Edit Image to open the Photo Studio window.
Next, use the Edit Tools and Add An Element to customize your logo.
After that, click the Save in the Photo Studio to end your editing. Or else, click the Cancel to recover your logo’s original status.
Finally, drop your logo on your Wix header and click the Save on your site to confirm the process.
With the 3 simple steps above, you can successfully adopt how to add logo to Wix header.
How To Add Logo To Wix Header With Image Element
In your Wix site, a logo file is normally under the image’s format. Therefore, if you want to try adding your logo as an image to Wix, it will be a wonderful idea.
Step 1 – Open your site in the Editor
Firstly, log in to your Wix account to navigate your Wix Dashboard. Then, click the Edit Site in your Wix Dashboard to open your Wix Editor to finish this step.
Step 2 – Select Image element to navigate Upload Media window
In your Wix Editor, click the Add Elements to open a list of selections.
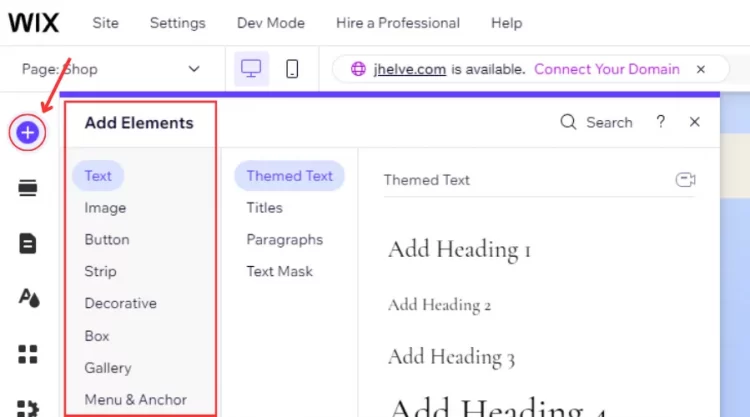
Then, hover over the Image button to direct the Upload & Import in the “My Images” box.
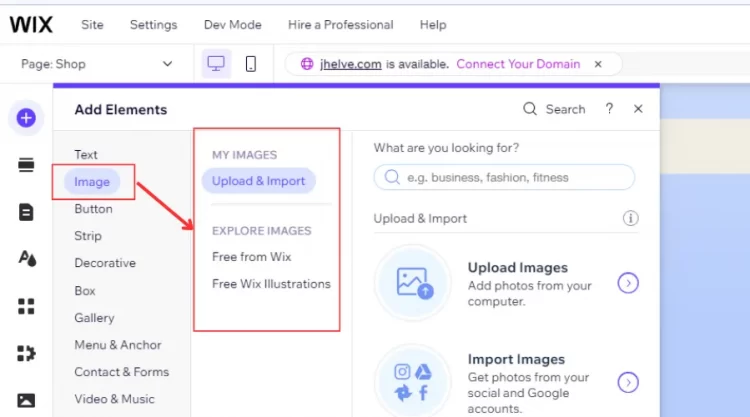
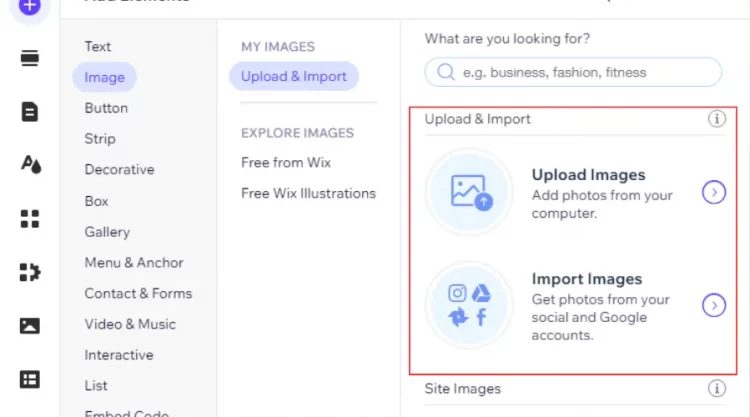
After that, click the Upload Images or Import Images to finish this step.
Step 3 – Upload and publish your logo to Wix header
After finishing the second step, you will see the Upload Media window on your screen.
Firstly, click the Upload from Computer to add your right logo file.
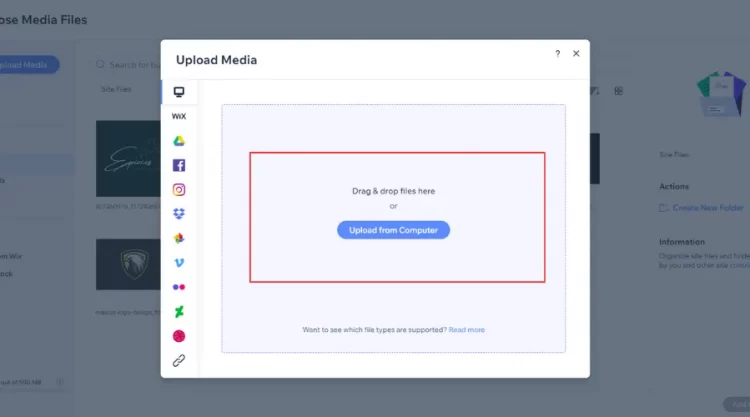
Or else, you can also have other sources to add your logo to Wix header, such as Google Drive, Facebook, Instagram, Vimeo, etc.
Next, customize your logo file in the Photo Studios to optimize your file’s quality.
After that, click the Add to Page to show your logo on your site.
Finally, drag and drop your logo to your Wix header and click the Save to end the process.
That’s our guide on how to add logo to Wix header with Image Element.
How To Add Logo To Wix Header From Business Info
In your Wix Dashboard, you can also add your logo to Wix Header from the Business Info window. This helps save time uploading your logo because you don’t open your site in your Wix Editor.
Step 1 – Open Your Wix Business Info
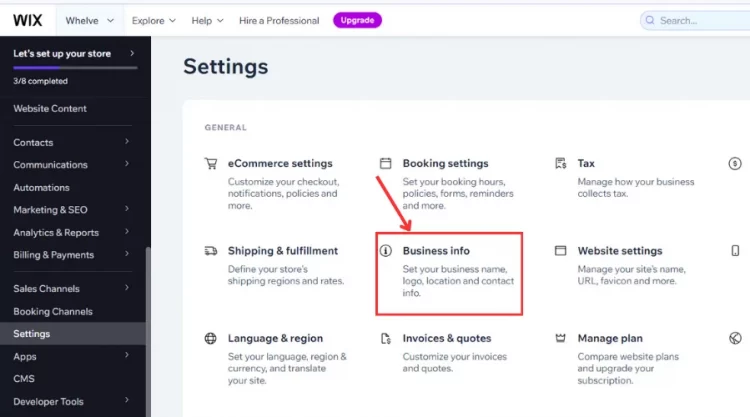
In your Wix Dashboard, click the Settings on the left side to open the Settings under General window.
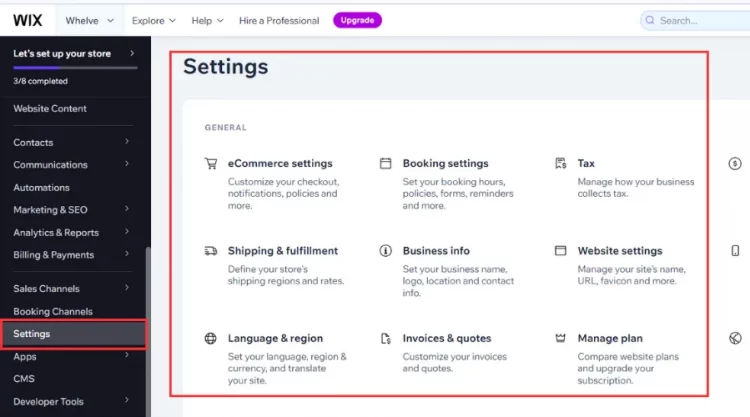
Then, click the Business Info box to finish this step.
Step 2 – Upload your logo’s relevant file
After ending the second step, you will see the Wix Business Info window on your screen.
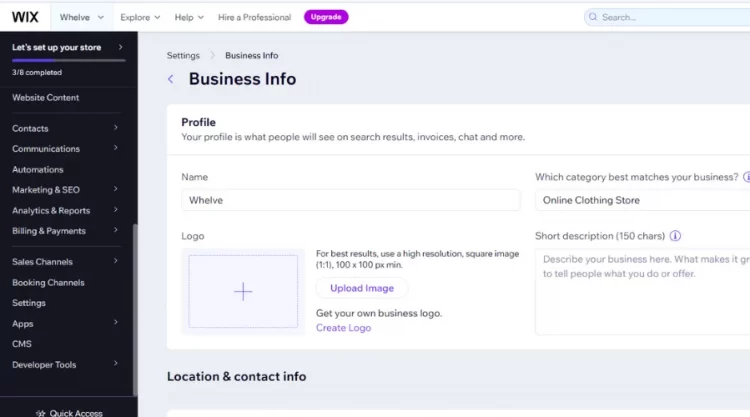
In the Business Info window, click the Add Logo or Upload Image button to open the Choose a logo.
Next, you have 2 cases to add your logo file, including:
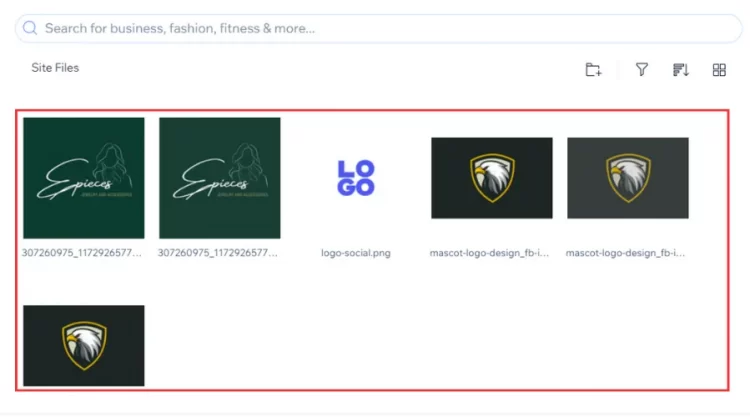
- Case #1: If your Wix gallery doesn’t contain your logo file, click the Upload Media to select the right one.
- Case #2: If your logo file is available in your Wix gallery, click the right one under the Site Files to finish this step.
Step 3 – Confirm your uploading
Once your logo file uploaded, click one of the 5 options under the Actions to customize your logo. Including:
- Option #1: Crop & Edit
- Option #2: Adjust
- Option #3: Create a Video
- Option #4: Cut Out Background
- Option #5: Edit with Adobe Express
Then, click the Choose File to finish the process.
Your logo will be displayed in a square box under the Business Info window afterward.
Once you follow how to add logo to Wix header through Business Info, your logo will be customized in the fixed size from Wix system. Therefore, you can not modify your logo display’s proportion; always keep it under a 1:1 square format, with 100 x 100 px min.
Tips & Tricks For Adding Logo In Wix Header
You can use your logo in different positions on your Wix site. To help you experience the best out of adding your logo to Wix header, we suggest which areas you should put your logo.
#1. Wix Editor Header
Uploading your logo with the Editor is highly recommended for users. However, you should use your logo file under the SVG format. This can be due to the SVG image file’s wonderful quality. It allows you to make any modifications in size and color without negatively impacting its original quality.
Remember that your SVG files come with a transparent background; if not, you should use an “Orginal.png” file for a logo with a colorful background. This ensures your logo is more professional and visual in your visitors’ eyes.
#2. ADI Header
ADI header is known as a header section created from Wix’s Artificial Design Intelligence (ADI), providing a customized design for users. You can use it to promote your site immediately without impacting your website’s quality, or style.
ADI header prefers you to use the “Original.png” file to add your logo to Wix header. If your logo image is too small to optimize on your site, you should make all your logo’s elements bigger. To attain that, you can get support from the Wix Photo Studio.
#3. Favicon
Wix favicon is a small object used on web browsers to represent a brand website. You normally see it on tabs at the top of a web browser, your browser’s bookmark, or Google history.
To use this file, you need to remove all space in this file through the Wix Photo Studio. Additionally, your image should be in 1:1 proportion at 16×16 pixels to optimize your file’s quality.
#4. Invoices, Promotional Videos & Wix Stores
When adopting how to add logo to Wix with Business Info, it is ready to appear anywhere on your site to enhance your visitors’ awareness of your brand. You can use your logo in invoices, promotional videos, and even in Wix stores. That’s one of the smart options to effectively promote your products’ marketing strategy.
#5. Email Marketing
If you want to try adding your logo to Email Marketing, let’s use the “Original on Transparent.PNG” file. It will bring a clear and large display on your logo, making your Wix header more visible.

For each option, remember to select the proper image file format. Have a successful journey with your logo!
How To Add Logo To Wix Header – FAQs
[sp_easyaccordion id=”66177″]
Final Words
Our blog has guided you on how to add logo to Wix header in the Wix Editor, with an Image element and Business Info. Depending on your demand, you can flexibly select one of them to upload your logo file. However, you should keep your file in the SVG format to optimize your logo image’s quality.
LitExtension, the #1 Shopping Cart Migration Expert, hopes you can successfully adopt how to add a logo to a Wix header. Check out our LitExtension Blog or join our Facebook Community Group for more useful tips.