Shopping cart migration, in general, or migration to Shopify, in particular, is no longer scary with the help of LitExtension. You only need 3 simple steps to automatically transfer every important data from your old store to a new store on Shopify accurately and securely.
If you’ve just finished a Shopify migration with LitExtension, here is the checklist to set up Shopify store after the process.
Step 1: Check if your data has been migrated correctly
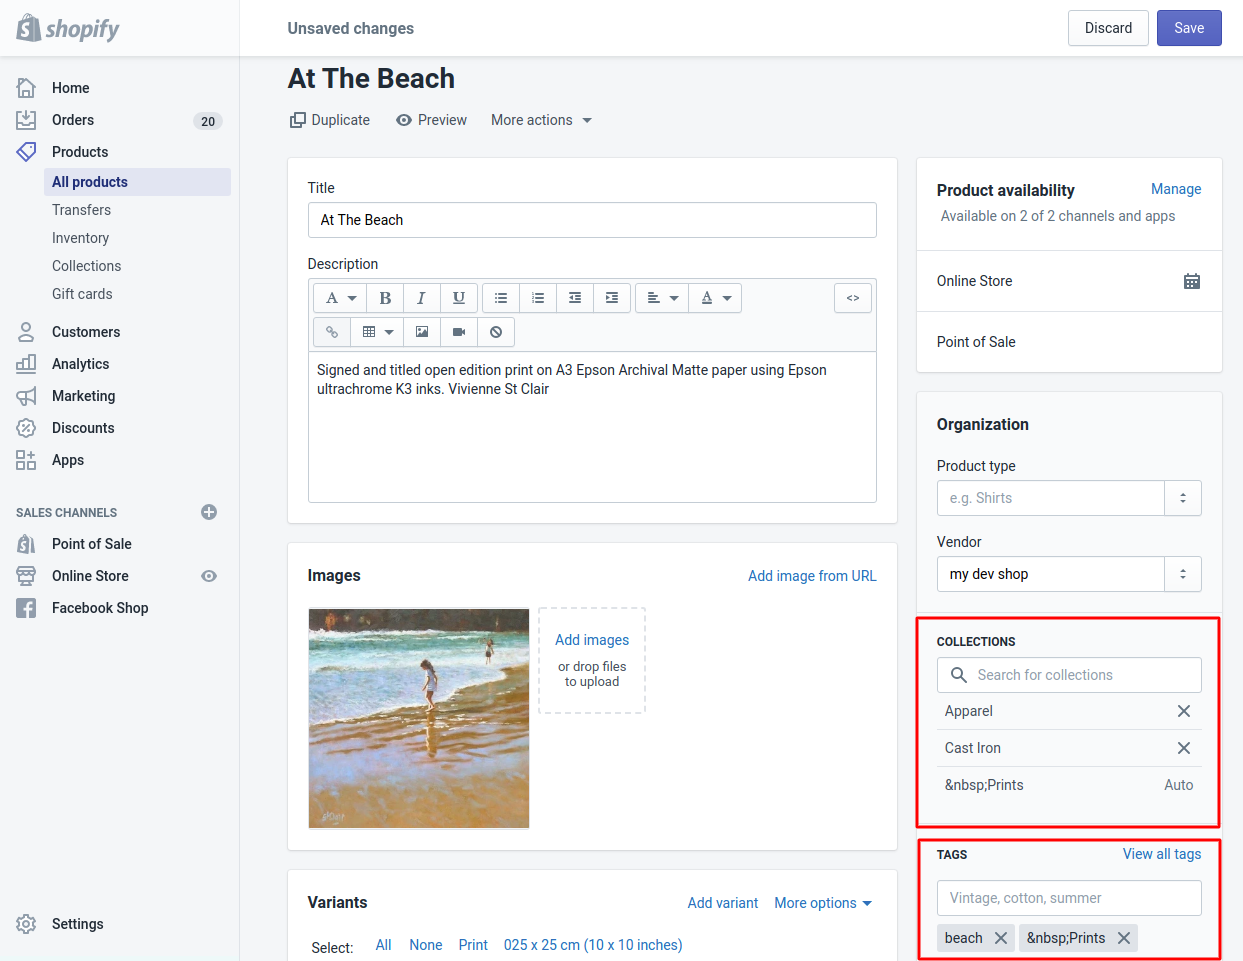
Once you’ve ticked all the boxes of the Shopify migration checklist, all of your products, except for those that are out-of-stock, will be displayed on the storefront. Therefore, you can easily find them from the catalog or by onsite search. Nevertheless, you should check your product details carefully, including product descriptions, images, variants, and meta descriptions (learn more about how to add meta tag to Shopify).
There is one thing you should be aware of if you’re new to Shopify, which is there aren’t categories and subcategories here. Instead, you will have collections and product tags. As a result, data in categories and subcategories on your Source store will be moved to corresponding collections and tags on Shopify.
In the worst-case scenario, if you encounter some issues with the migrated data, you should use the Shopify backup and re-run the migration.
After checking data on your front end, login to the admin area and go through customs as well as order data from the backend.
Note: In case you want to transfer product reviews over too, please follow these additional steps to import reviews to Shopify:
- Install a free Product Reviews app on your target Shopify store (before or after the migration)
- Export reviews from your Source store to a CSV file
- Go to your Shopify admin, navigate to Apps -> Product Reviews -> Settings
- Then click on the Import button in the top bar
- Hit the “Choose file” button and select the CSV file you’ve exported
- Click the “Import” button.
Step 2: Design and set up the Shopify store
After making sure the Shopify store has all the data you need, it’s time to design your website. The visual representation of your business has a significant influence on the performance of your online store in terms of conversion rates, trustworthiness, and more.
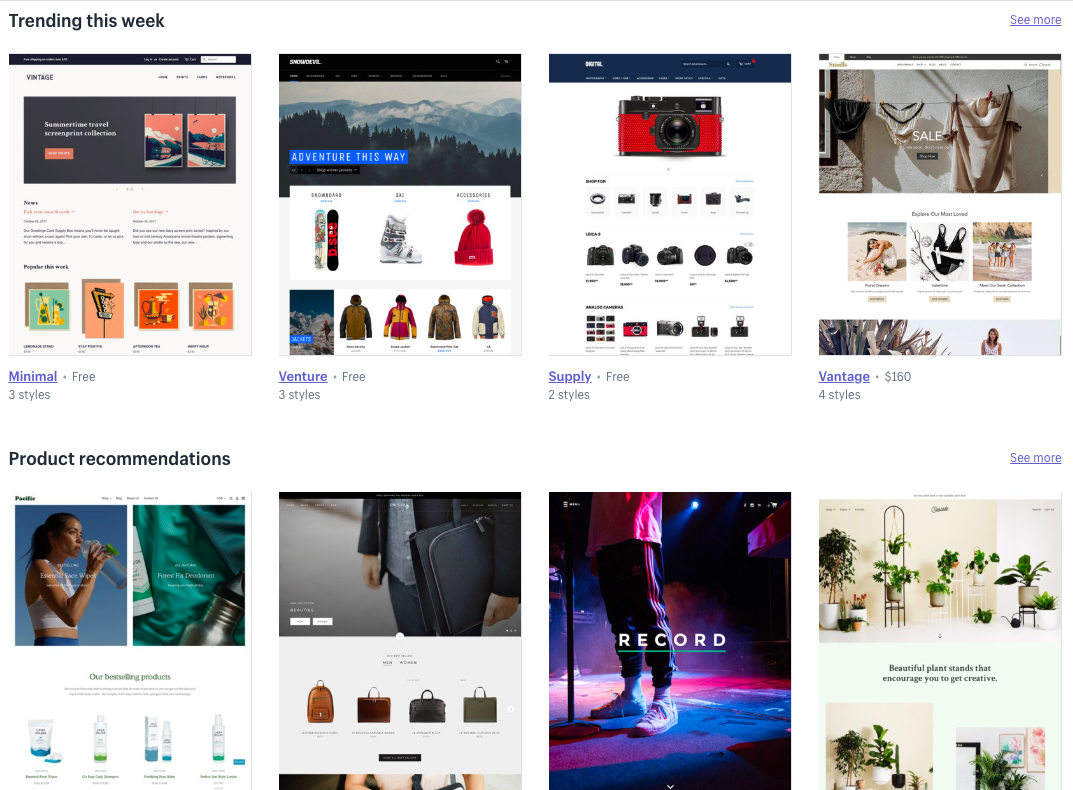
In order to build a website at your will, you may need the help of themes and page builders. There are a variety of choices for themes and page builders for you on the Shopify theme store and app store.
- Theme
Shopify offers both free themes, which are developed by Shopify, and paid themes which are developed by third-party designers. Below is how to add a theme for your online store:
Free theme: You can add them quickly and easily from your Shopify admin.
- Go to Online Store -> Themes.
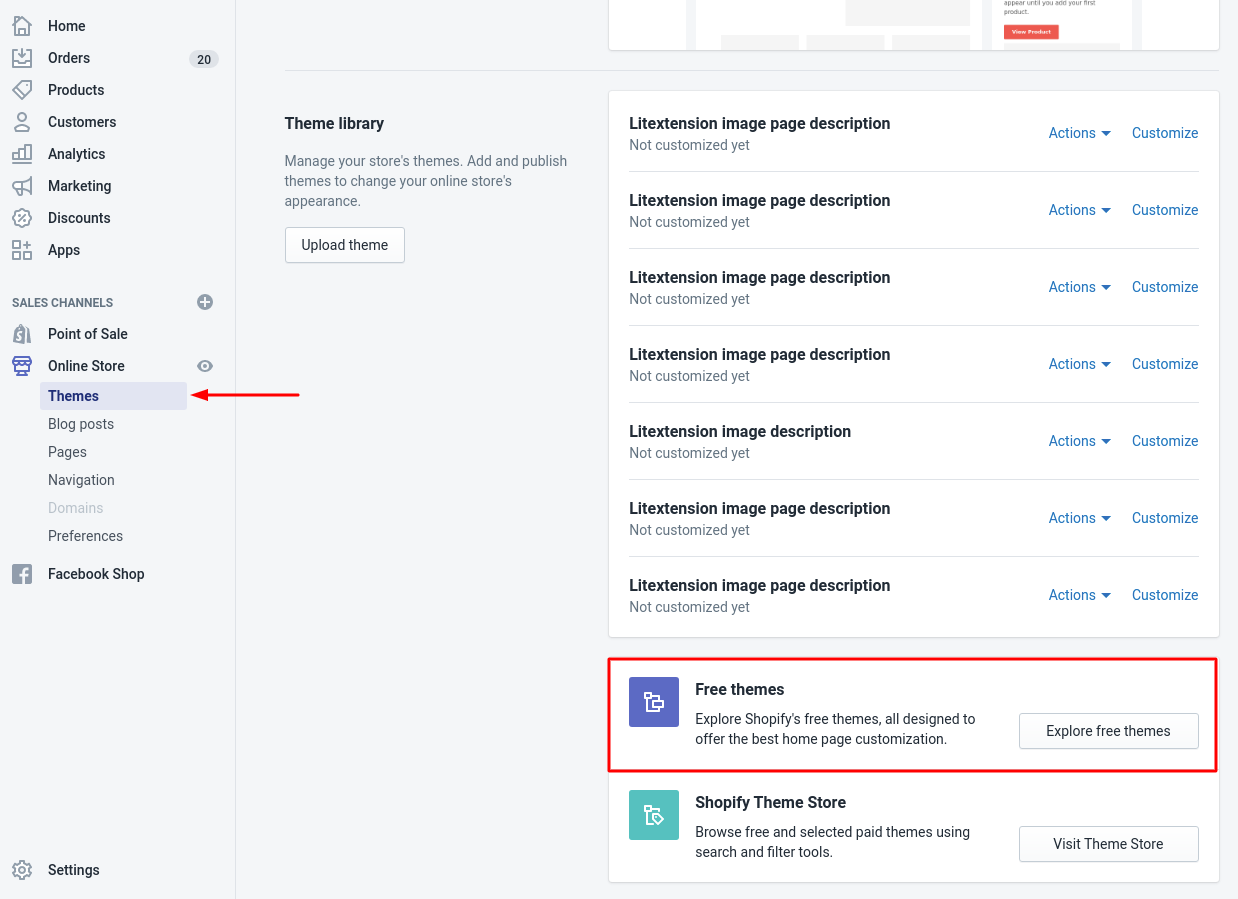
Explore Shopify free themes - Scroll to the Free Themes section, which is near the bottom of the page, and click Explore free themes to see all of the free themes.
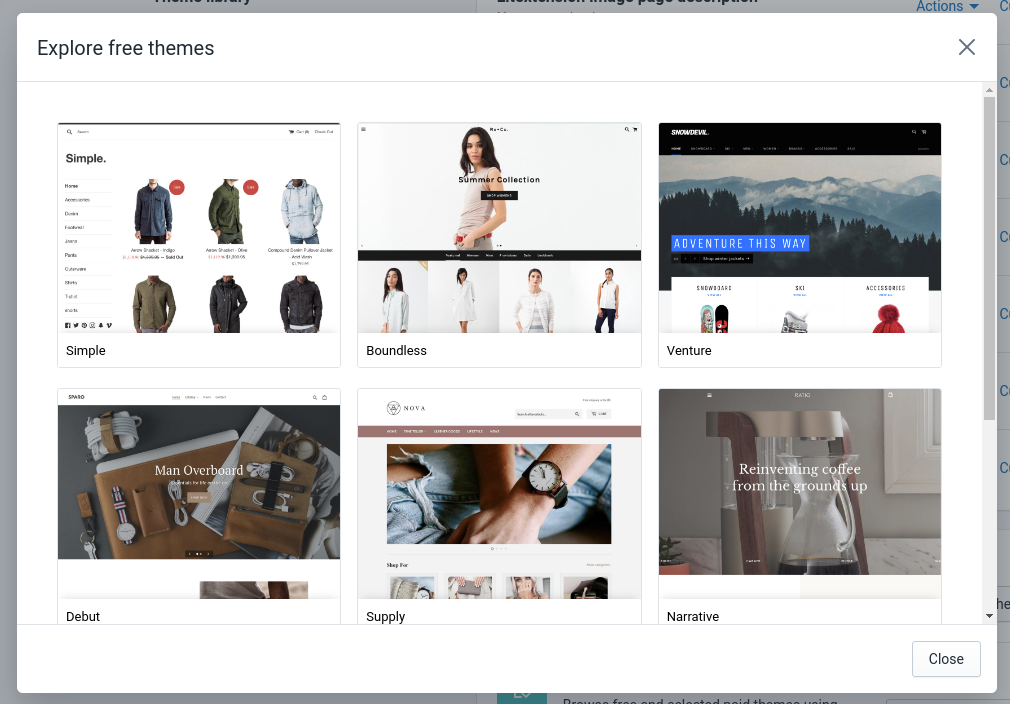
Explore free themes in Shopify - Click on any theme to read about its features and to preview the available theme styles.
- Click the Add to Theme Library button for those you like and they will then be added to the Themes page of your admin.
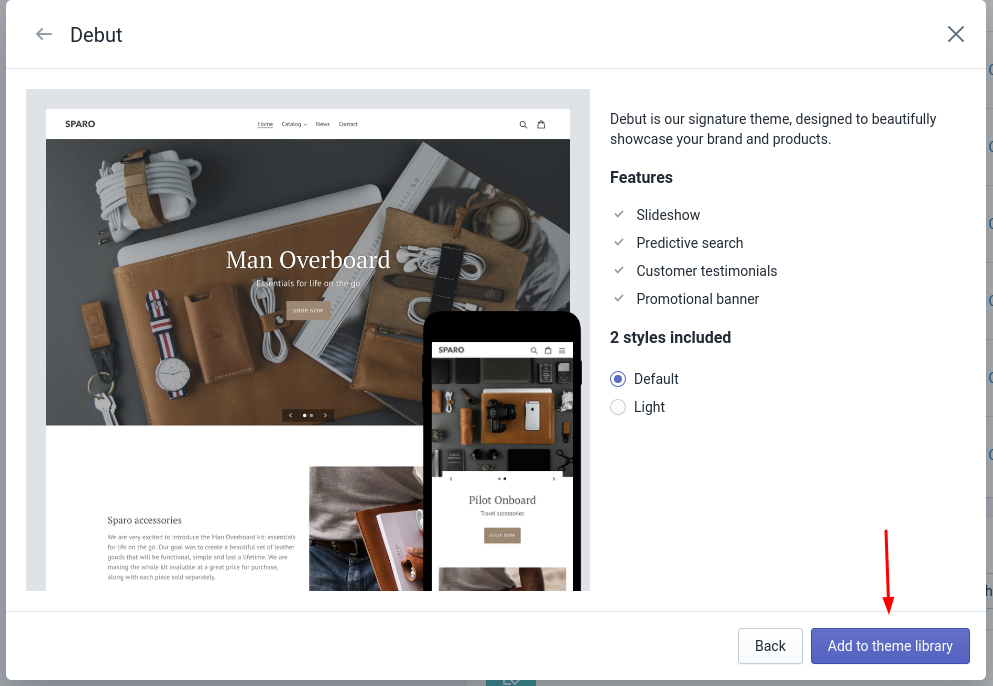
Add free themes on Shopify
Paid theme: You need to make a payment before you can publish a theme to your online store, however, you can always them out before buying.
- Visit the Shopify Theme Store and choose the theme you like.
Shopify Theme Store - Click Buy theme to buy the theme. Paid themes are non-refundable. Thus, you can make sure that it suits your needs by trying.
- Once you’ve come to the final decision, click Approve Charge to approve the payment. The theme will be added to the Themes page of your admin to customize.
- Page Builder
Sometimes, you may find Shopify templates quite restricting. Then, a page builder could be what you’re looking for. It allows you to create and design different pages for your website that will look exactly the way you want it to. An excellent page builder will also include extra features such as split testing, SEO, analytics, and so on.
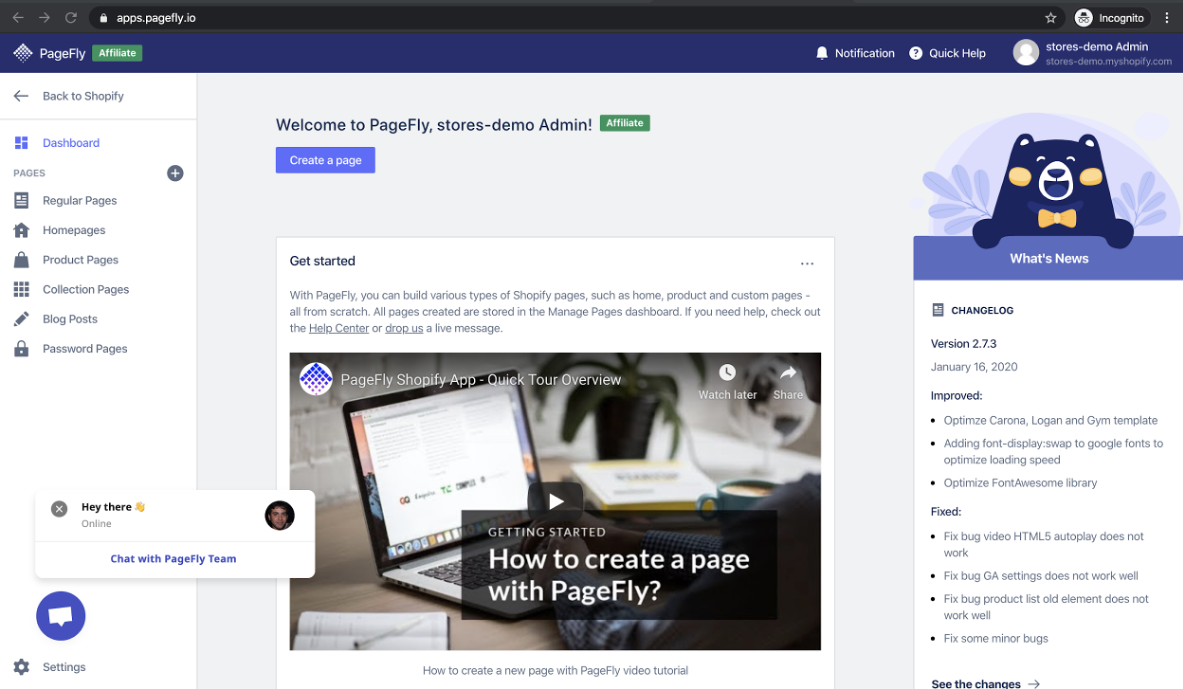
The best page builder for you to build a Shopify store currently is PageFly. It ranks #1 on the Shopify app store for page builders, with an overall rating of 4.9 and 1,800+ reviews. You can have a look at our detailed review of PageFly here.
In case you desire to find a team that can walk you through the whole process of setting up the Shopify Store, C2-Digital will be the right choice for you. They are Shopify experts and specialize in Shopify web design, development, and also consulting. Moreover, C2 Digital is delighted to offer an exclusive 20% discount for all LitExtension customers when using their service (with the LITEXTENSION code).
Step 3: Switch your domain
After your shopping cart migration is completed, you should switch the domain to your new store.
Here are the three most prevailing situations you might face after completing a migration:
- You have both stores hosted by the same provider, under the same domain. Yet, your target store is in the subdirectory.
- Both of your stores are hosted by the same provider, yet each of them has a different domain name.
- You have source and target stores hosted by different providers, under different domain names.
Please check this document to find the step-by-step instructions to switch domains to your new store in each case.
Step 4: Set up your shipping
It’s of great importance to get shipping rates and methods set up correctly before your new store officially goes live. Otherwise, you will have to face undesired situations, for example, asking customers to pay more because you didn’t charge them enough to cover the shipping cost, or, having to refund because you’ve overcharged them.
Then to start, let’s follow the steps below to set up your shipping:
- Go to Settings -> Shipping, and add your shipping address to get accurate shipping rates based on your location.
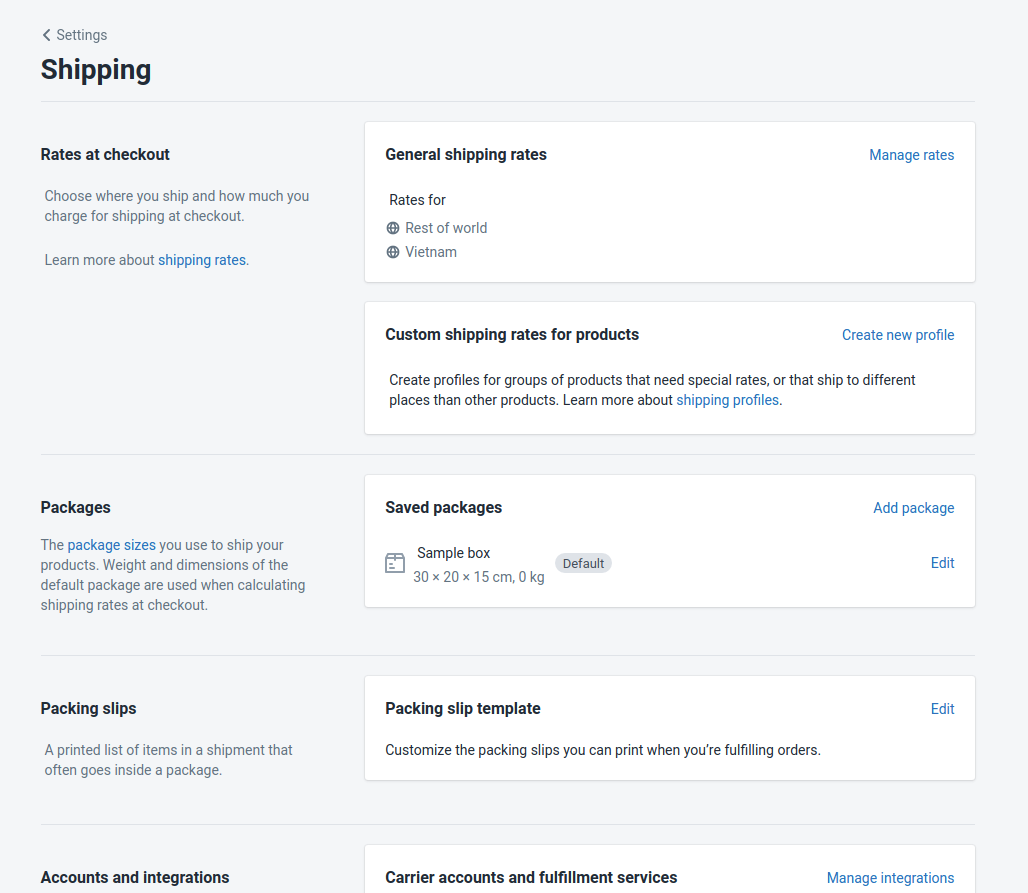
Set up shipping in Shopify - Create shipping zones so that you can ship to different regions, states, and countries.
- Configure your shipment dimensions if you’re using carrier-calculated shipping rates. Many carriers use volumetric weight (the height, weight, and depth of a package) to calculate shipping rates.
- Then create shipping rates for the shipping zones that you’ve created.
- Plan a shipping strategy that works best for your business.
- After that, have a look at fulfillment services. You need to decide who is going to ship orders, yourself or someone else.
Step 5: Establish a payment provider
To help customers make a payment easily, you need to set up a payment provider. The payment provider allows you to accept payments via credit card securely. However, Shopify also offers its own payment provider (Shopify Payments) along with a wide range of supported third-party payment providers.
- Shopify payment:
- From your Shopify admin, go to Settings > Payment providers.
- Activate Shopify Payments: If you haven’t set up any credit card payment provider on your account: Click on Complete account setup in the Shopify Payments section. If you have already enabled a different credit card payment provider: Click Activate Shopify Payments in the Shopify Payments box and then click Activate Shopify Payments in the dialog. This action will remove any other credit card payment provider from your account.
- Then, enter the requested information about your store and your banking details, and then click Save.
Note: Shopify Payments is available only to stores in certain countries. See here for the list of supported countries.
- Third-party payment providers
- From your Shopify admin, go to Settings > Payment providers.

Payment providers on Shopify - Click Choose a third-party provider in the Third-party providers’ section.
- Then select the provider that you want to use from the list. You can only enable one credit card payment provider at a time. If you already have one, Shopify allows you to change it to another.
- Enter your account credentials for the provider that you selected.
- Click Activate.
You should carefully go through the details about Shopify payment methods in the Shopify documents here.
After you’ve finished configuring your payment providers, you need to set up your checkout page so you can process customers’ orders.
Step 6: Try placing some orders
Now, it’s necessary to test if the transactions will be working as you expected. Therefore placing a test order will help you understand your customer’s journey of buying products on your website. Then, you can make some changes to make the journey more accessible and more pleasant.
Here are a few different types of transactions that you can run test orders for:
- Completing a successful and a failed transaction
- Refunding and canceling an order
- Fulfilling or partially fulfilling an order
- Saving a successful order
These are all essential steps you need to take to set up a Shopify store. Make sure you don’t miss a thing. After that, you can confidently launch your new store! Let’s join our community to get more eCommerce knowledge.