Making the move to the Shopify platform is an impactful decision for your online business. To help you transfer smoothly, this Shopify migration checklist provides a comprehensive overview of everything you must consider for the process.
By carefully mapping out each stage of the migration process ahead of time, you can feel confident your launch on Shopify will be seamless. And, LitExtension – #1 Shopping Cart Migration Expert will lift the burden off your shoulders with the following key points:
- Understanding migration to Shopify;
- Grasping essential steps of the migration checklist Shopify;
- Answering most-asked questions.
Let’s get the ball rolling!
Seamlessly Migrate Your Store to Shopify!
Our team of experts can safely transfer your business data, products, customers, and orders to unlock more growth in this promising eCommerce platform. Let us provide a customized migration for you!
An Overview of Shopify Migration
Shopify eCommerce migration allows store owners to move their online stores to the platform seamlessly. This could involve upgrading their Shopify plan or transferring their store entirely from another eCommerce platform like WooCommerce.

Migrating plans is usually a straightforward process within Shopify itself. Store owners can choose a new plan that better suits their business needs, and Shopify takes care of moving over the website content, products, orders, and customer data.
However, things get more complicated when you move from an entirely different platform. That’s when a comprehensive Shopify migration checklist becomes indispensable.
Even if you are not moving from or to Shopify, we have an all-inclusive eCommerce migration checklist to get you interested!
Your Essential Checklist When Migrating to Shopify
With 10 years of experience, the LitExtension team has come up with an ultimate Shopify migration checklist with all the essential steps for a smooth process. Trust in our seasoned insights to guide you toward unparalleled success in your eCommerce replatforming journey.
Stage 1: Before the Migration
1. Evaluate your current platform
Begin your Shopify migration checklist by thoroughly evaluating your current eCommerce platform. From its architecture and data structure to performance, you need to grasp every little detail.
Also, assess any custom themes, third-party apps, or special integrations currently in use. This understanding will serve as the foundation for crafting an effective website migration strategy. For more detailed information, gain insights into the considerations when migrating to Shopify.
2. Define migration goals
With insights from the platform evaluation, clearly define your platform migration goals. Set up specific objectives and expectations, whether it’s elevating user experience, unlocking advanced features, or achieving scalable growth. These goals will be your guiding lights throughout the eCommerce re-platform process.
Don’t forget to establish timelines for each stage, addressing technical work and ensuring a smooth customer experience during any temporary website downtime. Consider testing phases and plans for addressing any unforeseen issues.
3. Choose a Shopify plan
Then, review in-depth Shopify’s plan offerings, including features like storage limits, monthly transaction rates, and the number of products supported. You can reflect on the current and projected sales volumes to pick a plan that allows continued growth.
Up to the present, there are 5 Shopify pricing tiers for e-merchants to choose from:
- Shopify Starter: $5/month;
- Basic Shopify: $39/month;
- Shopify: $105/month;
- Advanced Shopify: $399/month;
- Shopify Plus: from $2,000/month.
If you are aiming to expand your business, Shopify Plus would be a more-than-ideal option. The exact pricing range will be calculated based on your annual sales and traffic; thus, please contact a Shopify representative for more information.
4. Back up existing data
To prevent potential data loss, conduct a comprehensive backup of all relevant business and store information from the current platform. A proper backup will ensure a safety net in case of unforeseen issues during or after the migration Shopify process.
From our experience, the Shopify backup folder should contain products, customers, and orders, as well as other archive files for theme customizations, translations, and external integrations.
Each platform will have different processes for backing up your online store. For this reason, we recommend referring to their official document or the customer support team before performing the Shopify checklist for migration.
5. Set up a shopify account
Since you are migrating to Shopify, a new account is a must-have. Fortunately, creating a new account on Shopify is quite simple. All you have to do is provide them an email address with a legit password for signing up.
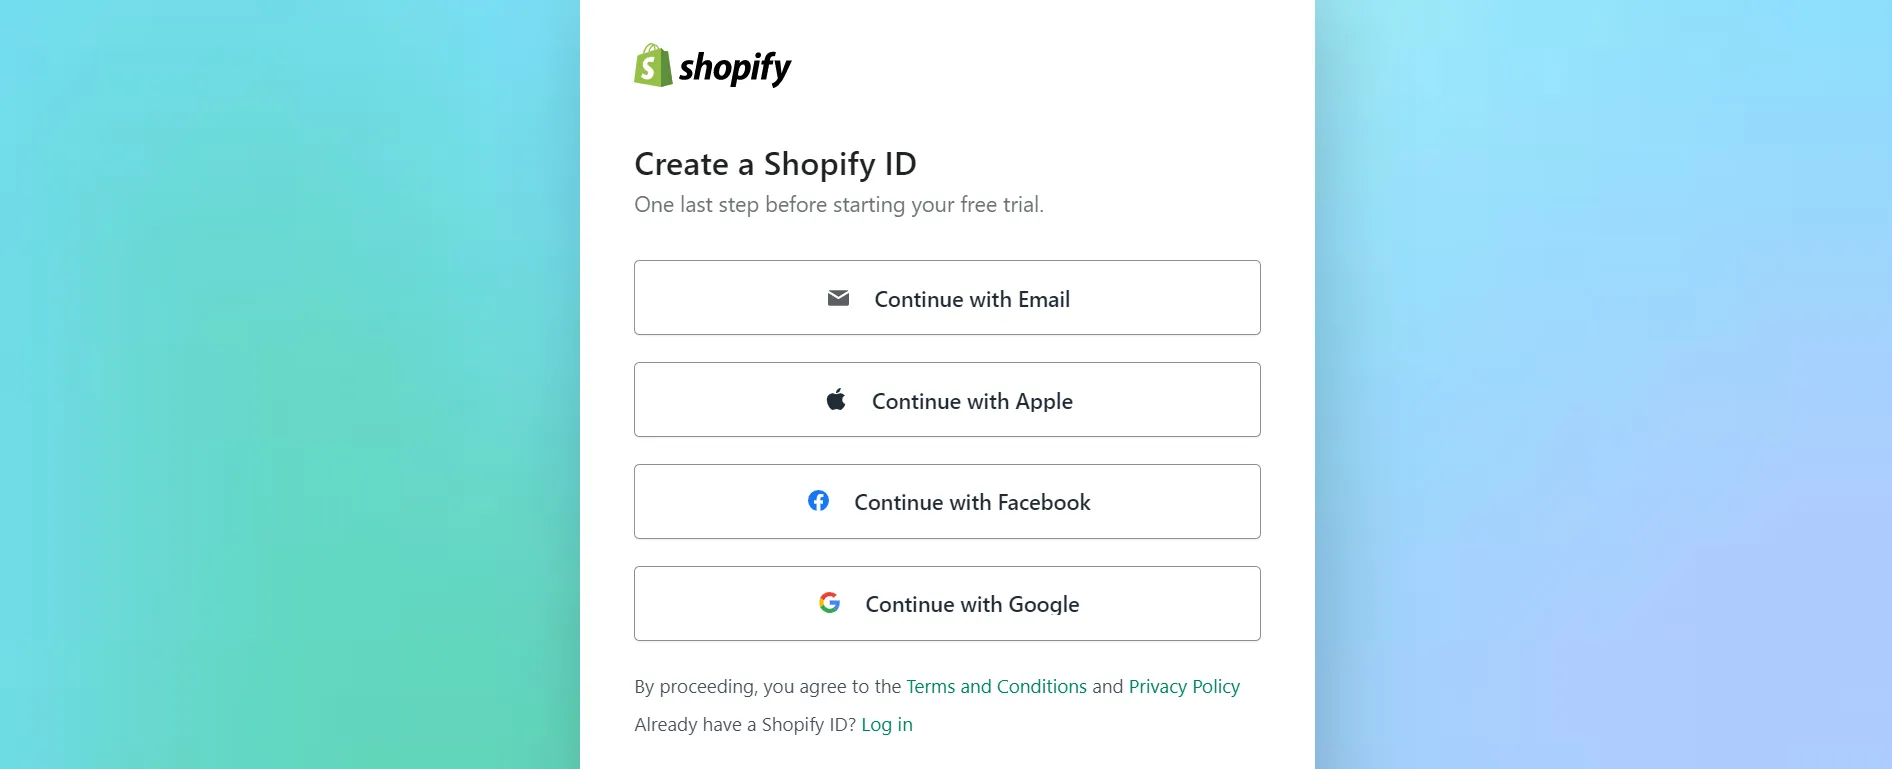
After that, answer some questions about your business, or “Skip All” if you don’t have time. Now, your Shopify dashboard is readily available for the website migration project.
If you’re in search of a brief Shopify tutorial video, we can help:
Stage 2: During the Migration
6. Identify migrated data
First, we must compile a prioritized list of everything that needs transferring, such as products, customers, orders, and marketing content. At the same time, outline custom fields that require advanced mappings like variations, languages, inventory levels, or shipping profiles.
For instance, our customers usually include the following data types in their Shopify migration checklist:
- Products
- Customers
- Historical orders (orders that have already been fulfilled)
- Gift cards, certificates, and store credits
- Blogs
- Pages (such as shipping policy, contact, or about)
7. Decide a migration method
Next, evaluate and choose the most suitable method for your specific needs. The decision should be based on the complexity of your database and the efficiency of each strategy.
For your Shopify migration checklist, we have narrowed down the best possible methods:
- Copy and paste content manually: The simplest option but only for small amounts of editable content.
- Export data to CSV files: Supports basic product/customer fields but not complex data.
- Hire a Shopify Partner: Experts can handle complex integrations and multi-site migrations.
- Develop or hire a Shopify Partner using the API: Most flexible but requires development resources for custom integrations.
- Use third-party migration services: Dedicated tools for replatforming eCommerce from solutions like WooCommerce, Magento, or BigCommerce.
Introducing LitExtension – #1 Shopping Cart Migration Expert, a leading solution provider that streamlines the process of transferring your online store seamlessly between platforms. You can easily notice us as Shopify’s solution partner announced on their official documentation.
With a reputation for reliability and efficiency, we offer a comprehensive suite of services designed to simplify complex migrations.
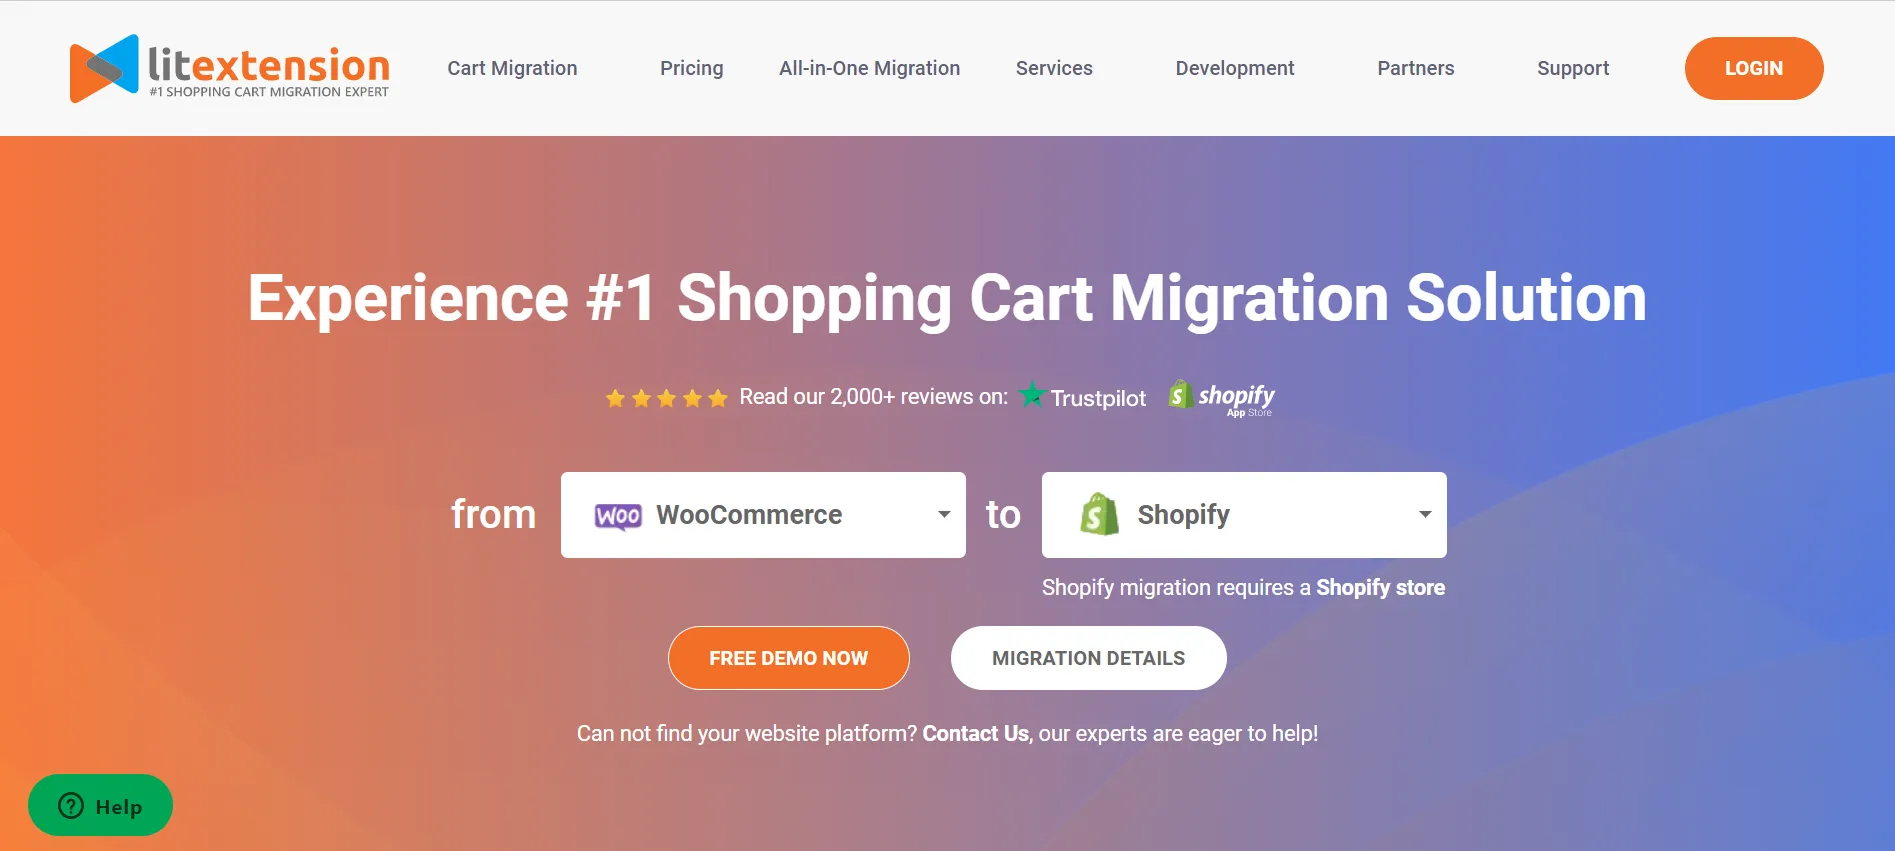
Not only do we support migrating from up to 140+ platforms, but also provide experienced experts to help you out. For the All-in-One Migration Package, your project will be taken care of by a Personal Assistant (PA) from start to finish. They are responsible for running the migration and answering your questions within 12 hours.
8. Import data to Shopify
With the chosen migration method, let’s import the identified data into your Shopify store your way. You should strictly follow the prescribed steps for data transfer to ensure a smooth and error-free process. Please note that you will have to map the data for custom fields to replicate the original structure.
⚠️ For anyone performing the migration manually, the import sequence is crucial. Begin by importing your product data, followed by customer information, and finally, historical orders. This ensures a proper connection between products, customers, and orders, allowing for seamless integration and accurate representation in your system.
9. Review the results
At this phase of the Shopify migration checklist, thoroughly review the results of the previous steps. By doing this, you will be able to address issues promptly to ensure the accuracy and completeness of the migrated data.
10. Create Shopify collections
There’s one thing you should be aware of when moving to Shopify is that its data structure features collections, instead of sub-categories like other platforms. Thus, you will have to create Shopify collections on your new store and arrange the corresponding data manually.
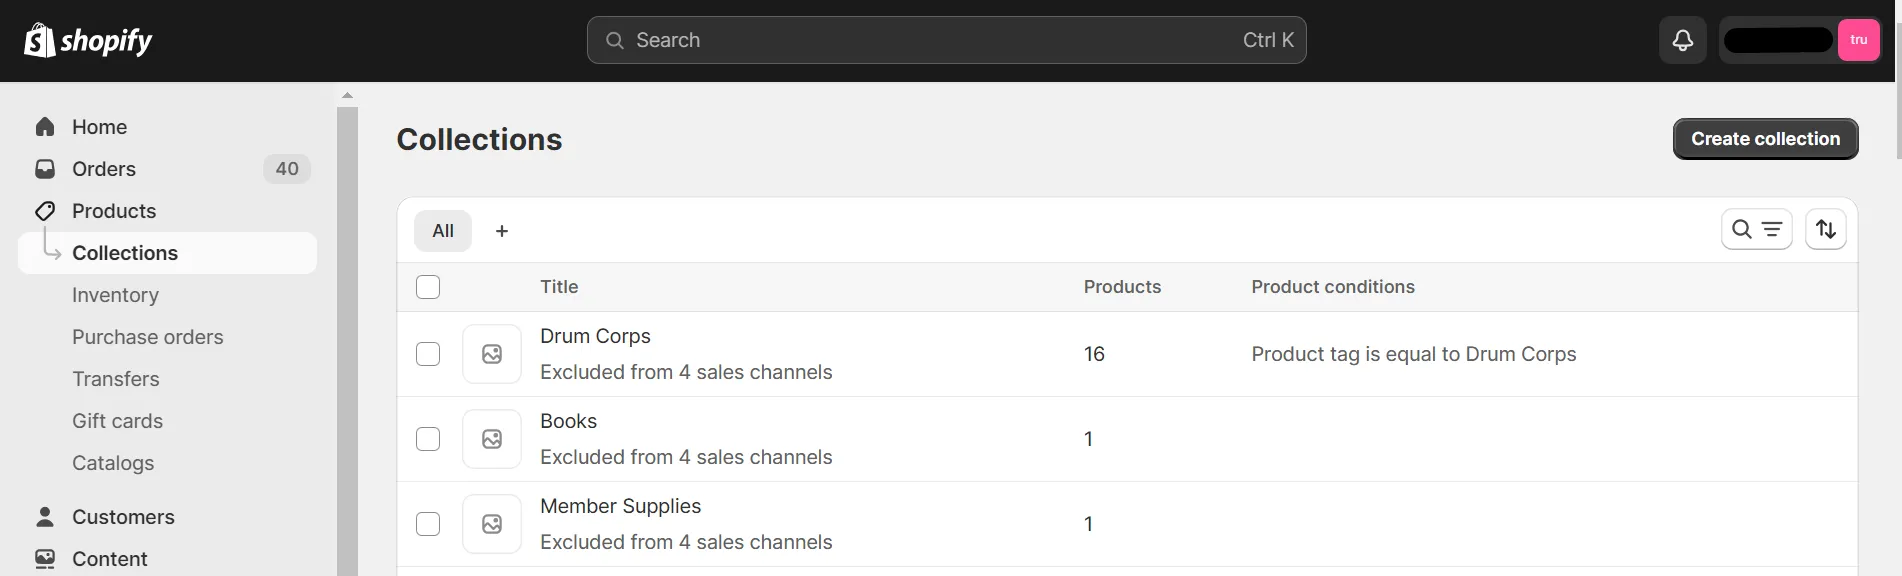
It might be quite time-consuming for you to perform the task. For this reason, LitExtension offers an Additional Option called Migrate Source Store Categories into Shopify Automated Collections helping you to transform the categories into collections.
Furthermore, this option will automatically assign tags to your products. Consequently, you can display sub-categories similarly to your Source Store by generating sub-menus based on product tags.
11. Migrate customer tags
Despite the absence of a built-in customer group feature, Shopify enables customer management through tags. Therefore, you must also migrate to Shopify the customer groups into tags one by one.
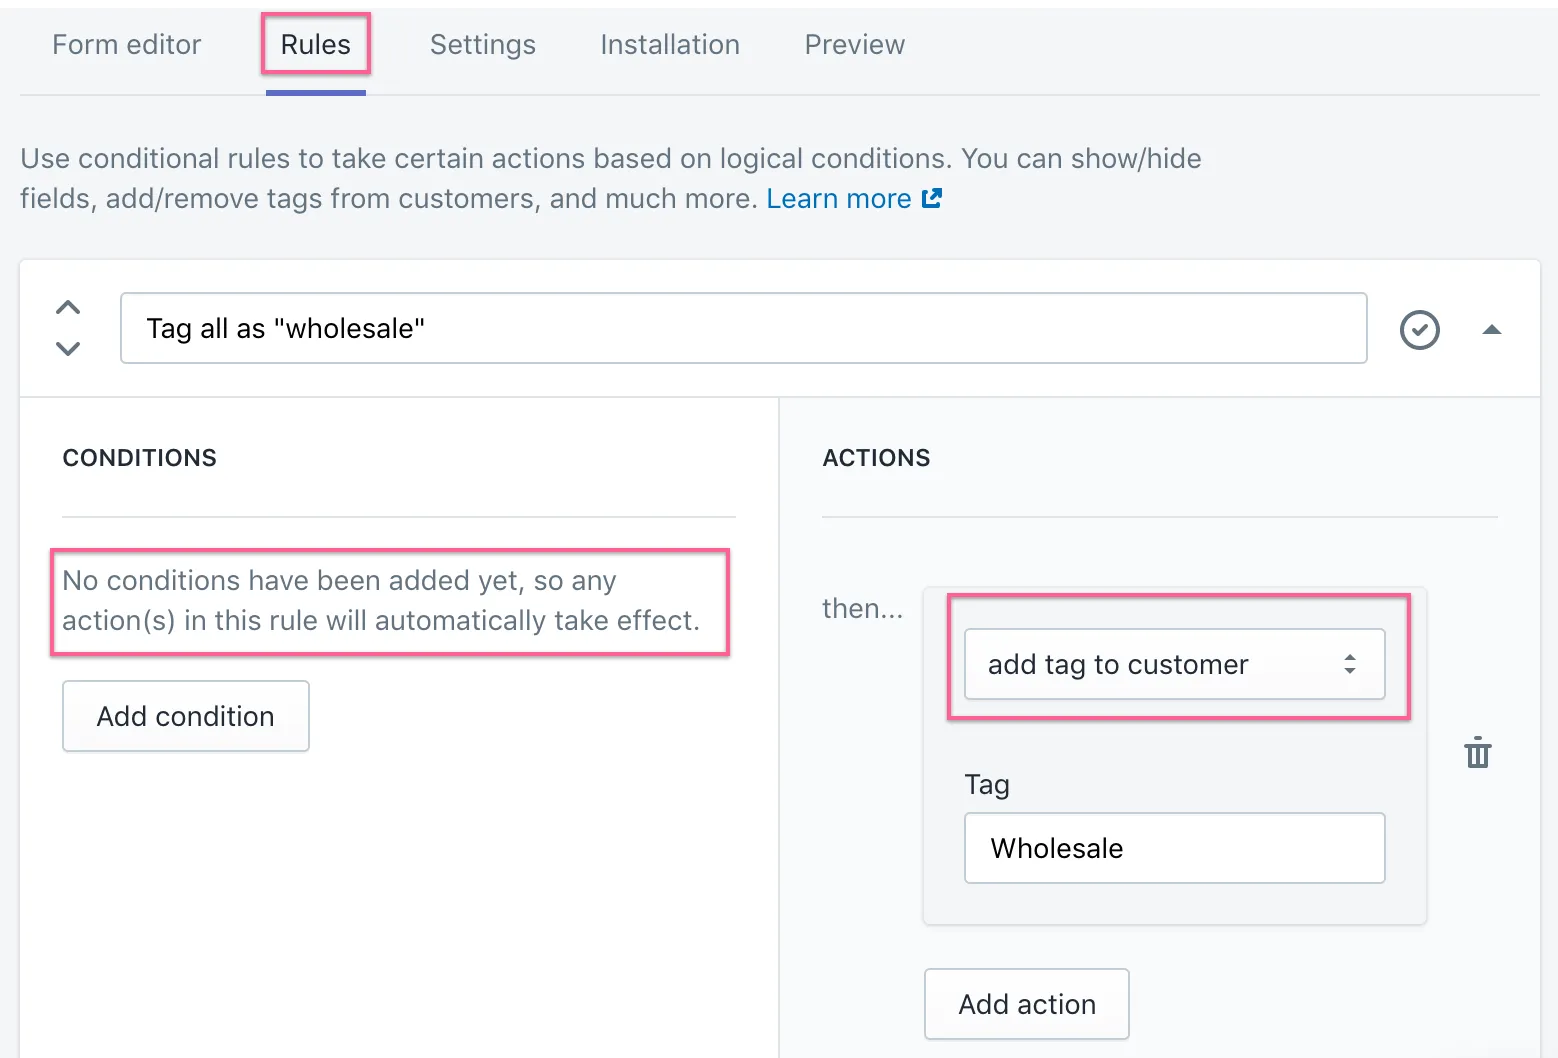
To help you out, our LitExtension team has designed the Migrate Source Store Customers Groups into Customer Tags migration options. This alternative facilitates migrating customer groups into corresponding customer tags on Shopify. Subsequently, you can efficiently filter and organize customers based on these tags.

Save Time Import Store Data to Shopify
Trusted specialists streamline migrations that actualize ambitions.
Stage 3: After the Migration
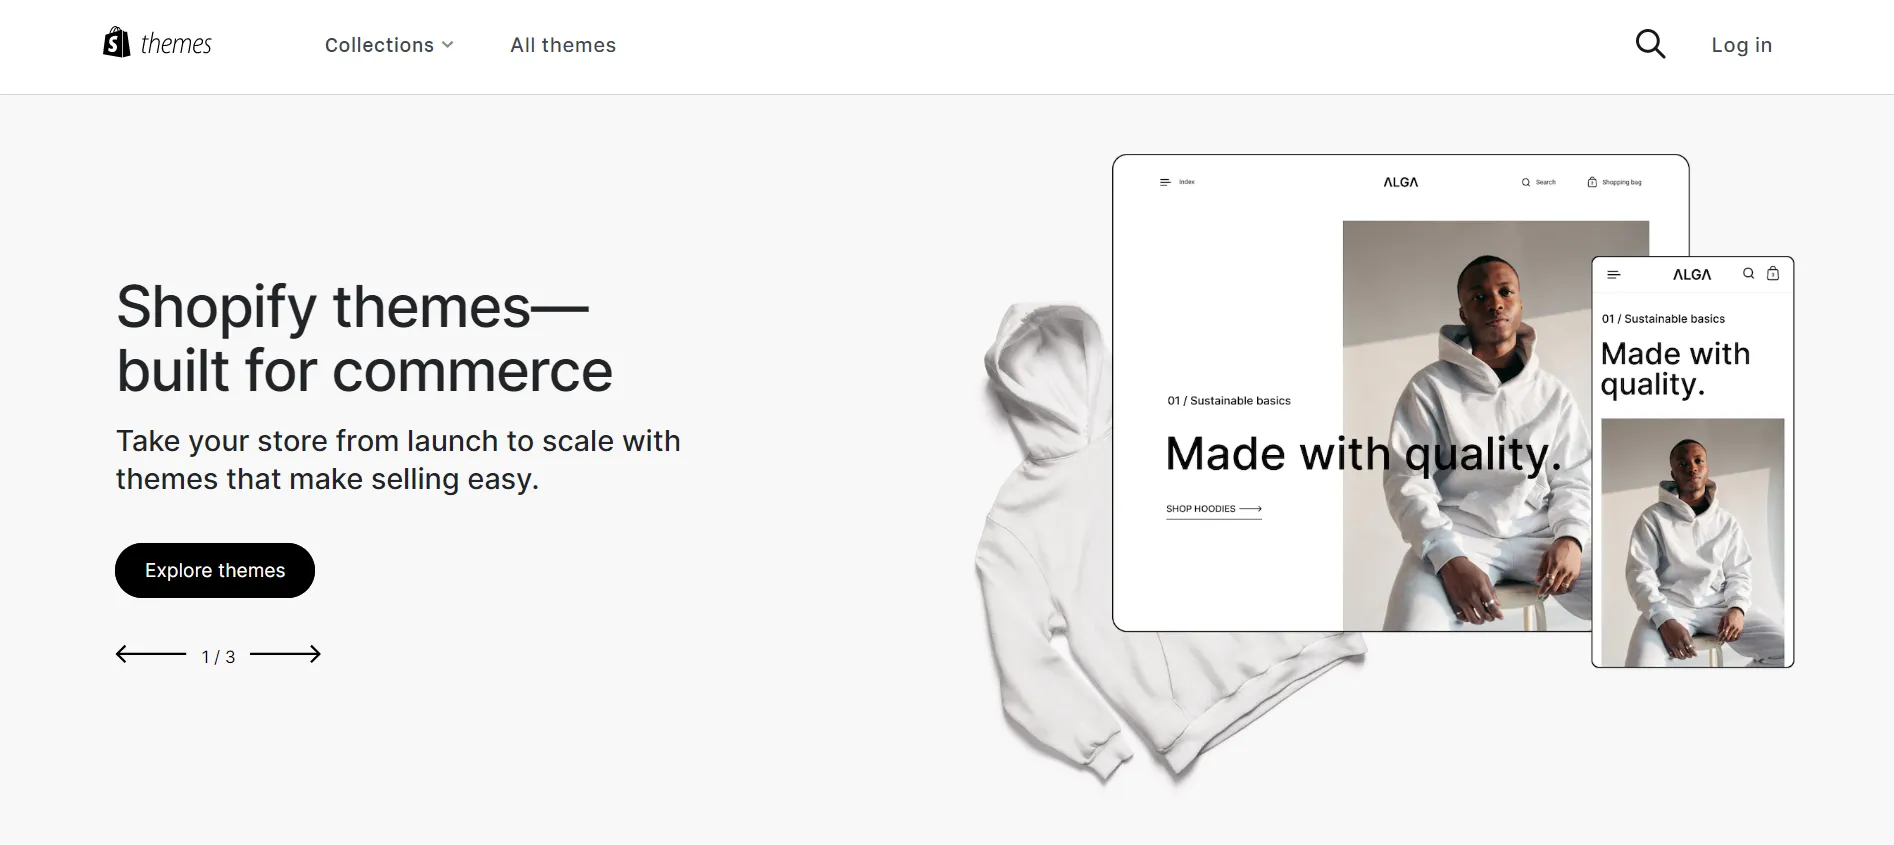
12. Customize the theme
The migration is completed, yet our Shopify migration checklist is not. There are still several tasks for us to set up Shopify store after migration.
Now that content is imported, it’s time to customize the design theme to match your brand. You can decide on a layout by selecting from the Shopify Theme Store. There are 170+ options for multiple purposes, with both free and premium themes.
After installing one on your new Shopify store, adjust theme settings accordingly, including colors, fonts, layouts, navigation menus, and image sizes. Before we move on, remember to test your design on all devices for responsiveness, too!
Don’t know where to start with? You might want to take a look at this list of the best Shopify themes!
13. Configure shipping settings
Within Shopify’s shipping settings, fill in your business address and preferred carriers to generate rates. You can incorporate either flat or calculated shipping rates into your overall shipping profile, applicable to all your products. Alternatively, specific products are also assigned to customized shipping profiles, each with its distinct shipping rates.
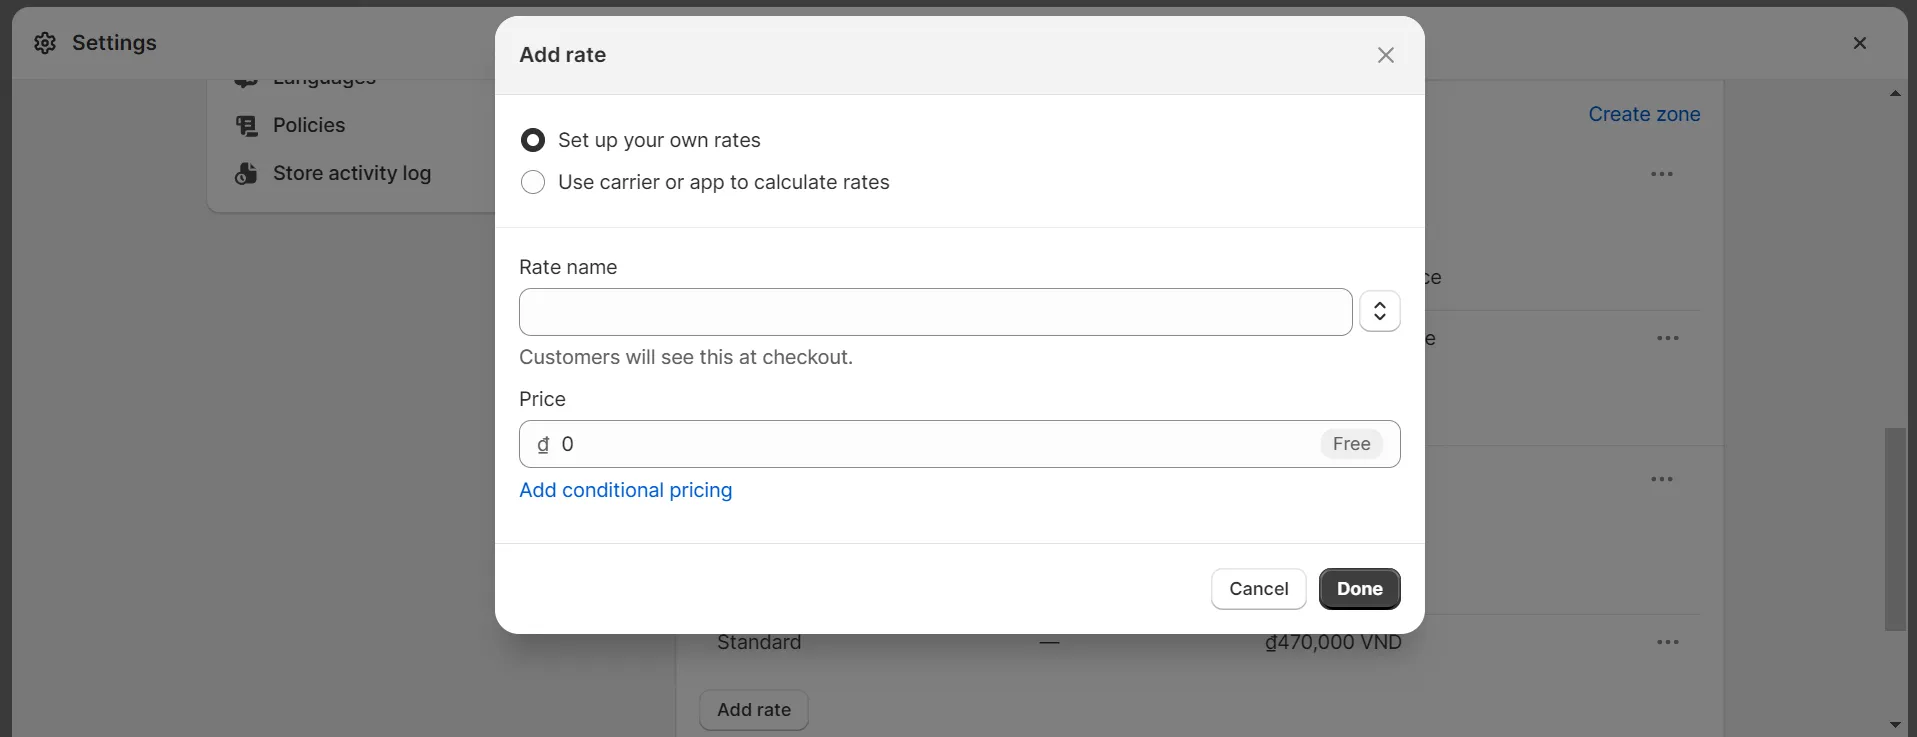
To provide customers with local delivery options, configure arrangements for both pickup and local delivery if you wish to offer proximity-based methods for receiving products.
For enterprises operating in diverse locations, Shopify allows merchants to define the domestic and international shipping zones based on their country or province.
14. Set up taxes
As a business owner, it may be necessary for you to impose taxes on your sales and subsequently report and remit these taxes to the relevant government authorities. While tax regulations are complex with frequent changes, Shopify offers the functionality to manage standard sales tax calculations.
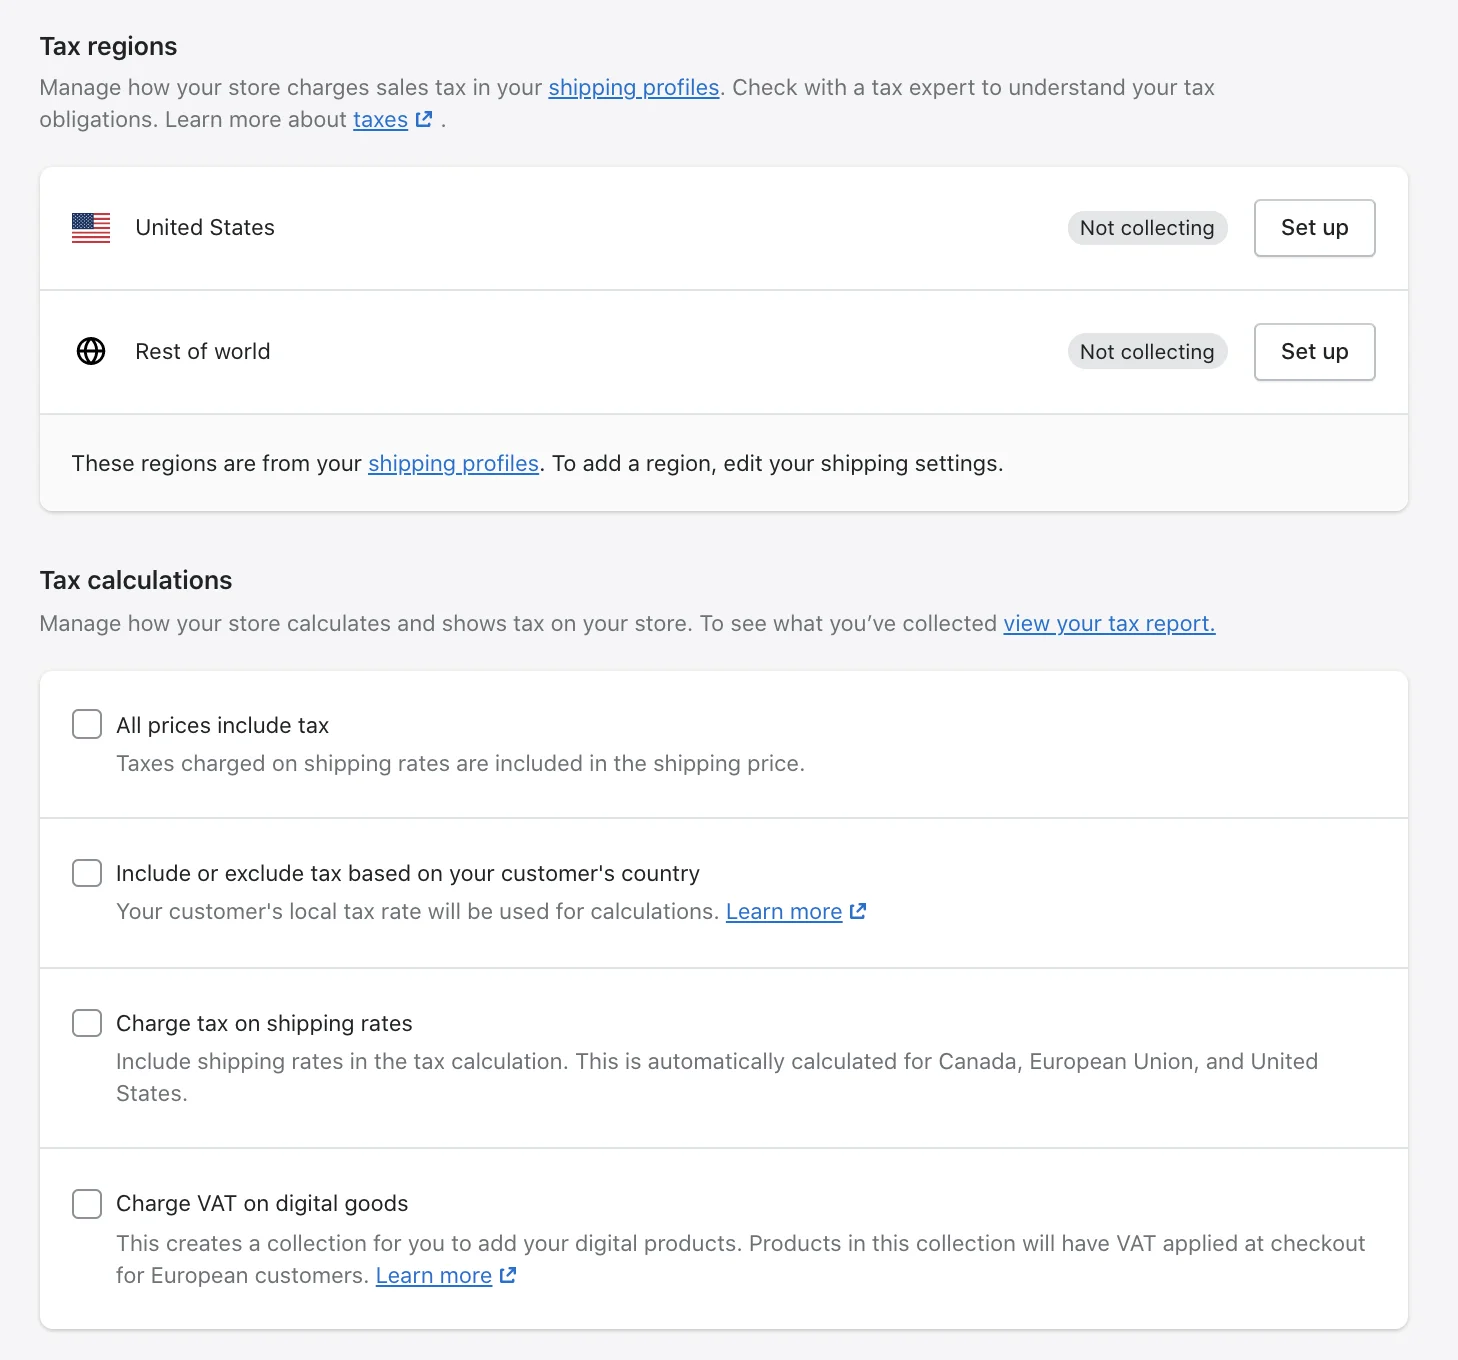
If you opt for the default rates, it is advisable to verify their currency and accuracy periodically. You also have the flexibility to override these rates as needed.
15. Add payment methods
During the checkout process, customers can select various payment methods that you set on your Shopify store. The platform offers a wide range of payment methods to cater to diverse customer preferences.
When deciding on the payment methods to provide, there are several factors to consider. If you wish to allow customers to make payments via credit cards, you can utilize either Shopify Payments or a third-party provider.
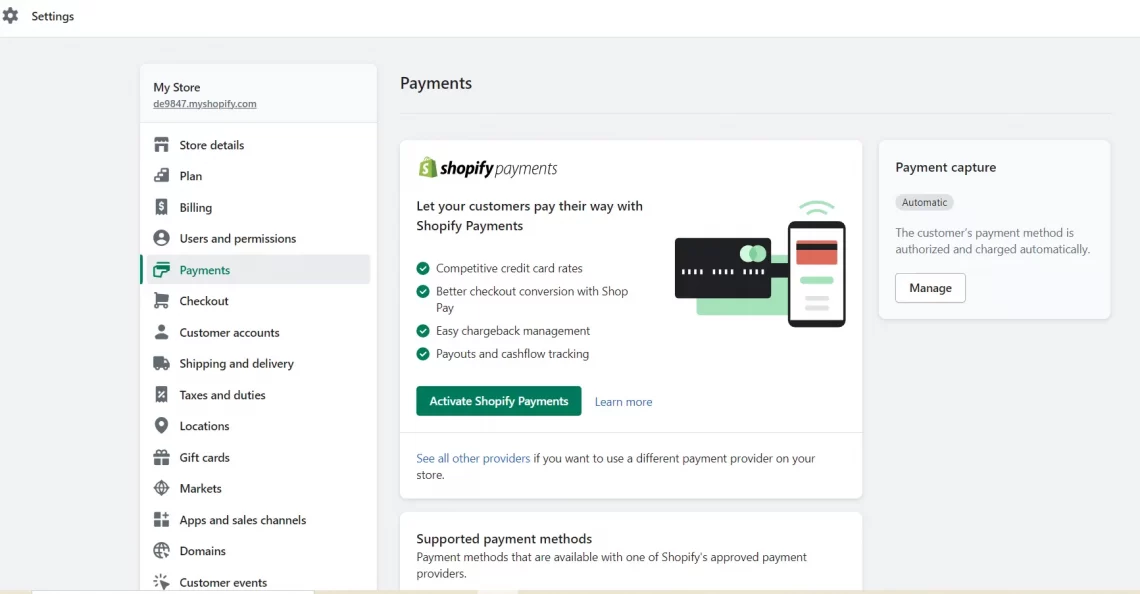
Additionally, there are alternative online payment options available that do not rely on credit cards, such as PayPal, Meta Pay, Amazon Pay, and Apple Pay.
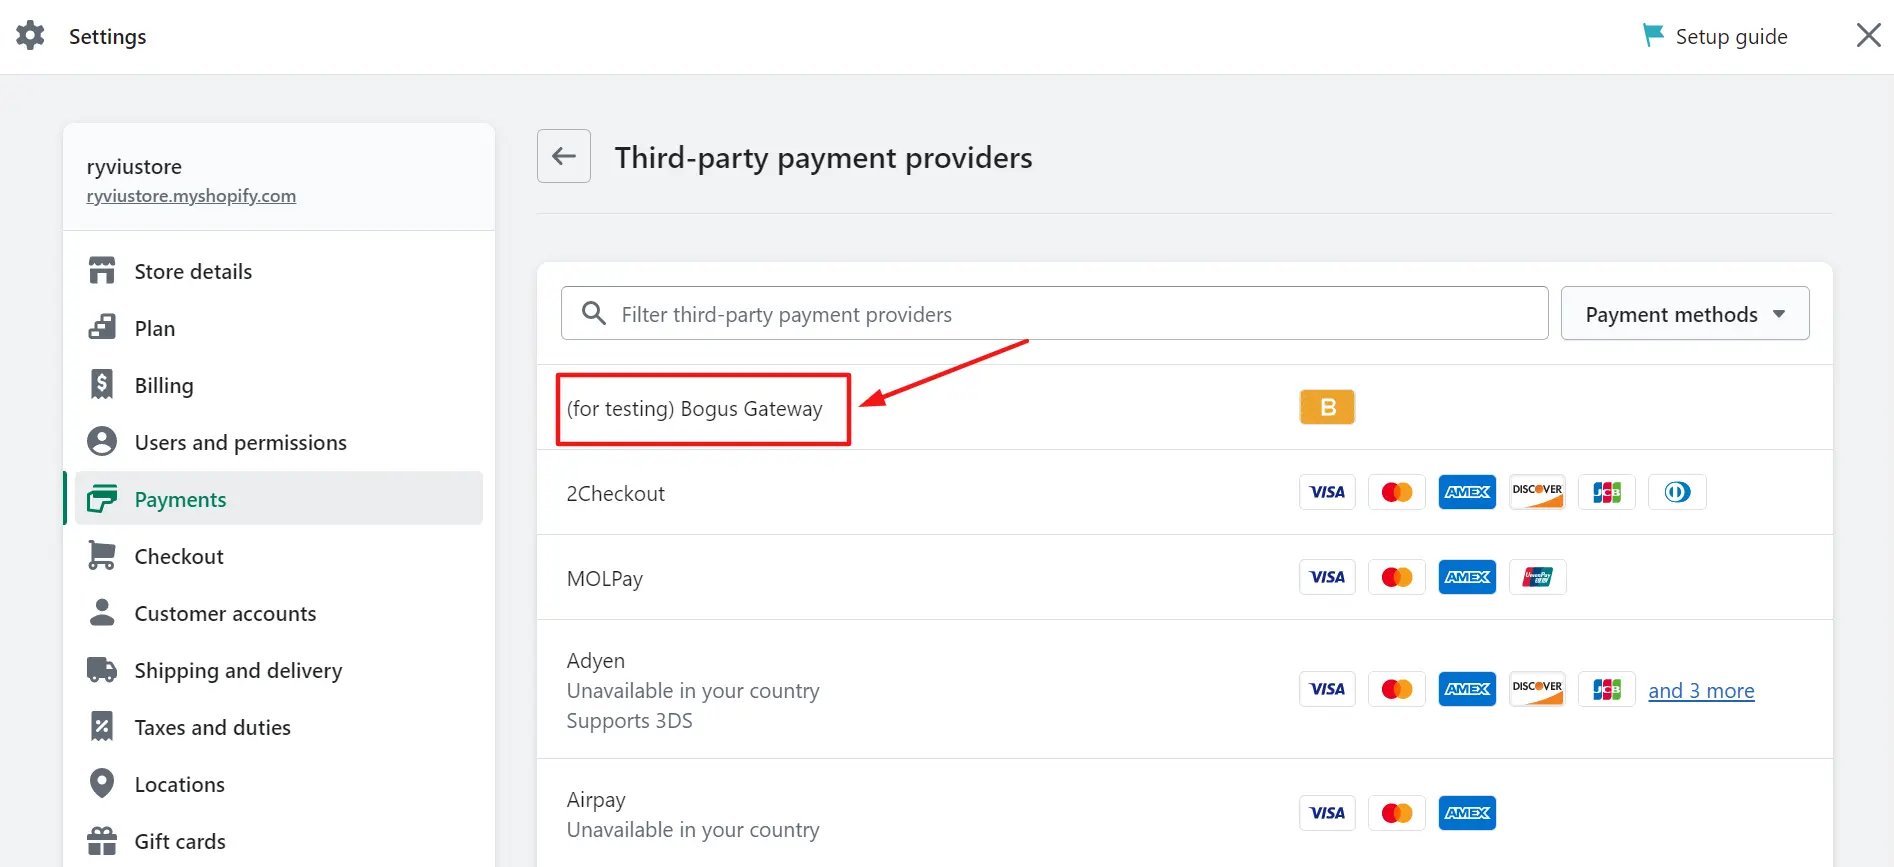
16. Place test orders
To verify the accuracy of your checkout process and settings related to order processing, inventory, shipping, email notifications, and taxes, you should conduct test orders.
You will not incur any charges for a test order. It is recommended to perform at least one test order during the initial setup of your store or whenever modifications are made to your payment settings.
The steps are quite simple when performing on Shopify. You can either use its Bogus Gateway or activate Shopify Payments test mode.
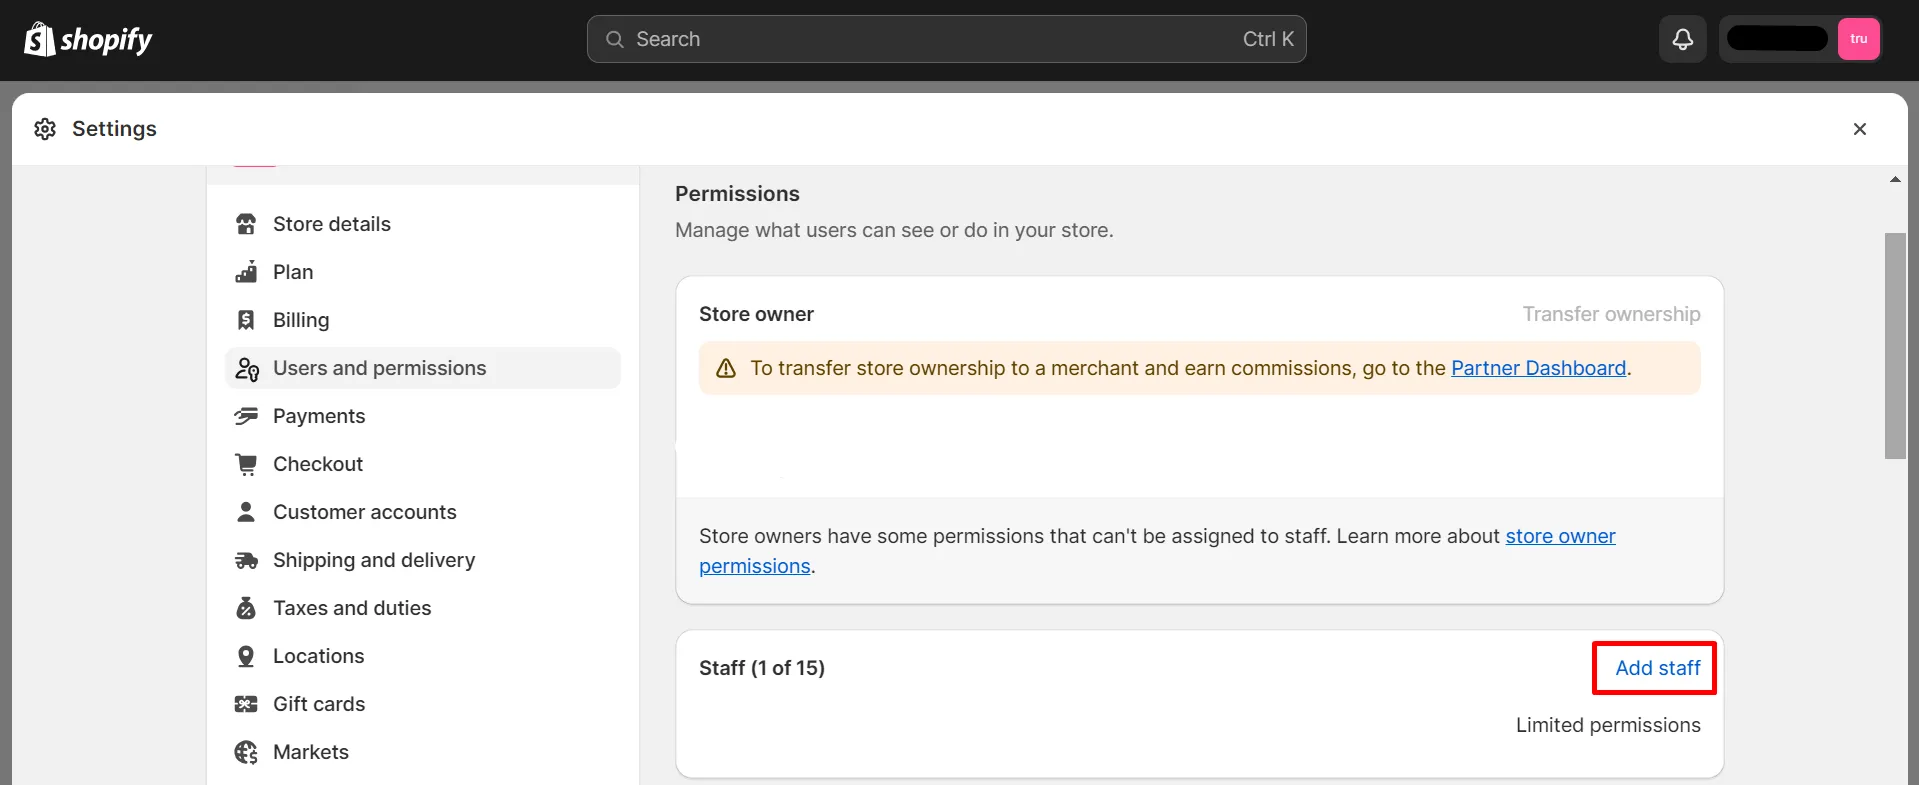
17. Assign access to staff
If you have a team assisting you in the operation and management of your store, you can grant each staff member unique login access. Moreover, you have the flexibility to define permissions for each user, limiting access to specific areas, and thereby ensuring the security of sensitive information.
18. Transfer your domain
Last but not least, the Shopify migration checklist ends with transferring your domain. You can either purchase a new domain or transfer the domain linked to your current store to your new Shopify account.
Before transferring your domain to Shopify, it’s crucial to note that Shopify’s link structure for individual pages may differ from your previous platform. This means that old links, such as example.com/policies/shipping-policy, may not load correctly on Shopify; instead, they might be structured as example.com/pages/shipping-policy.
To prevent customers from encountering error pages, please consider setting up URL redirects in advance for any bookmarked pages, or links from third-party sources. This ensures that when visitors access old links post-domain transfer, they are automatically redirected to the corresponding new links, preventing errors.
Shopify Migration Checklist: FAQs
[sp_easyaccordion id=”68836″]
Conclusion
To wrap up, carefully following each item on this Shopify migration checklist will help set your new store up for success. From our experience, please remember to keep organized documentation at every phase for reference later on.
With thorough preparation, testing, and validation along the way, you’ll be able to seamlessly transition your business online to the powerful and flexible Shopify platform. If you are struggling, LitExtension is here to help! Contact us whenever you need.
For more eCommerce insights, explore our LitExtension Blog or join the Facebook Community Group.