If you feel like doing traditional eCommerce isn’t your thing, building a membership website can be a brilliant idea. And since WooCommerce is a powerful and versatile platform, in this guide, we’ll give you a step-by-step guide to creating a functional WooCommerce membership website.
Here’s a sneak peek of what we’ll cover in this article:
- An overview of WooCommerce membership;
- How to create a WooCommerce membership website;
- Top 5 WooCommerce membership plugins.
WooCommerce Membership Website Overview
Before we show you a detailed guide on setting up a membership website with WooCommerce, let’s see what a WooCommerce membership website actually is first.
What is a WooCommerce membership website?
A WooCommerce membership site is a website built on WordPress with eCommerce features added via WooCommerce.
Like a typical membership website hosted on any other platform, a WooCommerce membership website is where you sell memberships that grant your members (aka customers) access to exclusive content, products, or services.
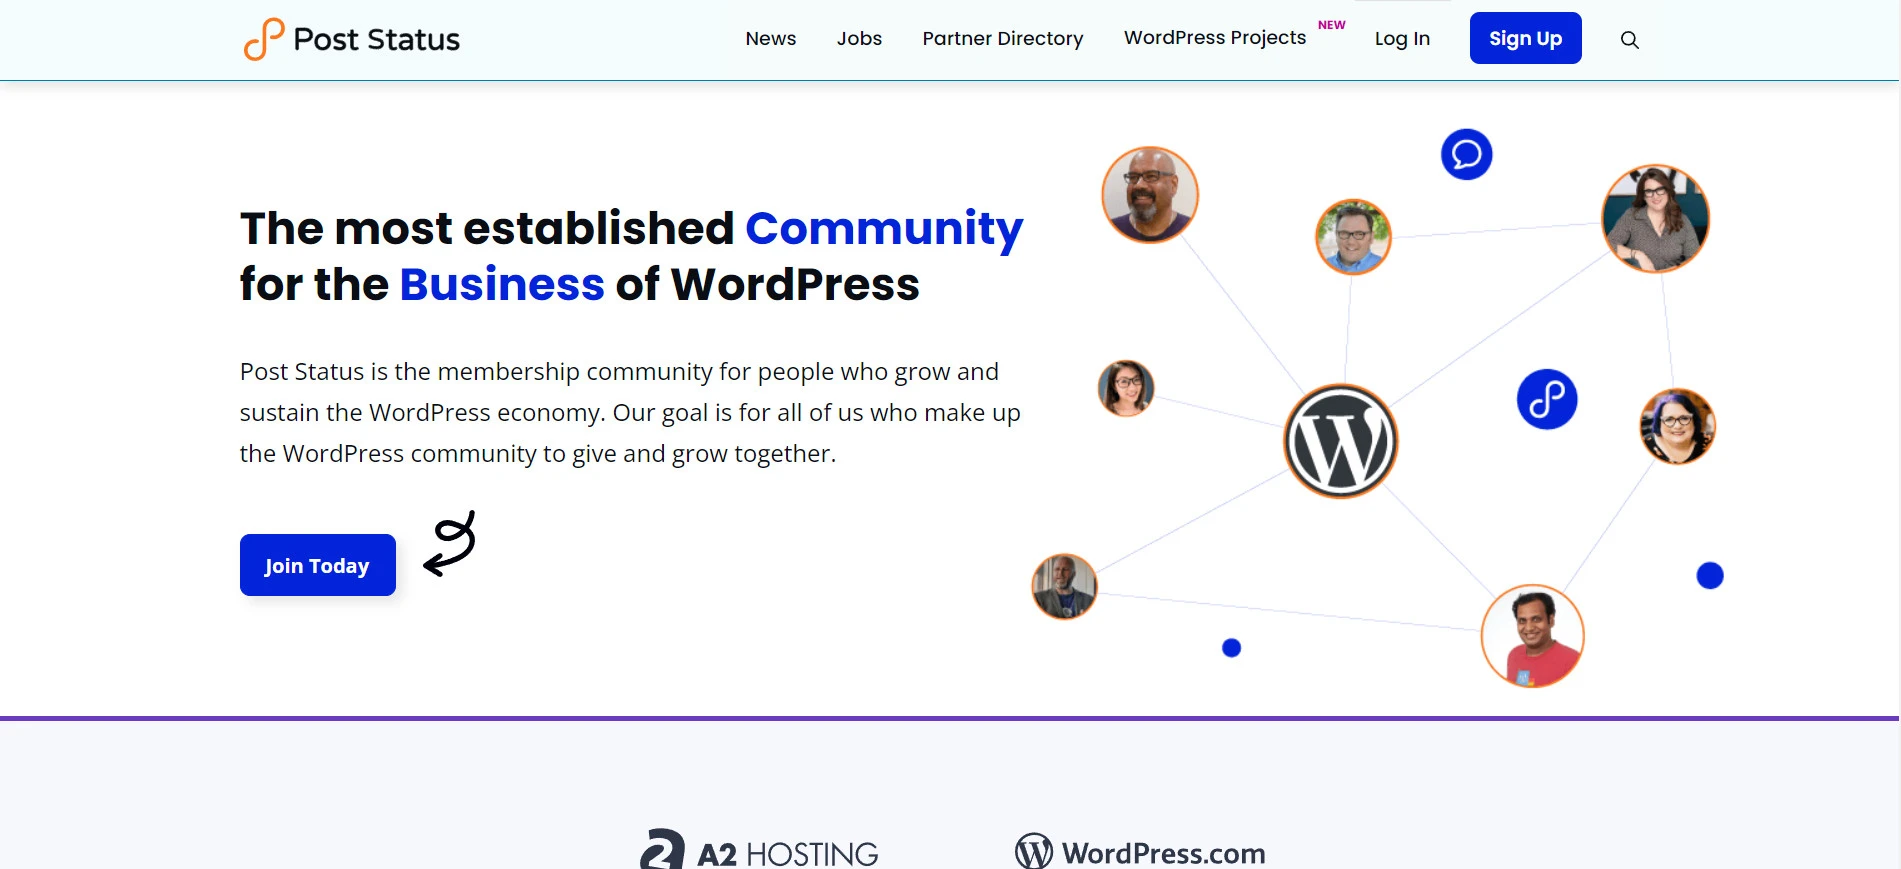
Let’s take Post Status for instance. This membership website a gated community where access to their content is monetized and restricted to members only.
5 Popular WooCommerce membership website types
You might think a membership website is all about selling access to your exclusive content. Well, you’re not wrong but it’s only part of the story. There are some other membership website types you may not know about yet.
Here are the 5 most popular WooCommerce membership website types:
[wptb id=71087]
Now that you have a better grasp of WooCommerce membership website, let’s discover how to set up one next!
How To Create A WooCommerce Membership Website?
Step #1: Set up WordPress website & Install WooCommerce
First, you need to set up a WordPress website. Here’s a list of what needs to be done:
- Choose your hosting provider: Select a web hosting service that offers robust support for WordPress.
- Register a domain name: Choose a unique domain name that reflects your brand or the nature of your membership site.
- Download and install WordPress: Next, use the one-click WordPress installation feature provided by your hosting provider.
- Set up basic configurations: After installing WordPress, access your dashboard to configure essential settings and lay the groundwork for your site’s structure. This includes the title, tagline, key pages, navigation, etc.
After setting up your WordPress website, the next crucial step in creating a WooCommerce membership website is installing WooCommerce.
First, to install WooCommerce to your WordPress website:
- Log in to your WordPress site’s backend.
- Click on “Plugins” from the dashboard menu, then select “Add New“.
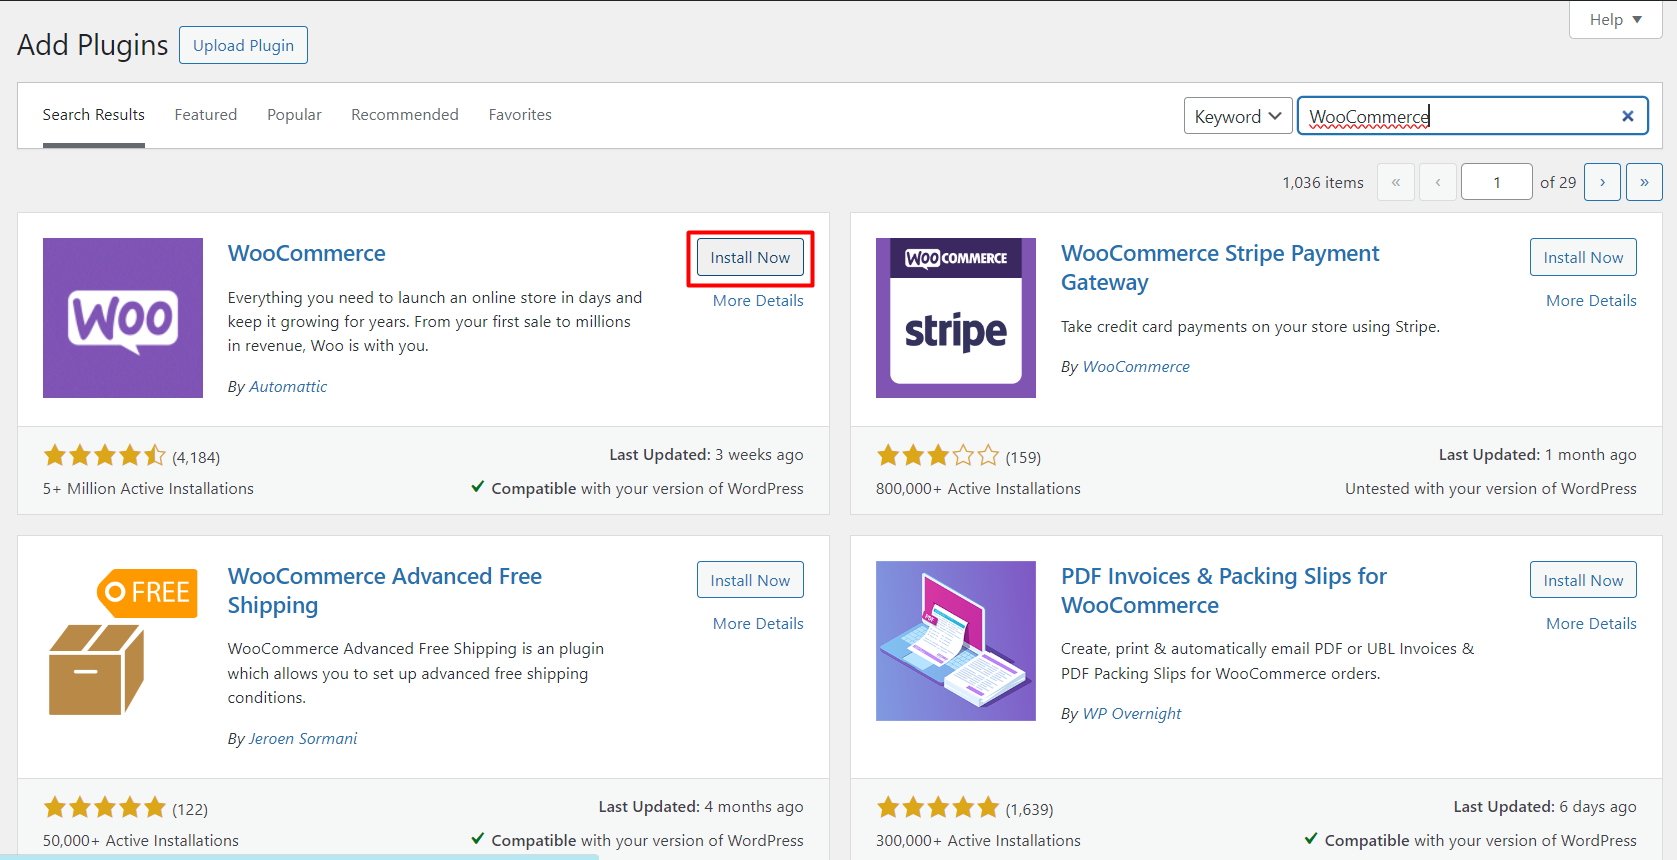
Install WooCommerce to your WordPress website - Type “WooCommerce” on the search bar and press Enter.
- Click “Install Now“, then “Activate” once the installation is complete.
- Follow the WooCommerce setup wizard to configure essential settings such as store location, currency, payment methods, and shipping options.
Step #2: Add a membership plugin
Afterward, follow the same steps to install one of the following membership plug-ins to your site:
- WooCommerce Memberships | $199/year: Use this plugin if you want to make certain parts of your site (like blog posts, pages, products, or special content) available to members only.
- WooCommerce Subscriptions | $239/year: To set up automatic payments that happen at regular intervals, you need WooCommerce Subscriptions.
Note: Make sure you have a payment method that works with subscriptions, which might cost you extra (from $0 to $199).
- Teams for WooCommerce Memberships | $129/year: If you want to sell access to groups like companies, families, or teams and lets one person pay for and manage access for the whole group, this plug-in is what you need. (Think Netflix)
Step #3: Create your membership products
💡 Note: The plug-in we use in this guide is WooCommerce Memberships – one of the most popular and feature-rich membership plugins for WooCommerce.
Hence, if you use a different plug-in, please note that the dashboard and user interface will not look the same as shown in the screenshots below.
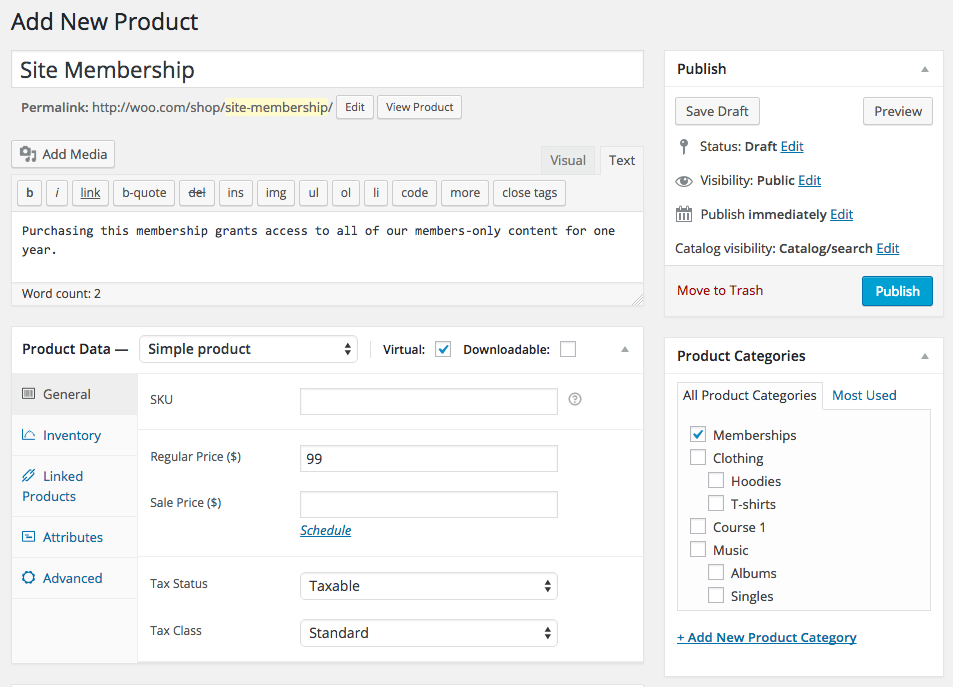
To sell your membership, you first need to create the kind of product representing the membership you’re offering.
Let’s say you run a fitness website and want to sell a one-year membership that gives access to exclusive workout videos. Here’s how to create your membership product:
- On your WordPress dashboard, go to Products > Click Add New.
- Name your product.
- Set your price as the cost of the membership.
After you’ve created your membership products, you will then have to set up membership plans to tie to your products.
Step #4: Configure membership plan
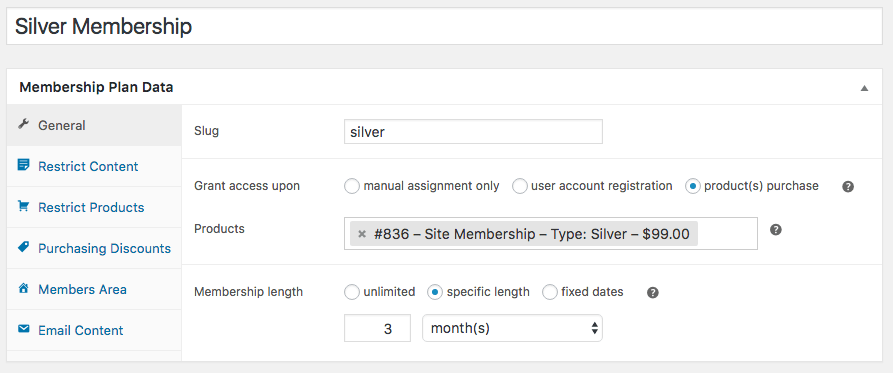
To create your membership plan, go to WooCommerce > Memberships > Membership Plans, and then click “Add Membership Plan”. Herein, you can get started configuring your membership plan.
4.1. Set up general membership plan details
Name your membership plan and decide how members will gain access:
- Manually;
- Through site registration;
- By purchasing a specific product.
We’ll grant access when our newly created membership product is purchased, so we search for that product’s name under the access options.

Finally, set the duration of membership access. It can be unlimited (no expiry), for a set period starting from the membership creation date, or valid within a specific date range. We’ll set ours for a fixed duration.
4.2. Restrict content to your members only
After setting up the basic details of your membership plan, follow these steps to restrict content to your members only:
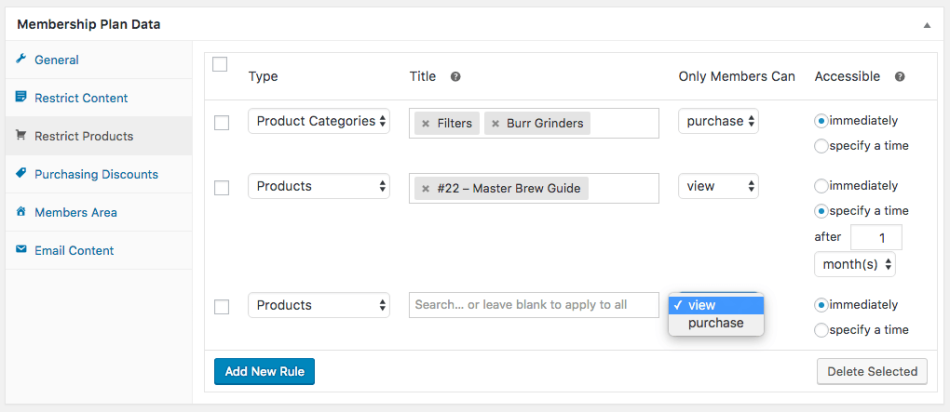
- Go to the “Restrict Content” tab. Here, you can choose to restrict access to pages, posts, or custom post types exclusively for members. This restriction takes effect immediately upon publishing your membership plan.

- Similarly, to restrict products, select the product type you wish to limit. You can restrict individual products or entire categories. If needed, you can also set up content dripping, which gradually releases content to members over time.
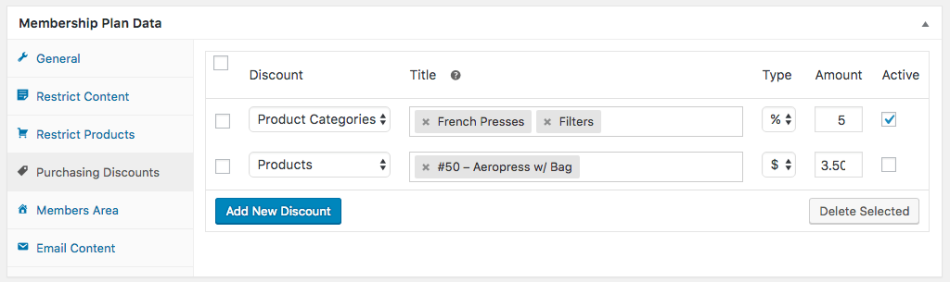
4.3. Create member discounts (optional)
Next, you can set member discounts if you want. When a discount is activated, it automatically applies to chosen products for logged-in members, eliminating the need for a coupon.
Essentially, it’s a members-only sale price. This means the discount isn’t visible on the back end, but the adjusted price for members is applied to all designated products each time a member makes a purchase.
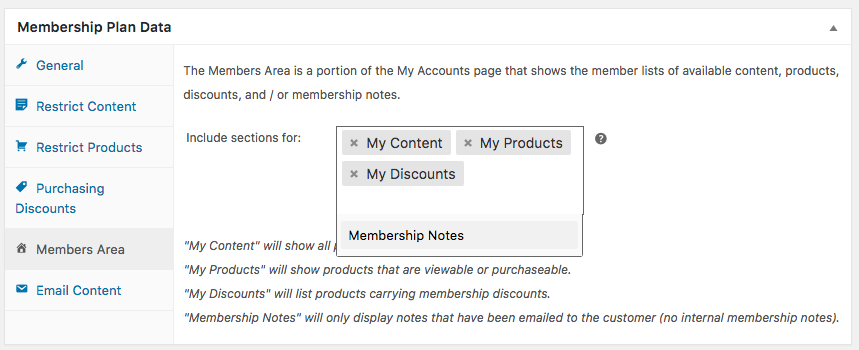
4.4. Activate member area
And lastly, don’t forget to set up member area. By selecting this option, your members will be able to click “View” within the “My Account” dashboard to access a variety of content related to their membership. This includes:
- Content: Displays a list of posts, pages, and custom content types that members are currently able to access, as well as those they will gain access to in the future.
- Products: Reveals a list of products that members can currently view and/or purchase, along with those they will be eligible to view or buy later on.
- Discounts: Shows all the products for which the member receives a discount, including the amount of the discount.
- Notes: Lists any notes directed at members, specifically those marked with “Notify Member.”
- Manage: Provides details of the membership and includes links to manage subscriptions, if applicable.
Best Woocommerce Membership Plugins
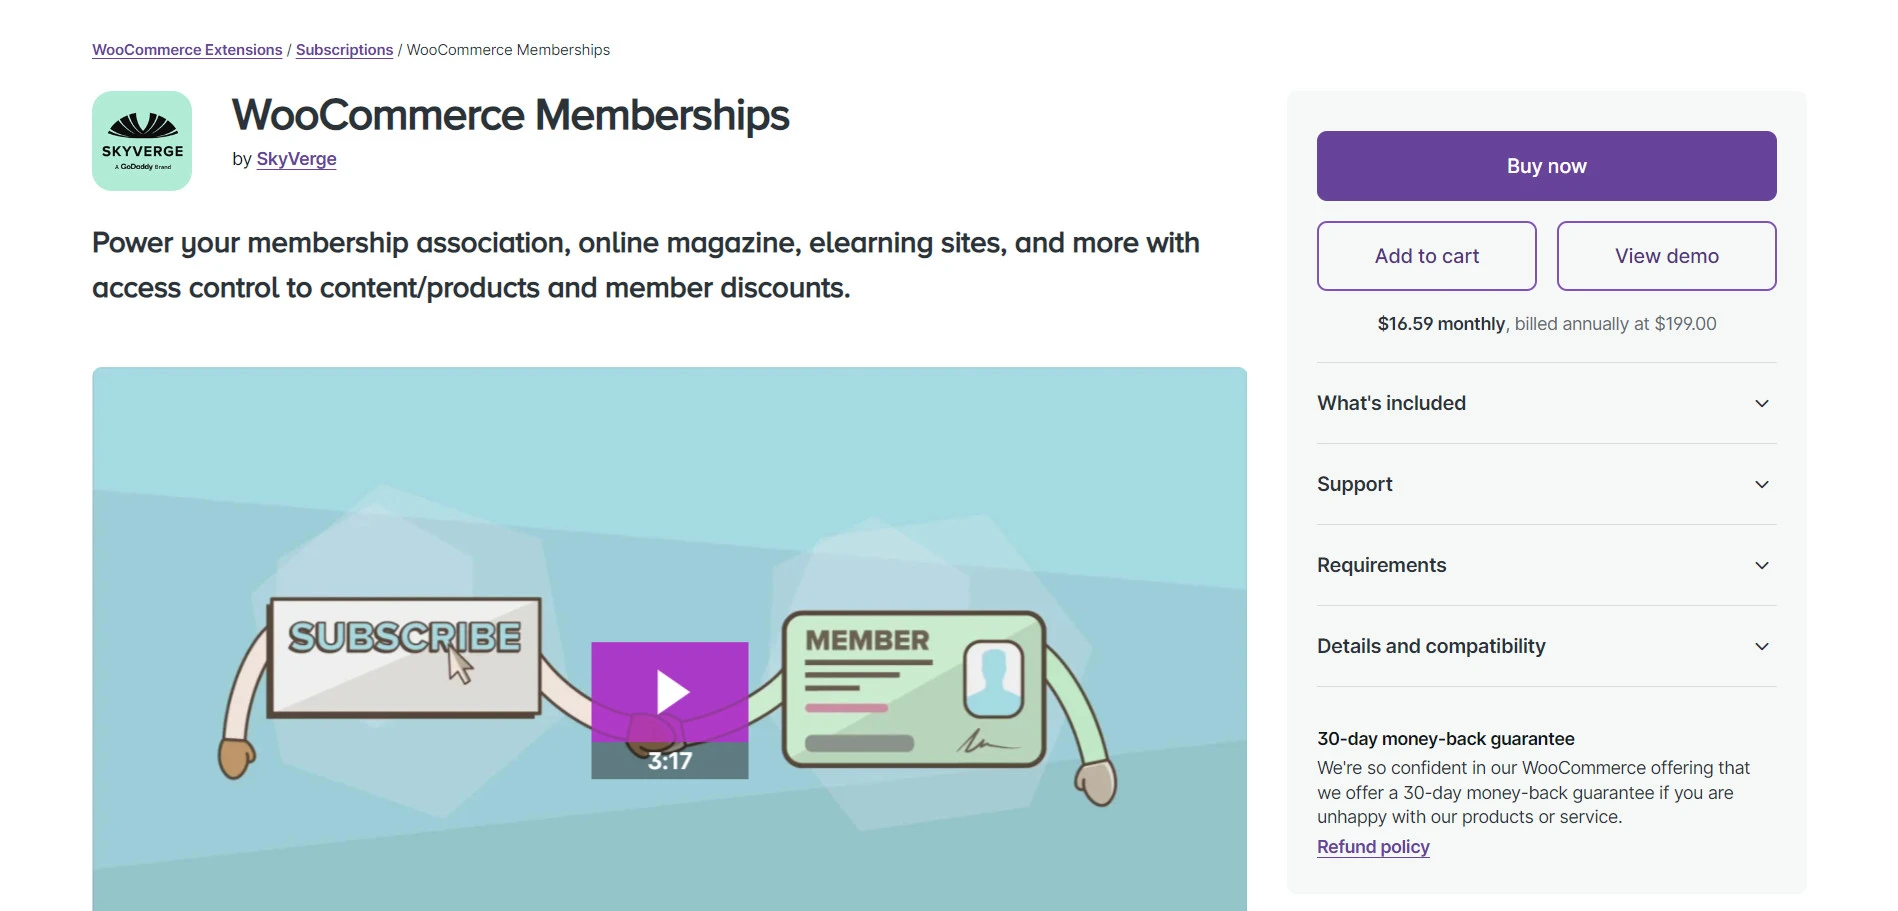
#1. WooCommerce Memberships Plugin for WordPress
This is the plug-in we used in the example below, as it’s a popular, high-quality one compared to other membership plug-ins.
Rating: 4.1 (105+ reviews)
Pricing: $199/year
WooCommerce Memberships Plugin for WordPress is the first plug-in we’d love to introduce to you today. It seamlessly integrates with your existing setup, enabling you to restrict content, offer special discounts, and manage memberships all in one place.
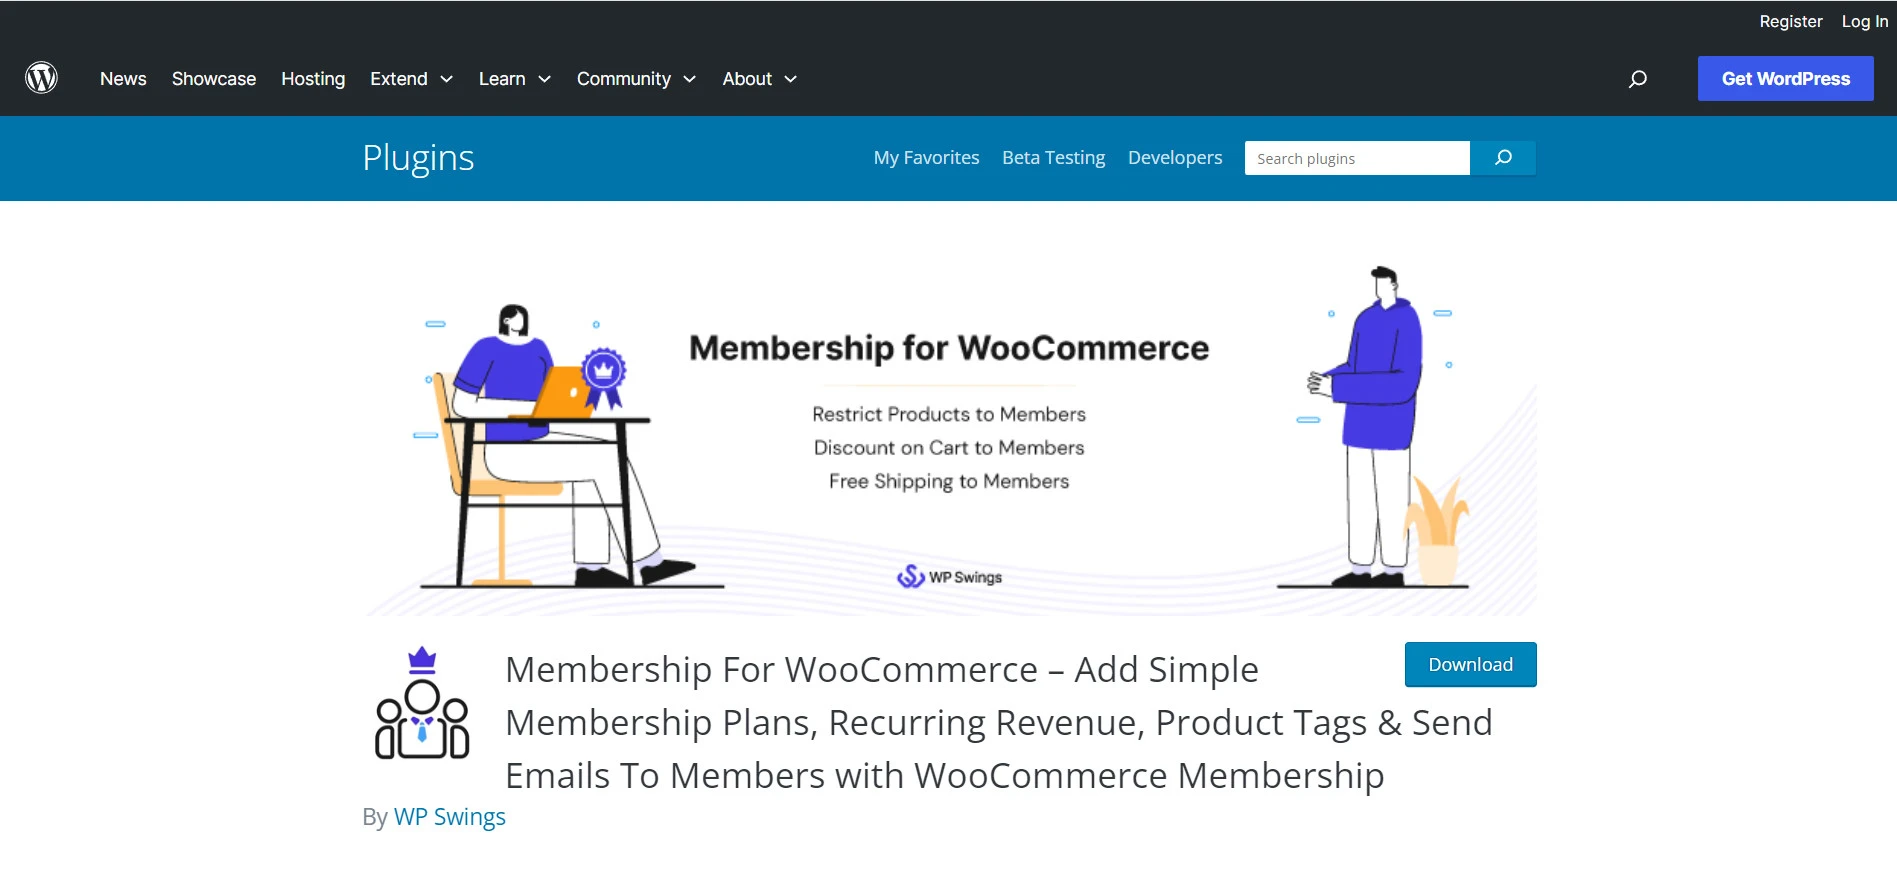
#2. Membership For WooCommerce
Rating: 4.3 (10+ reviews)
Pricing: Free plan available | Pro version: $99/year
Next, the Membership for WooCommerce is one of the all-in-one membership plugins you should consider. The plug-in comes with various features that enable recurring revenue streams, exclusive access via product tags, targeted emails to members, etc.
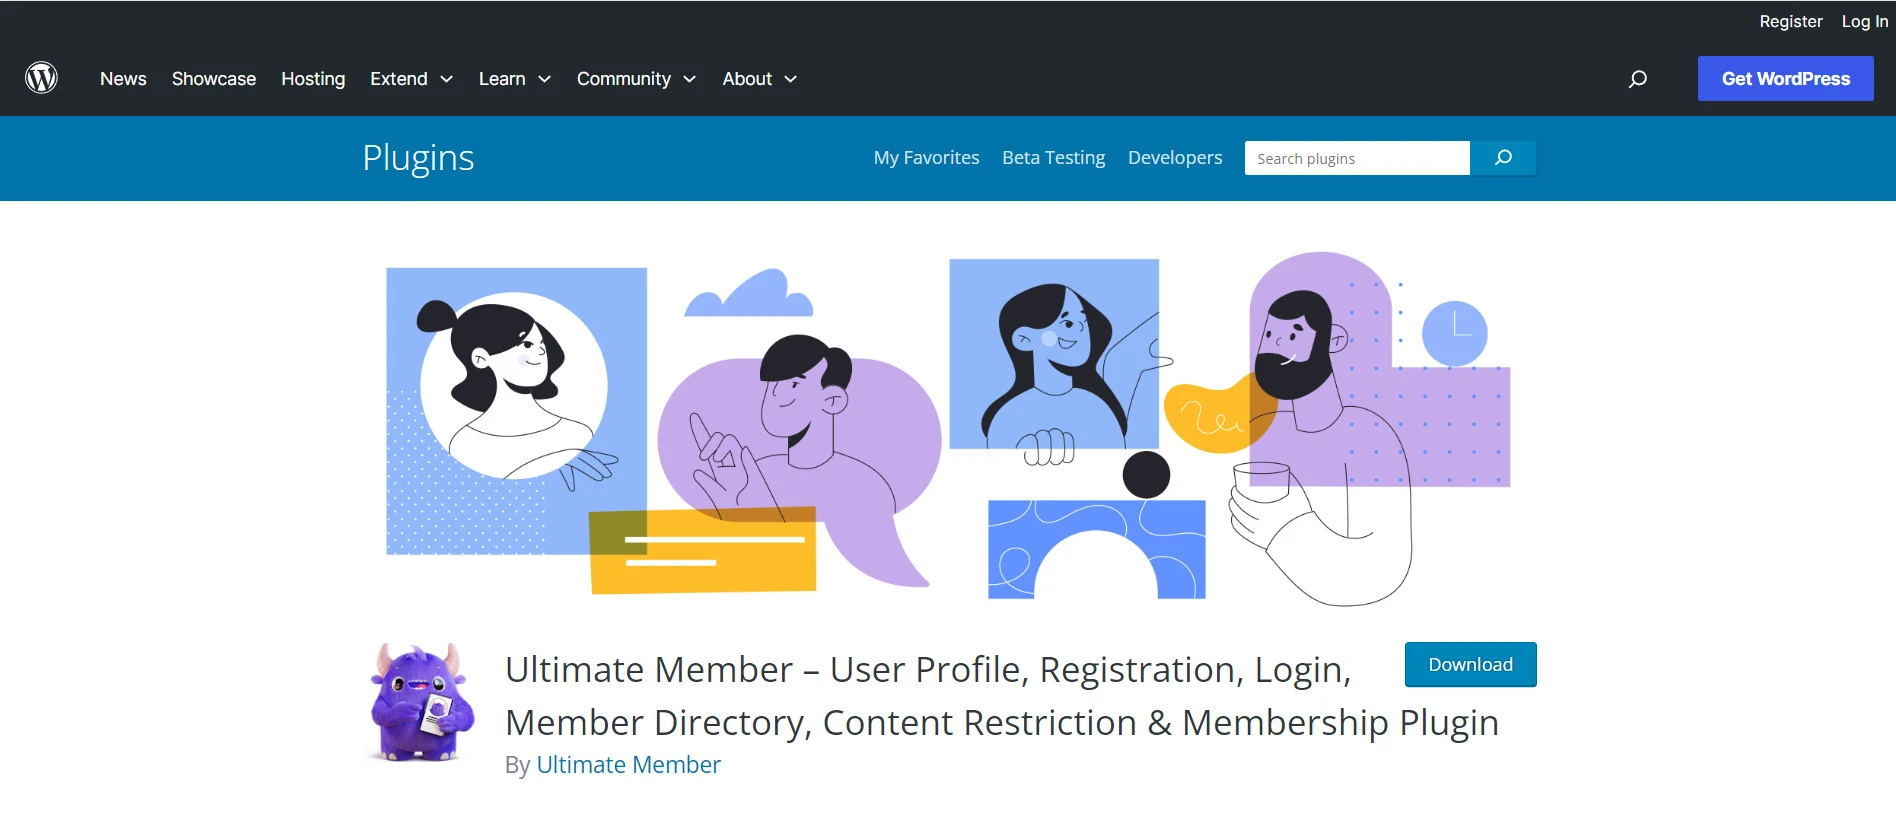
#3. Ultimate Member
Rating: 4.4 (1,400+ reviews)
Pricing: Free plan available | Paid plans: $249/year (Extensions Pass) and $299/year (Extensions Pass + Theme Pass)
If you are searching for a premium WooCommerce membership plugin, Ultimate Member might be what you’re looking for.
The plug-in comes packed with a robust set of extensions, allowing you to create an advanced community & membership website that keeps your members coming back for more.
FAQs
[sp_easyaccordion id=”71079″]
Final Thoughts
All in all, launching a WooCommerce membership website can be a lucrative idea that earns you decent profits. For that, we hope after reading this guide, you will know how to set up your membership properly with WooCommerce and what plug-ins you need to get started.
Don’t forget to check out LitExtension’s blog and dive into our active Facebook Community to get updated with the latest eCommerce insights.